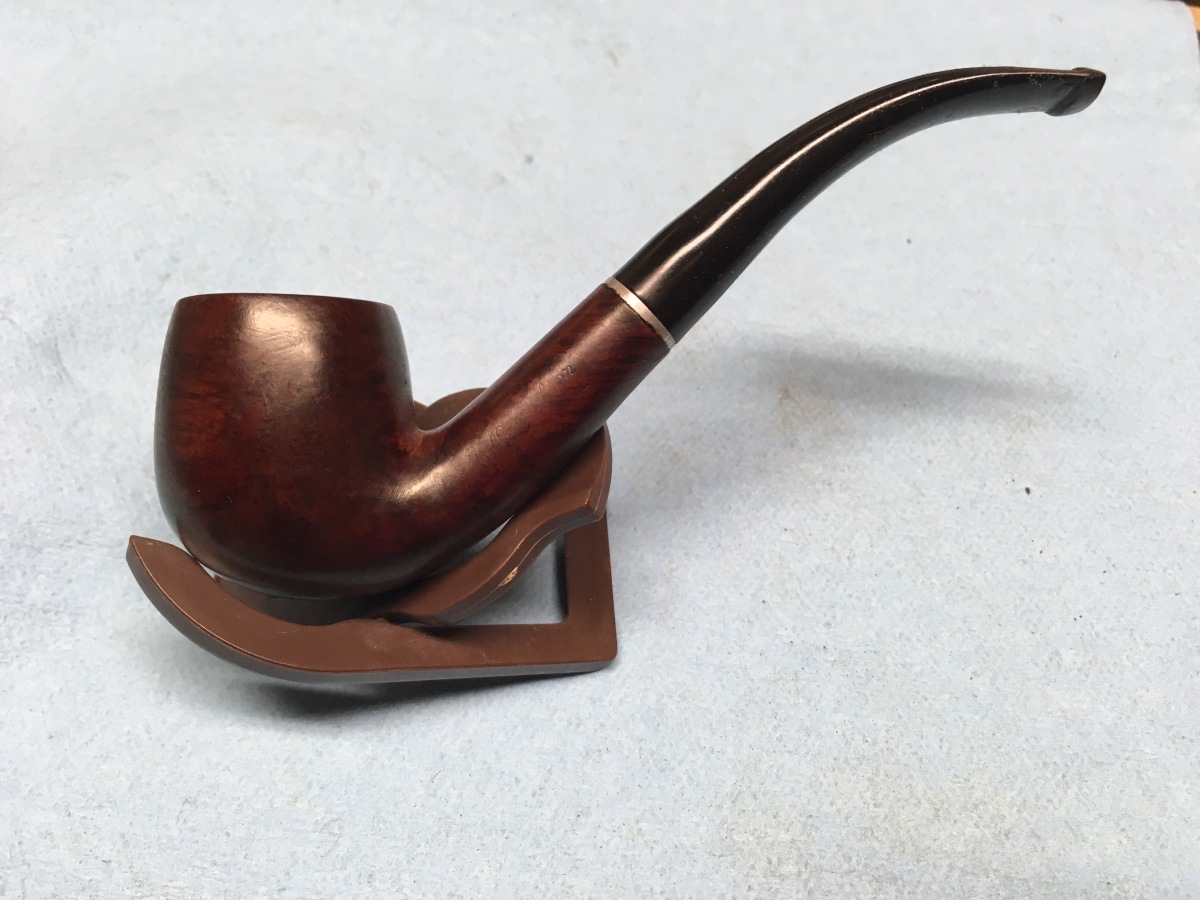
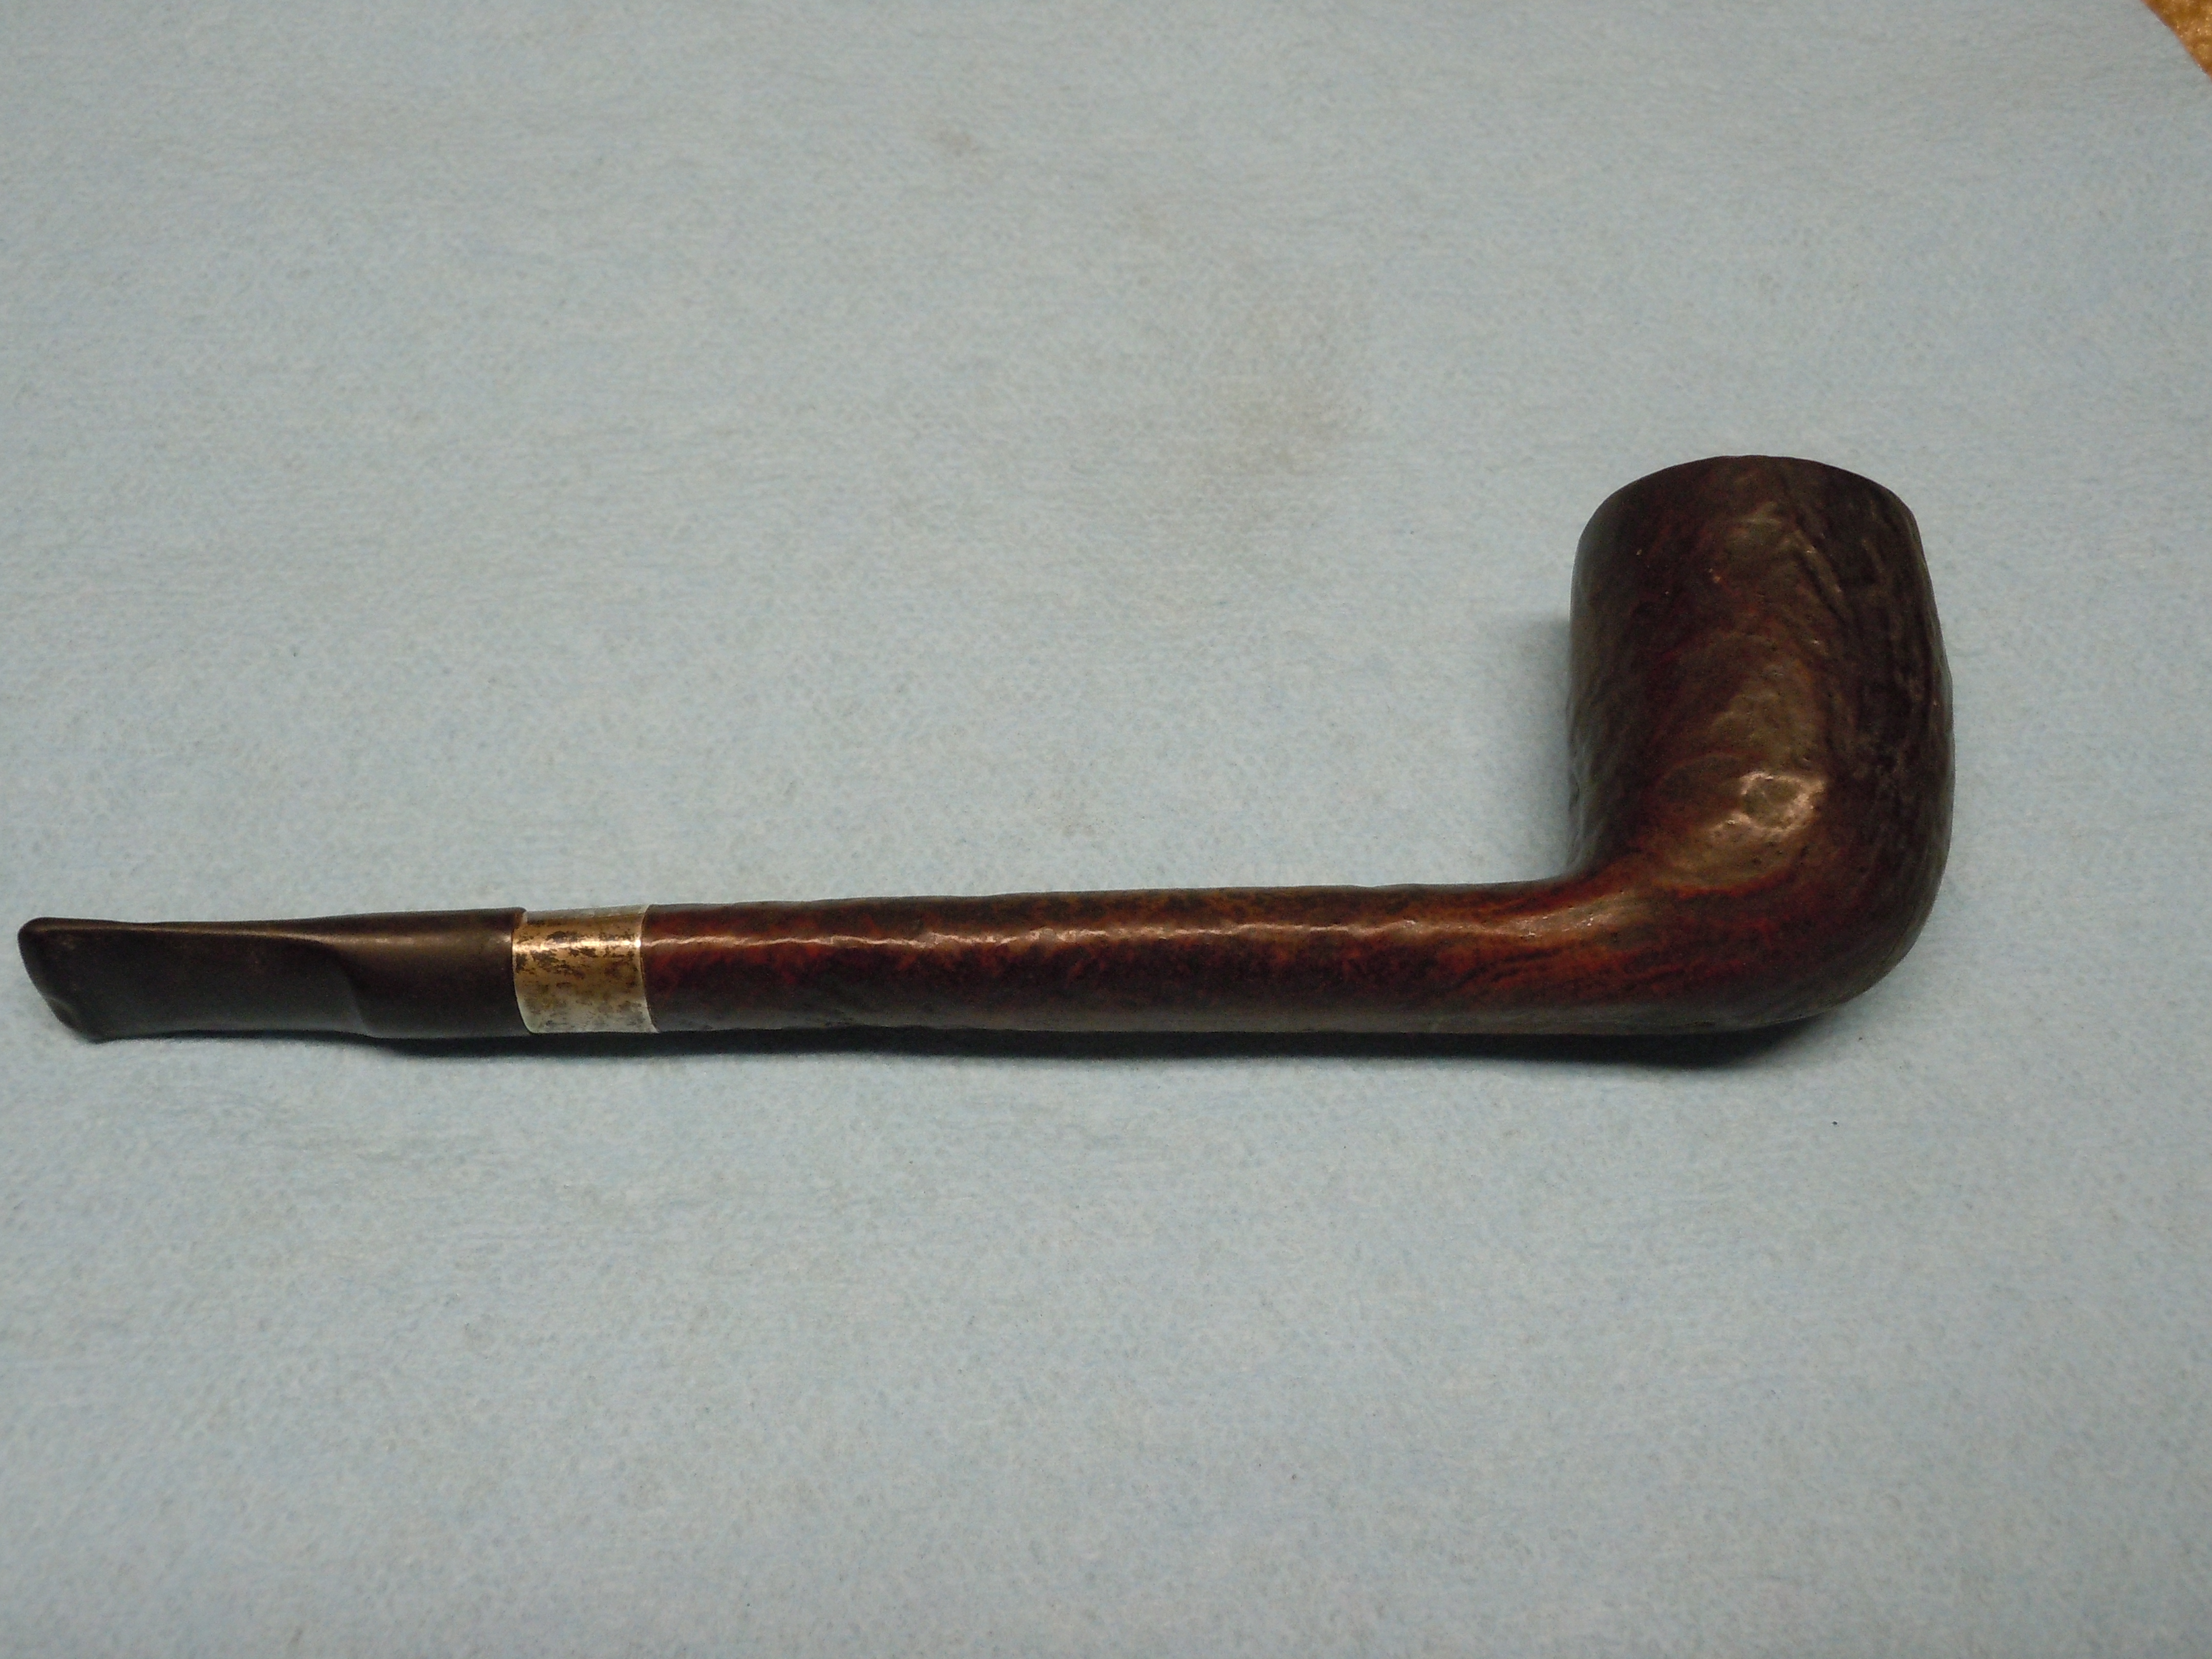
WDC Milano Correction

WDC Milano

Fixing a mistake made during the original Reserection!

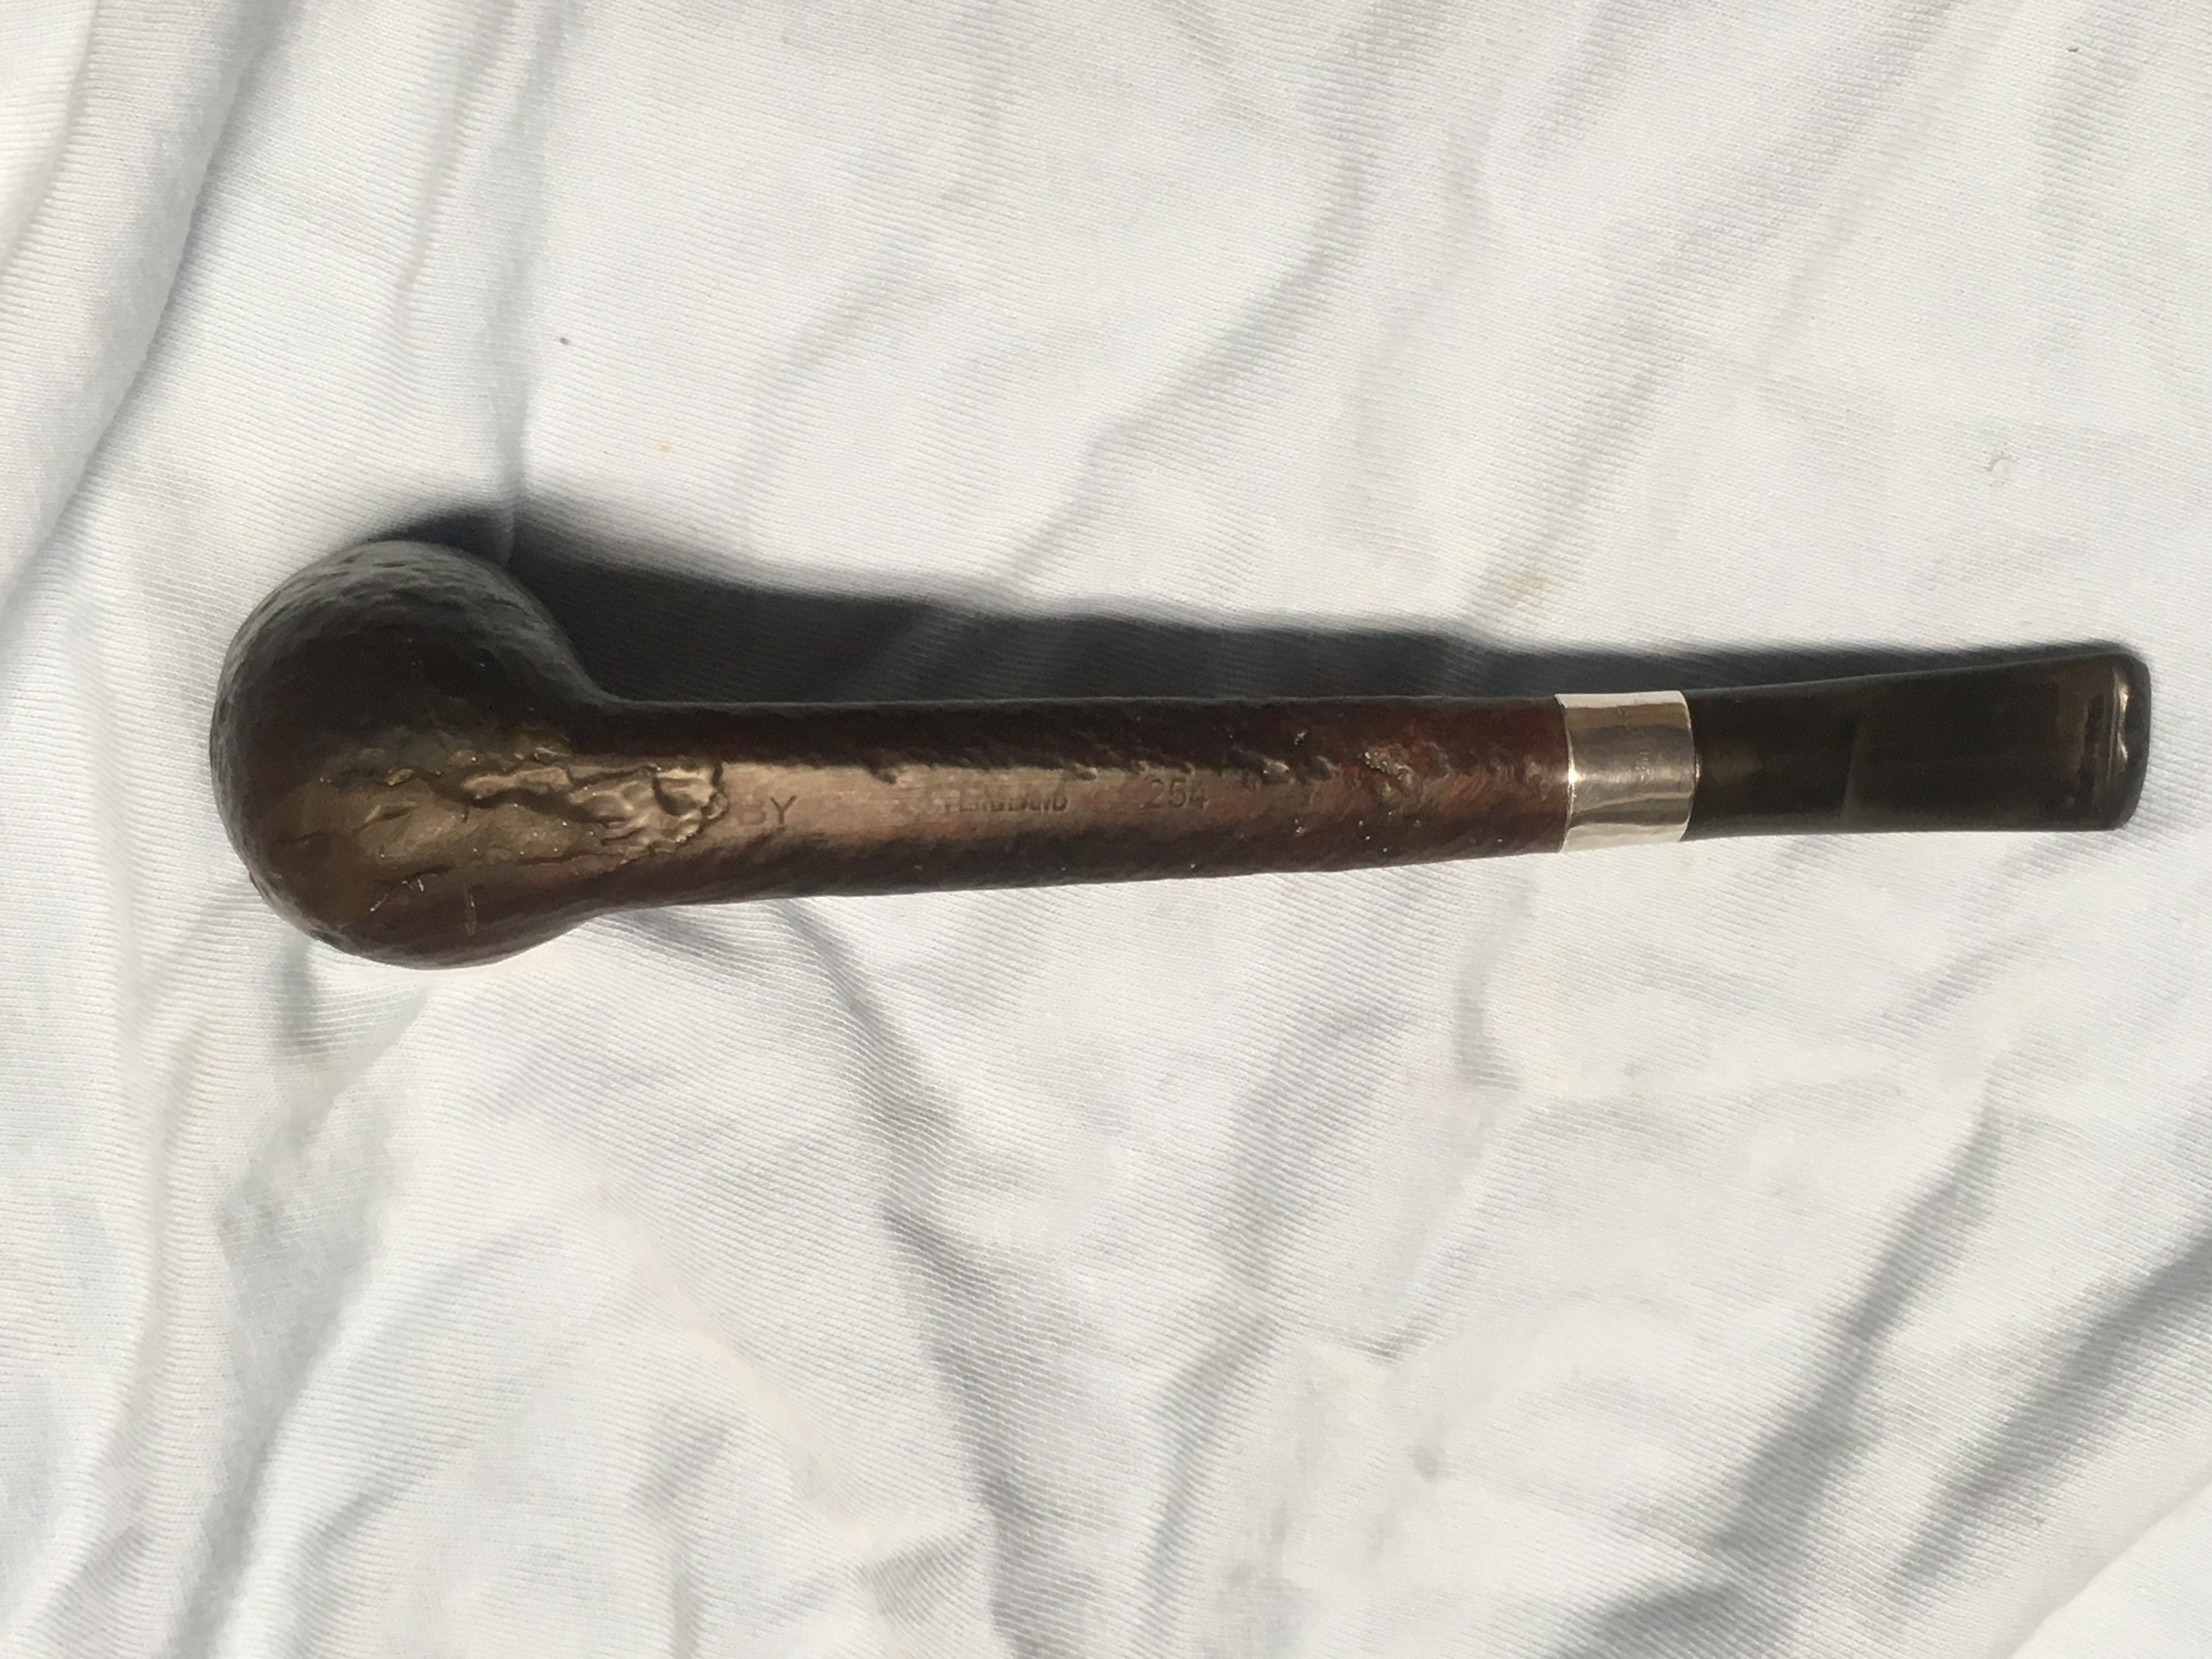
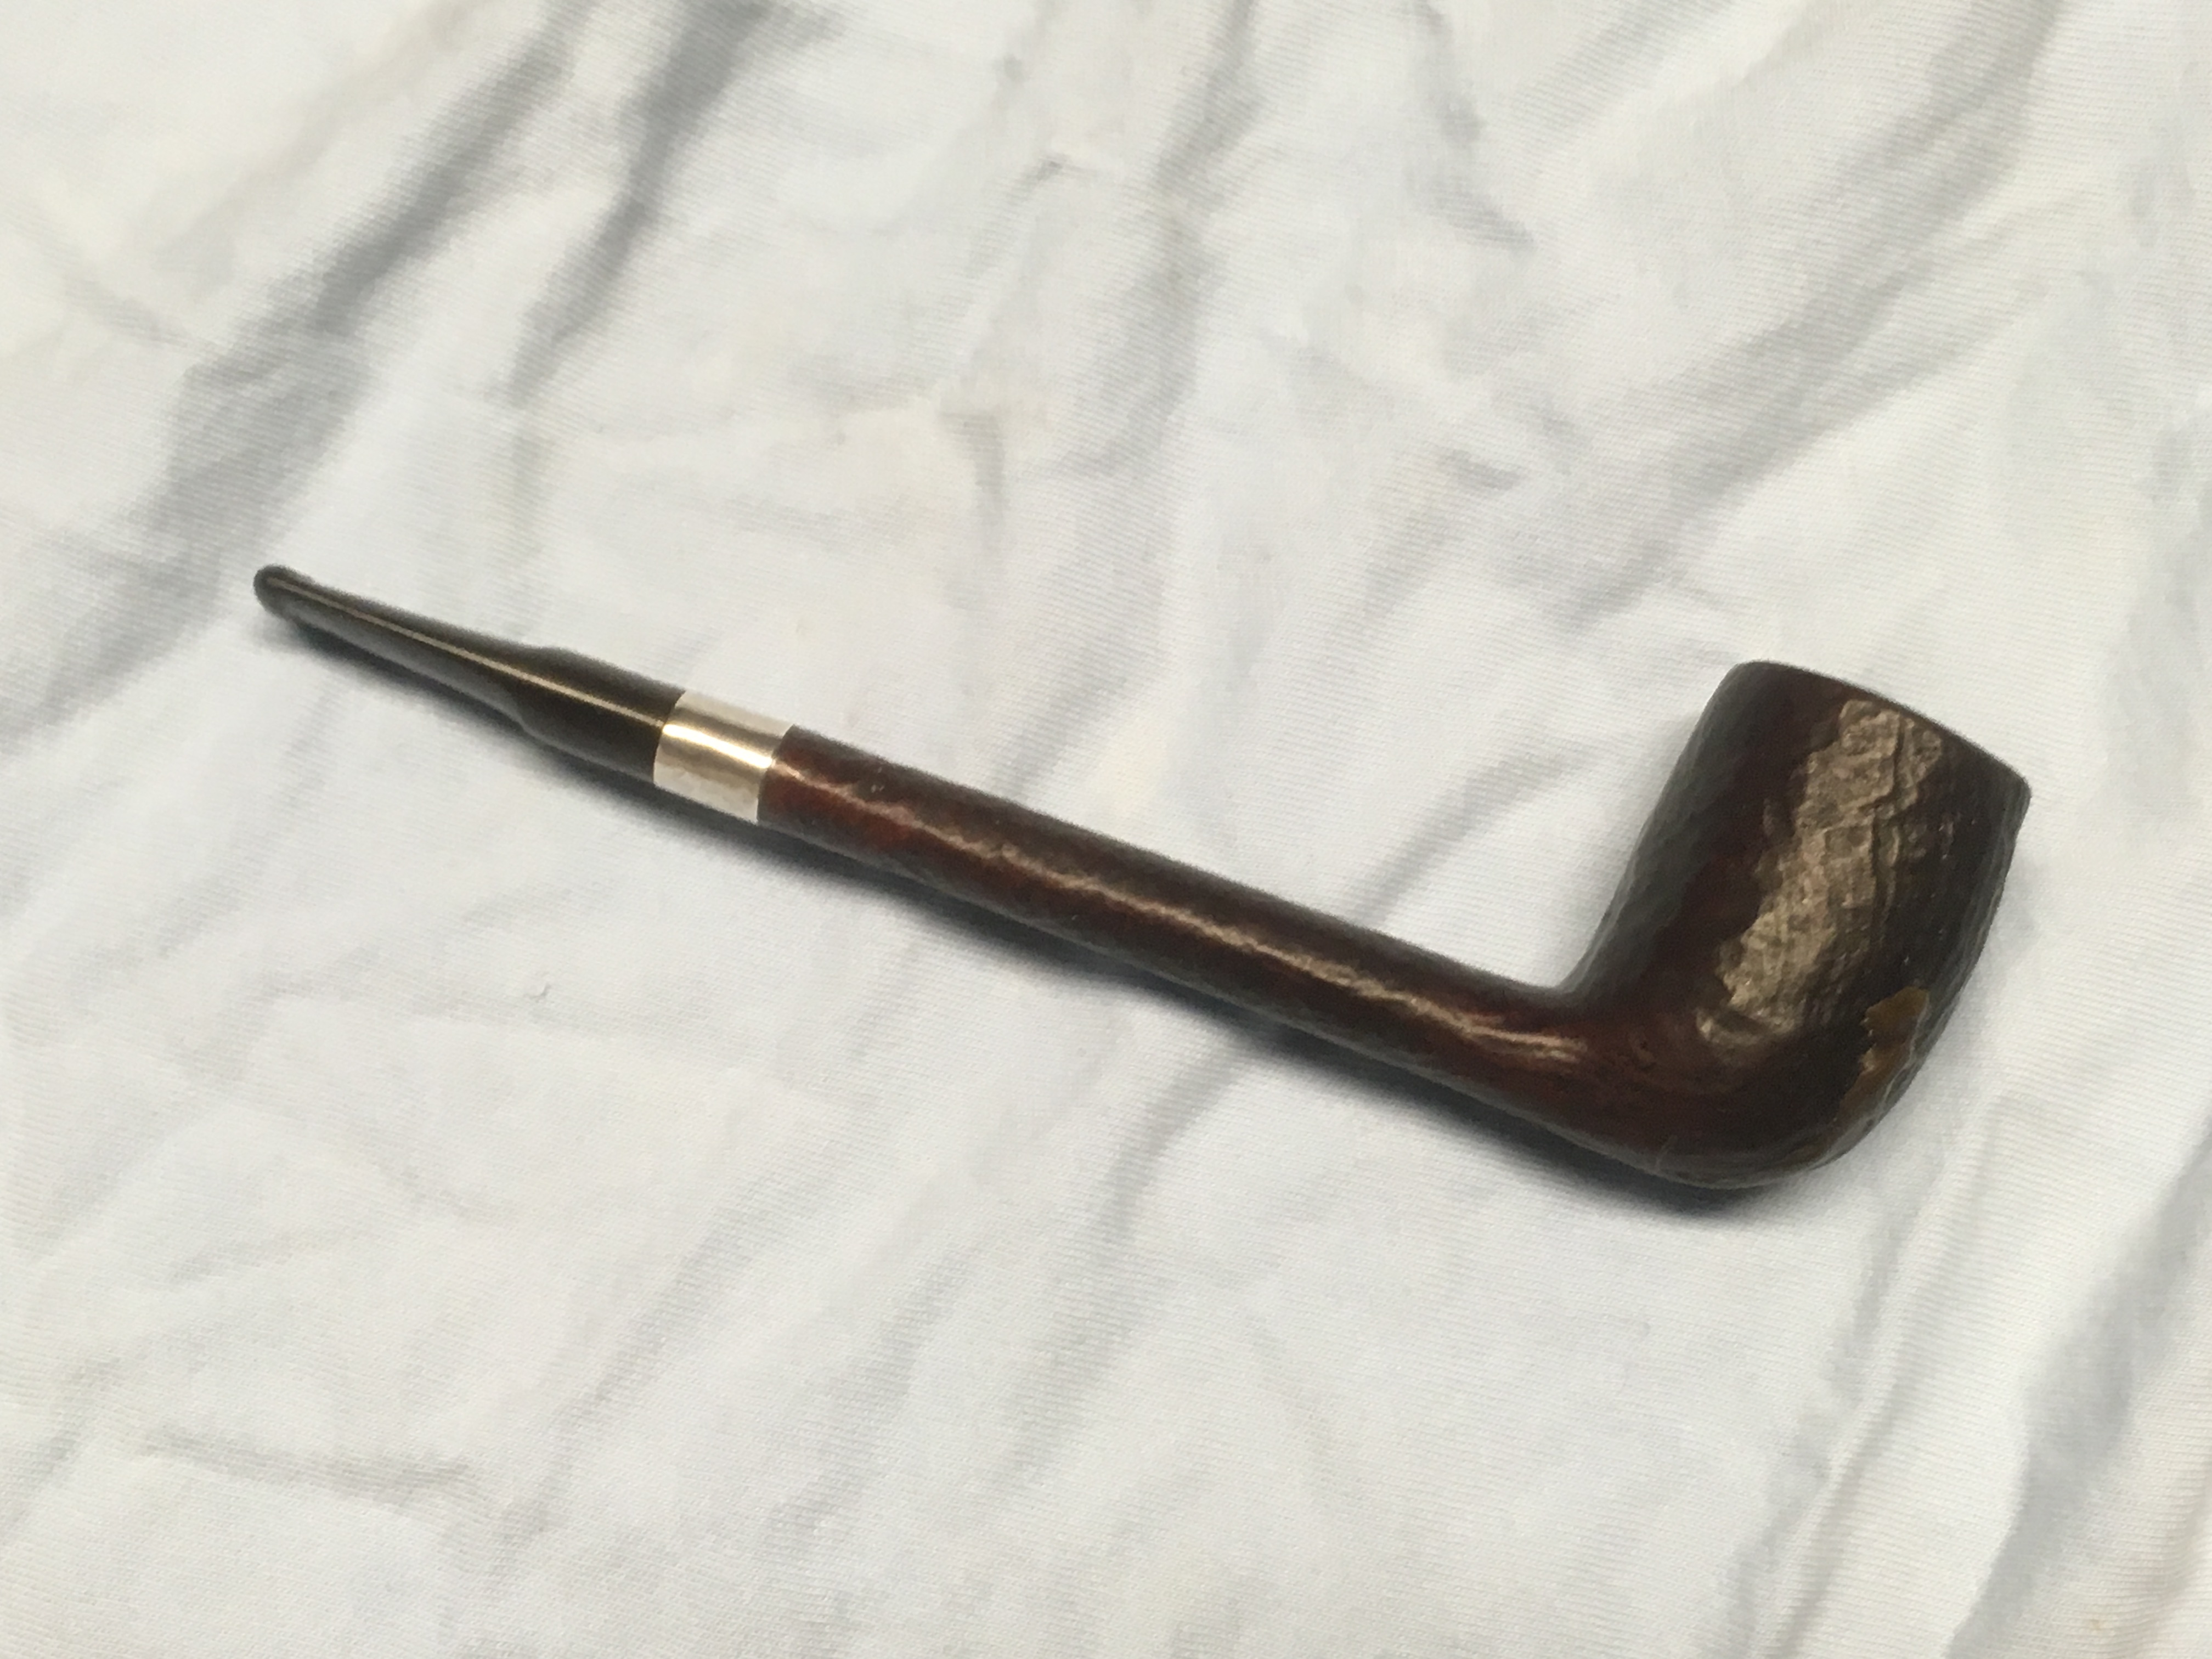
When I did my original restoration of this pipe I made a BIG mistake and learned a valuable lesson. NEVER use super glue to make a stem tight!! The stem after I was finished with it became loose. My reasoning was that if I were to build up thin layers and allow it to dry it would make up the slack and tighten the fit. Using the super glue and an accelerator I had sprayed the metal stem insert with the accelerator and then put several thin layers of super glue on it and let it dry overnight before putting the stem back into the bowl. At the time it fit well and did it’s job. Then the fun began… After some use the heat of smoking it must have activated the glue back up and it affixed itself to the shank.

The pipe needed to be cleaned but the stem would not come out of the shank. I tried to seperate it in a number of ways to separate them. First I put it in the freezer to try and let it shrink and that failed. Next was to go the other direction and use heat, a paint heat gun set on low. That worked sorta… Instead of loosening the metal part of the stem from the shank the back end which was in the vulcanite came out! Argh… So after some coaxing with the heat and putting it back into the freezer the metal then shrunk and released. Yea! Now What?? Now I was right back where I started from.

I’d never been in this position of having to decide to build up the inside of the shank or come up with another option. So I reached out to the one resource I know, Dr. Steve Laug Reborn Pipes, pipe restorer extraordinaire! I sent Steve an email letting him know the situation. Steve called me the next day! WOW! I was humbled that he would answer me let alone call me. Thanks Steve.

Steve asked me to send him a couple of pictures and let him see what I was talking about. I attempted to send him a link to my Google Drive to let him see a few pictures and a video as well. He wasn’t able to get full access but saw enough to make a recommendation. He suggested I call Tim over at J.M. Lowe, pipe restoration tools and parts and order a Delrin tenon to make a replacement tenon for the stem. This way I could retain the WDC Triangle inlay in the side of the stem.

Tim took my call and was very helpful. I asked several questions and he recommended the 5/16″ Delrin tenon. He said to be careful with the application of heat as the Delrin would not react well to it. He also recommended I use Medium Superglue to make the repair. The superglue was to be used without an accelerator as it would react too quickly and not allow the Delrin tenon to set the vulcanite stem. Tim sent the tennon out to me and I received it two days later.

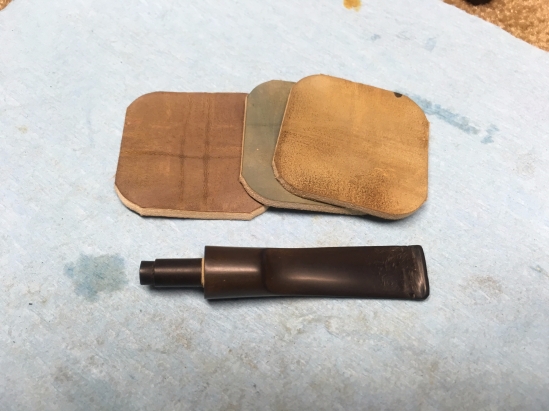
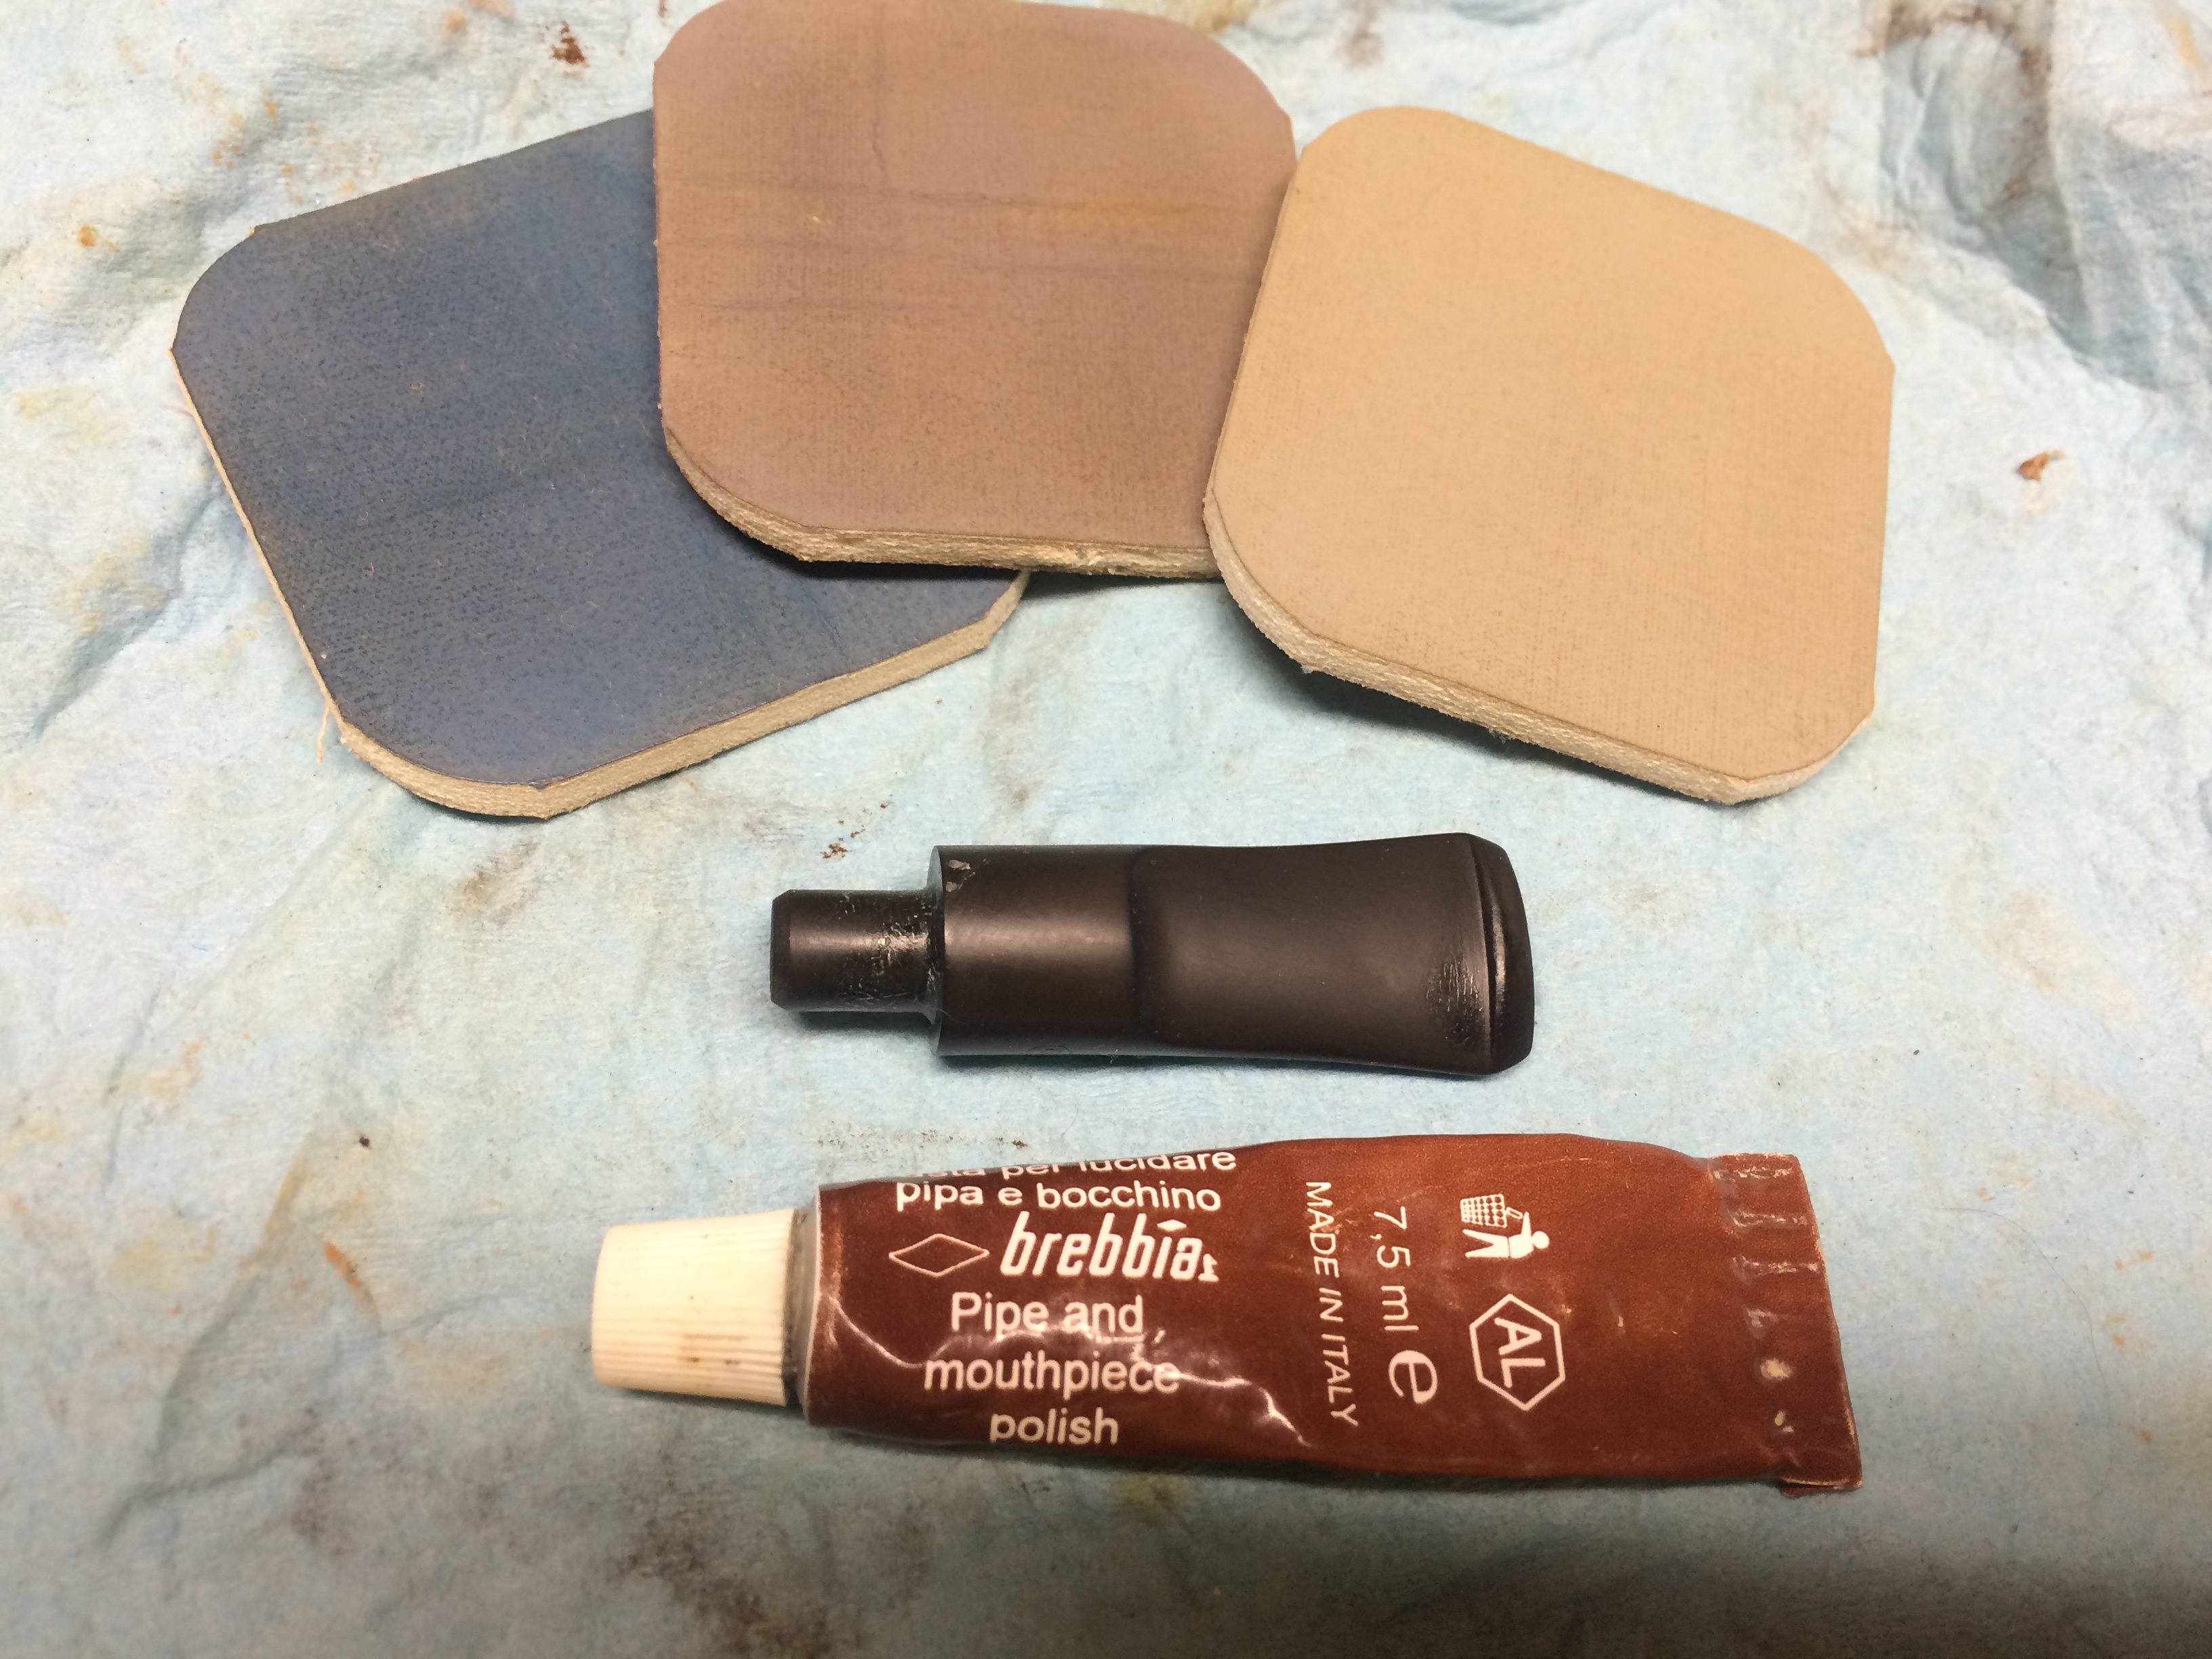
Now for the work. Using my drill I decided to sand down the new tenon to make it a press fit. I thought this would be the better way to go. I may have approached this wrong way round but still wanted to make sure that the tenon fit tight first. Then I could make it secure in the stem and adjust the length. I started with 120 grit sandpaper and moved up to 400 grit. Then with sanding sponges I began with 1200 grit and wet sanded through 4000 grit. I moved along up to 12000 grit to make it smooth.

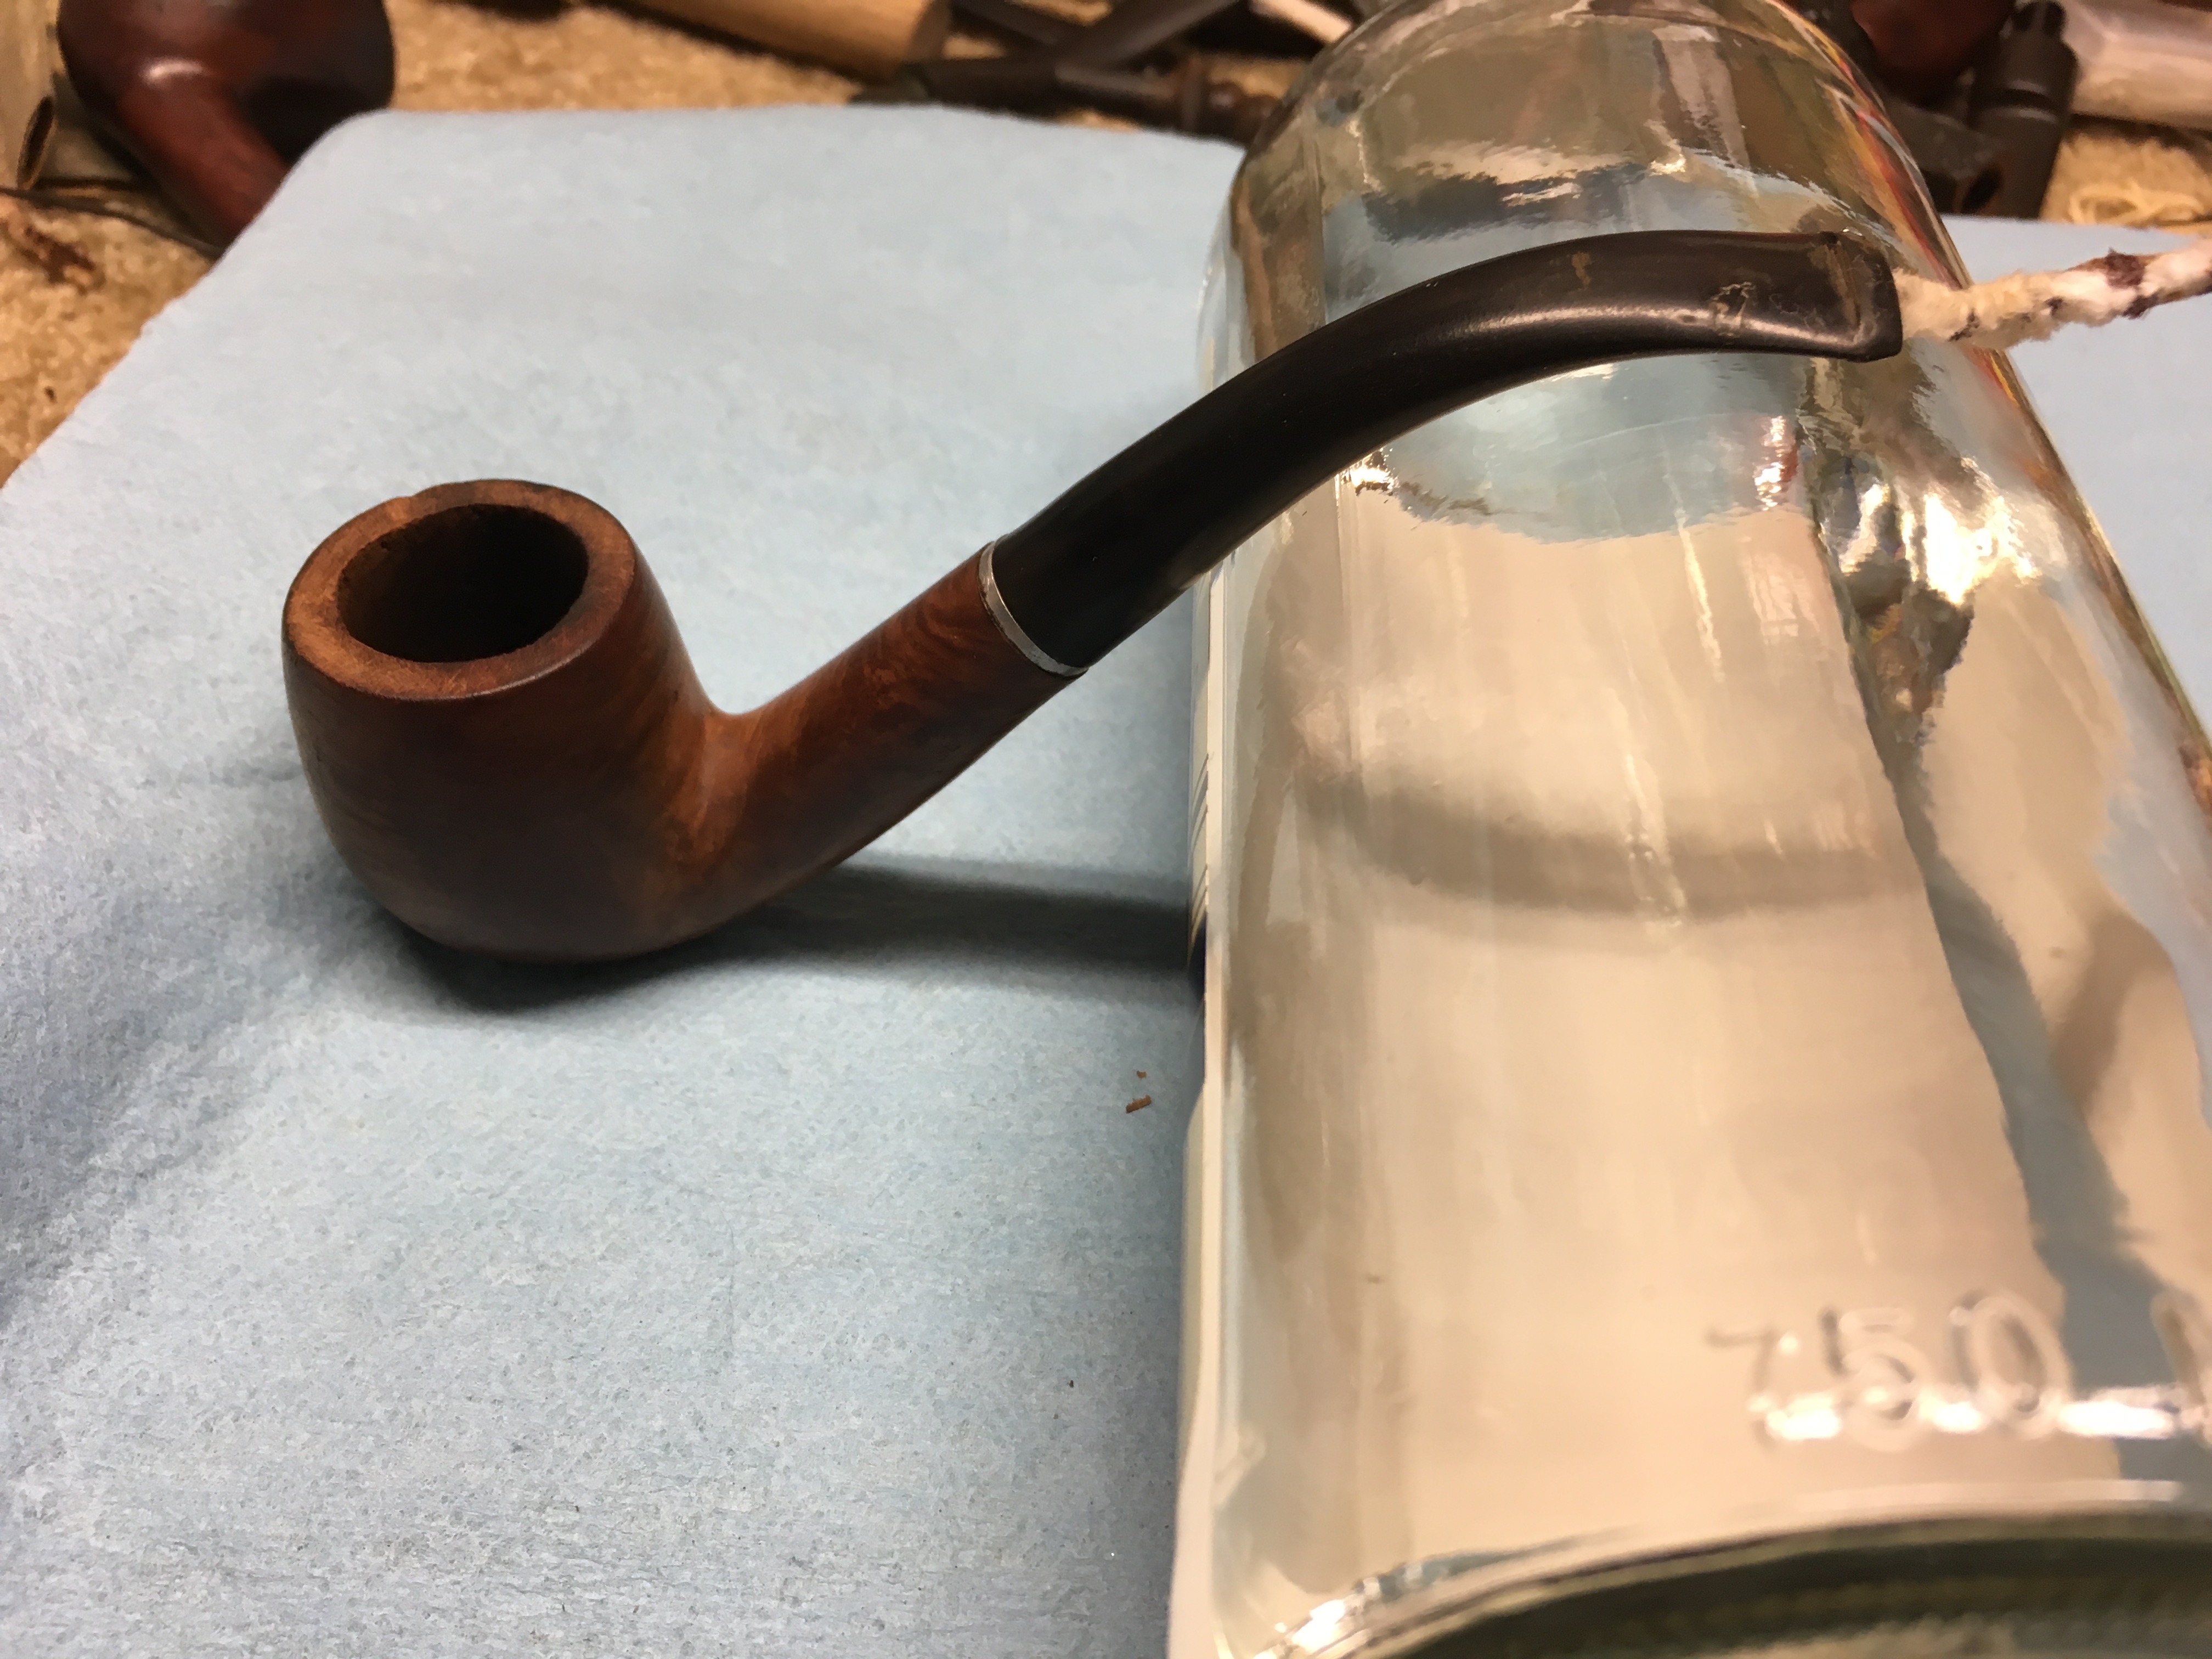
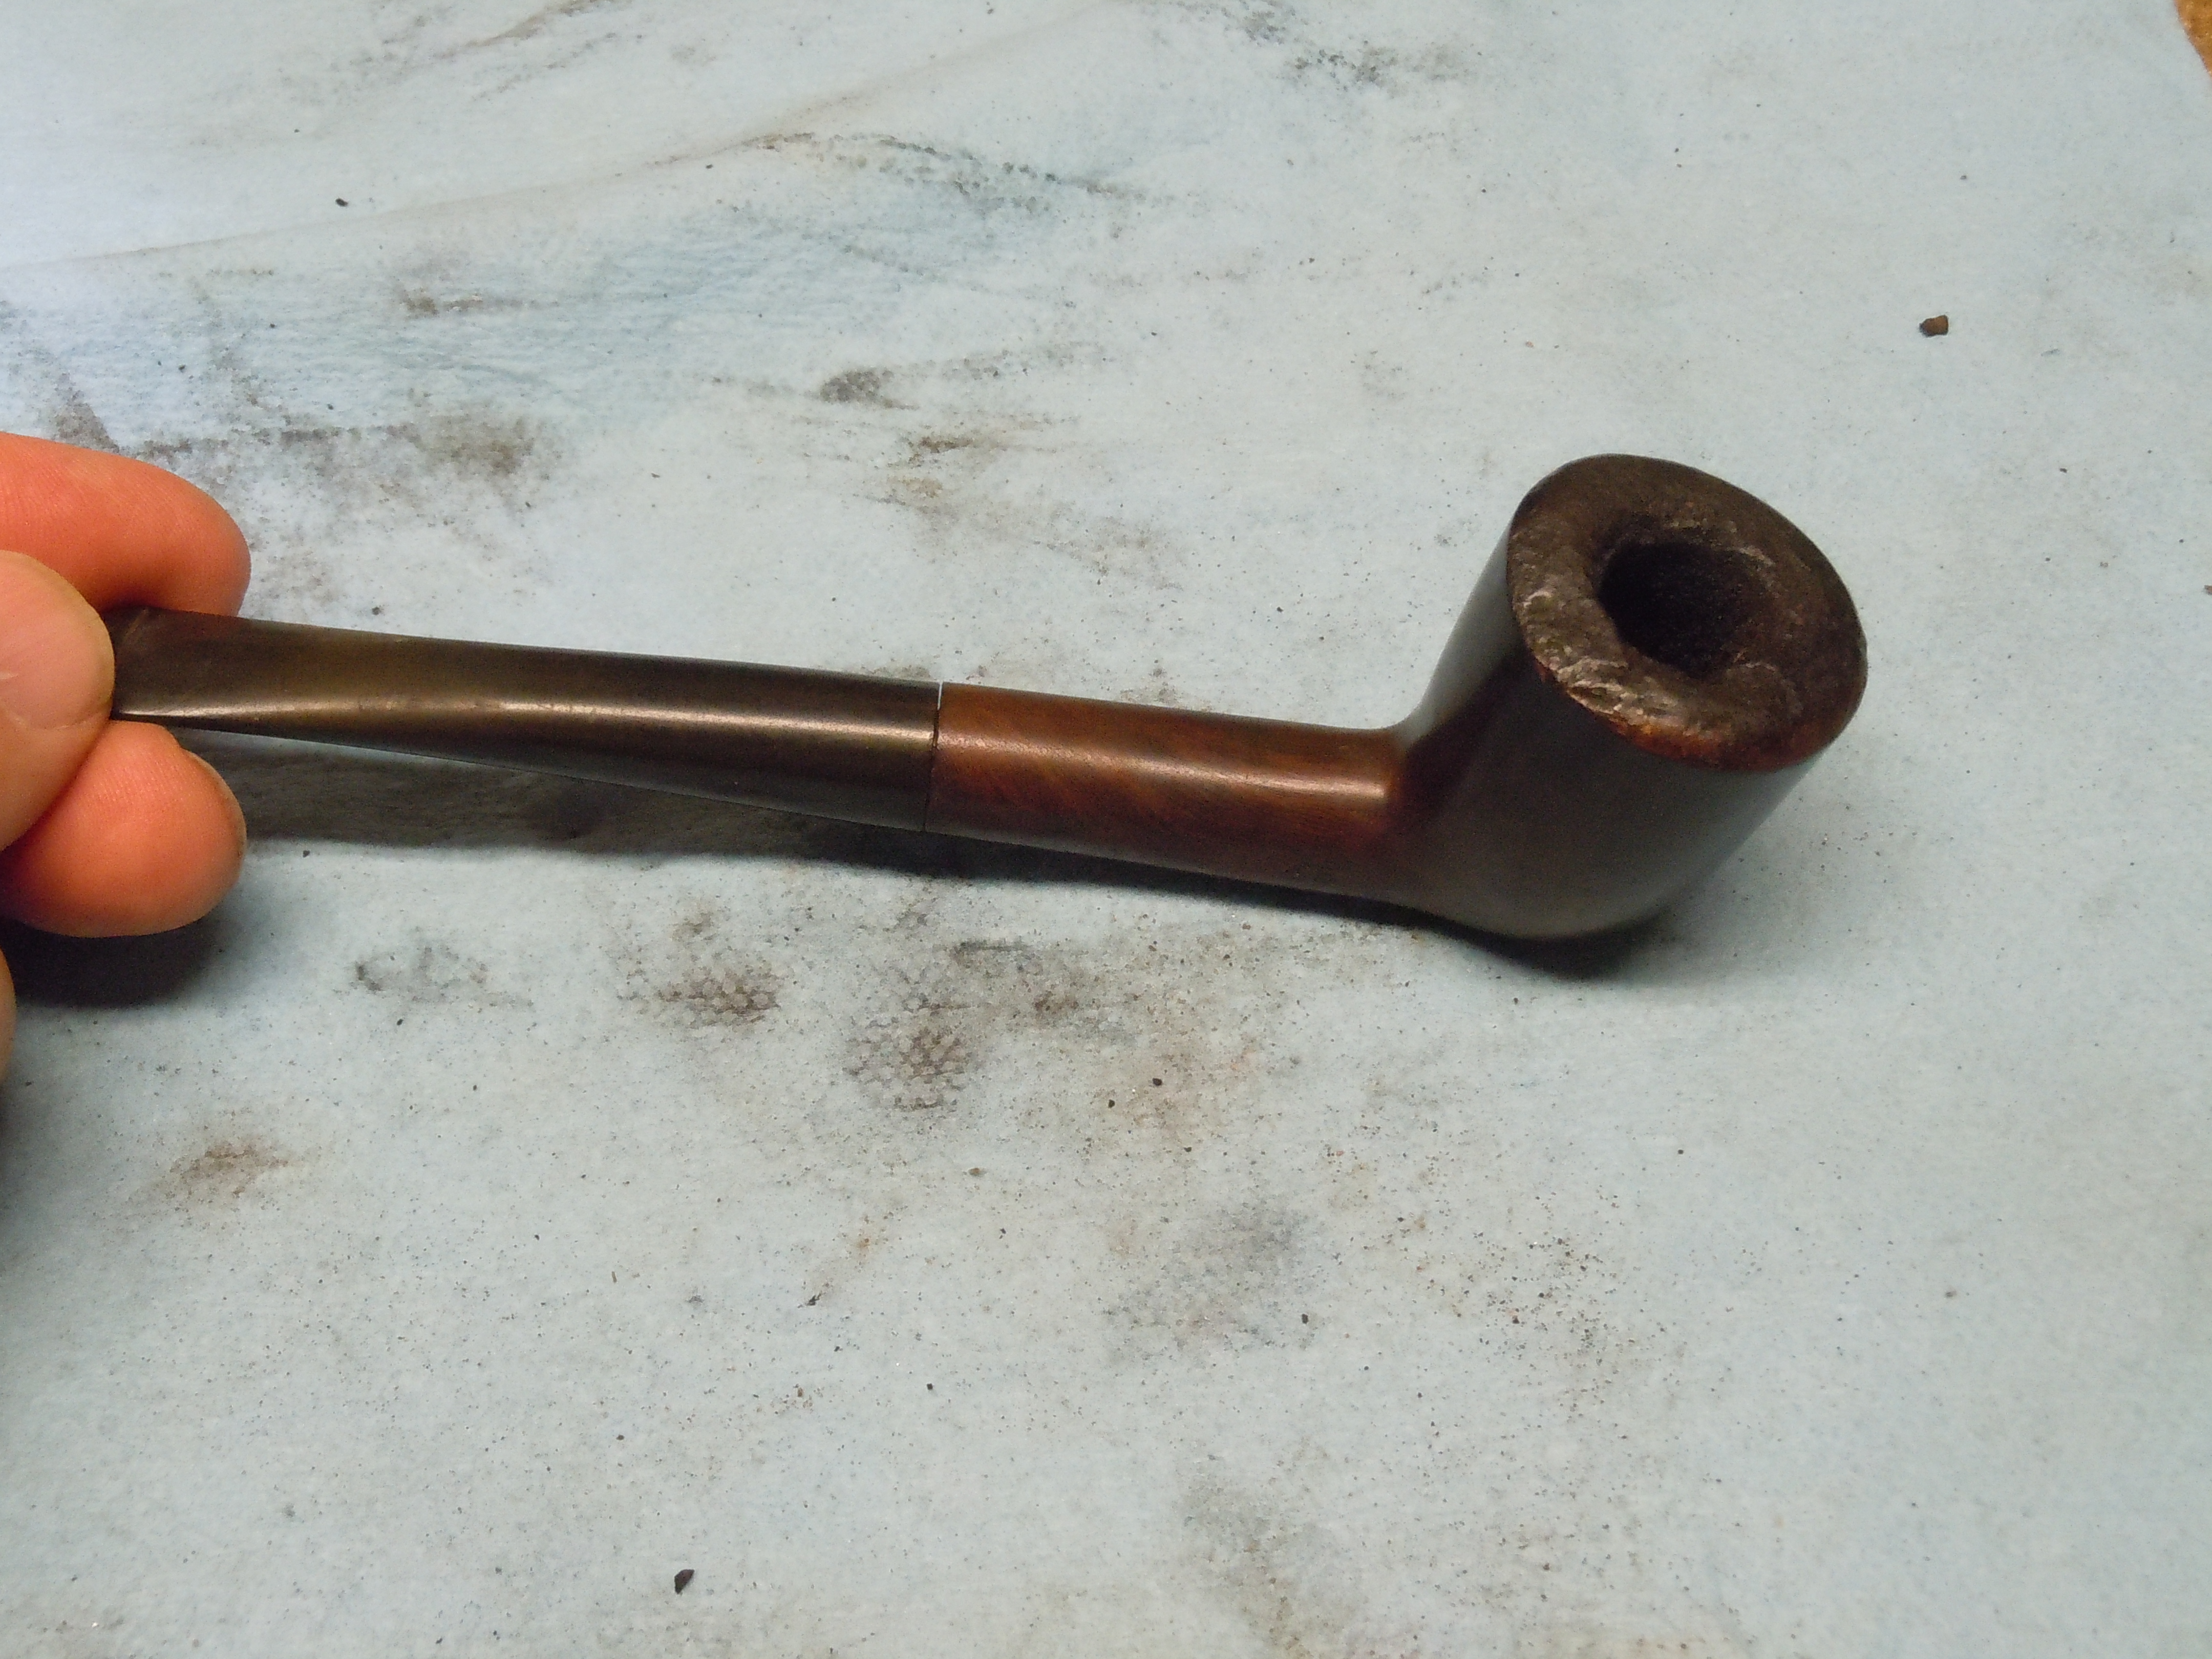
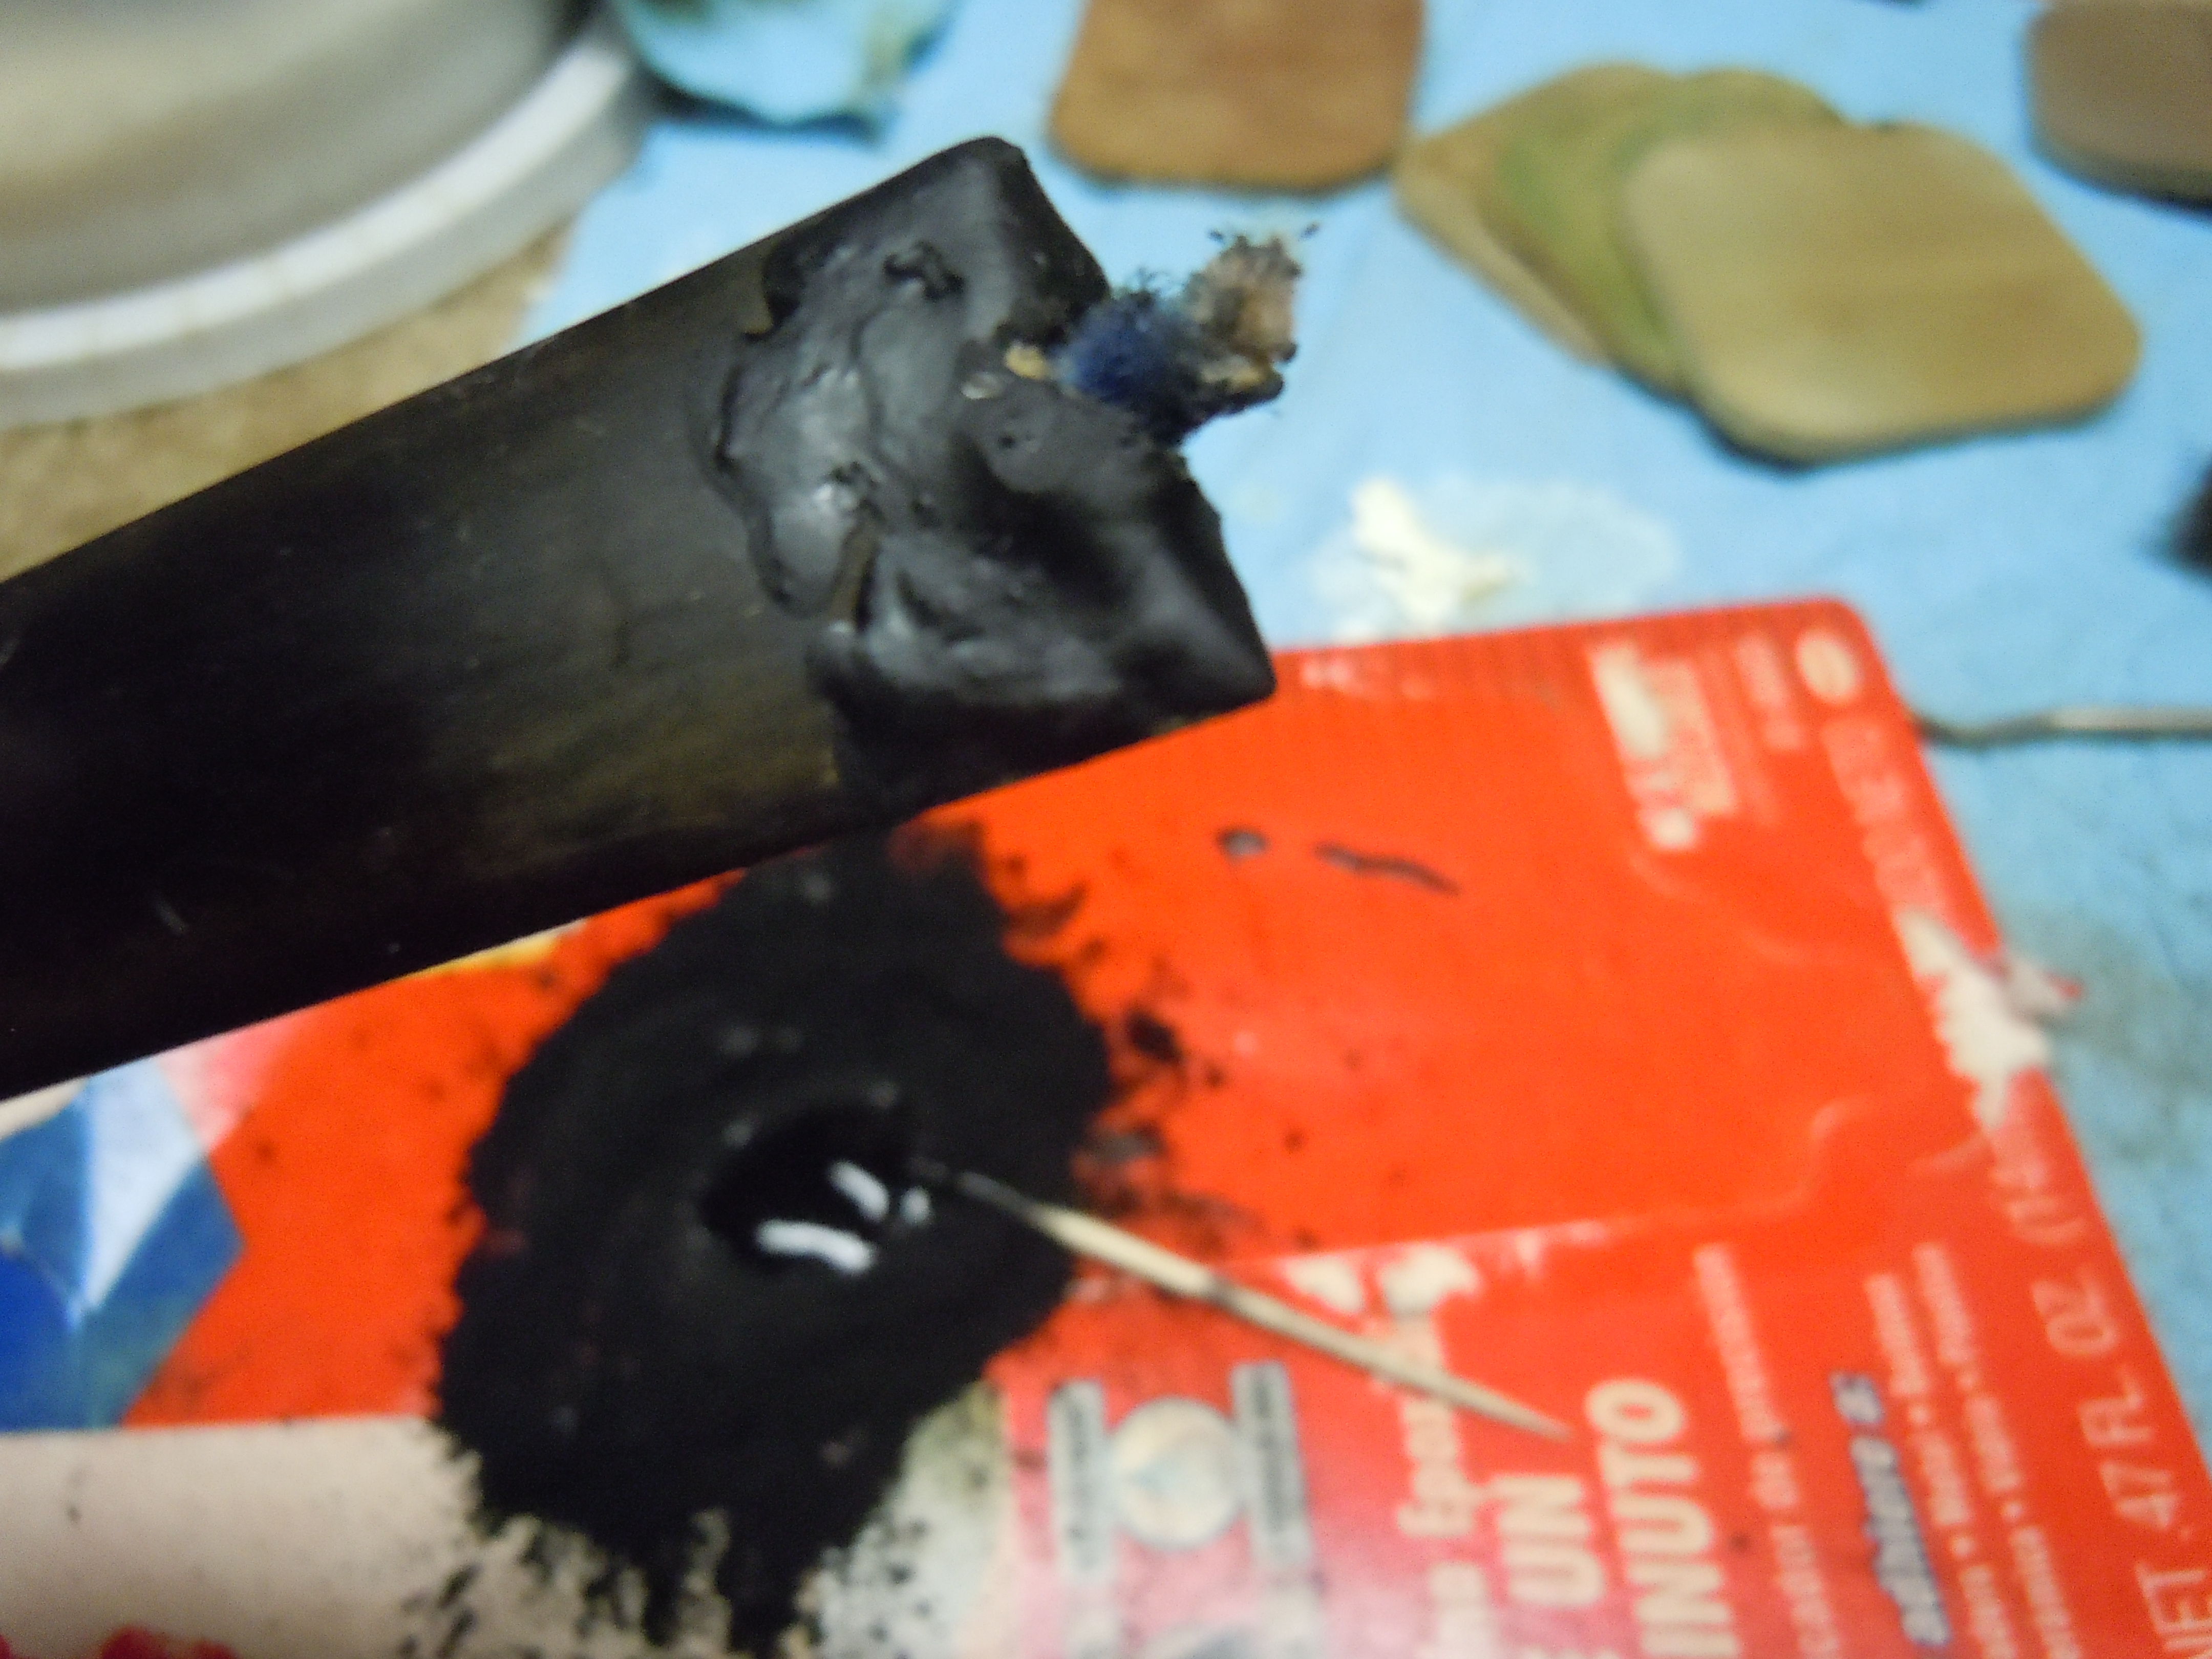
To check the fit I made sure it was snug but not too tight. Once I was comfortable with the fit in the shank I moved on to the stem. Holding it in clamps and sandpaper I made sure it was straight. I then inserted a pipe cleaner into the stem through the tenon and allowed it to stick out a little. This was done so that the airway remained clear. A good amount of the black medium super glue was applied, coating the base of the tenon and inserted into the stem. Twisting the pipe cleaner to make sure it was not bound I set up the clamp rig. I used the sandpaper to hold the stem without having to get it marred by the clamp.

One thought that came to mind a little too late was to place some vaseline on the pipe cleaner to make sure that it didn’t glue the cleaner to the inside of the repair. Luckily it stayed loose and free. I set it aside to setup overnight.

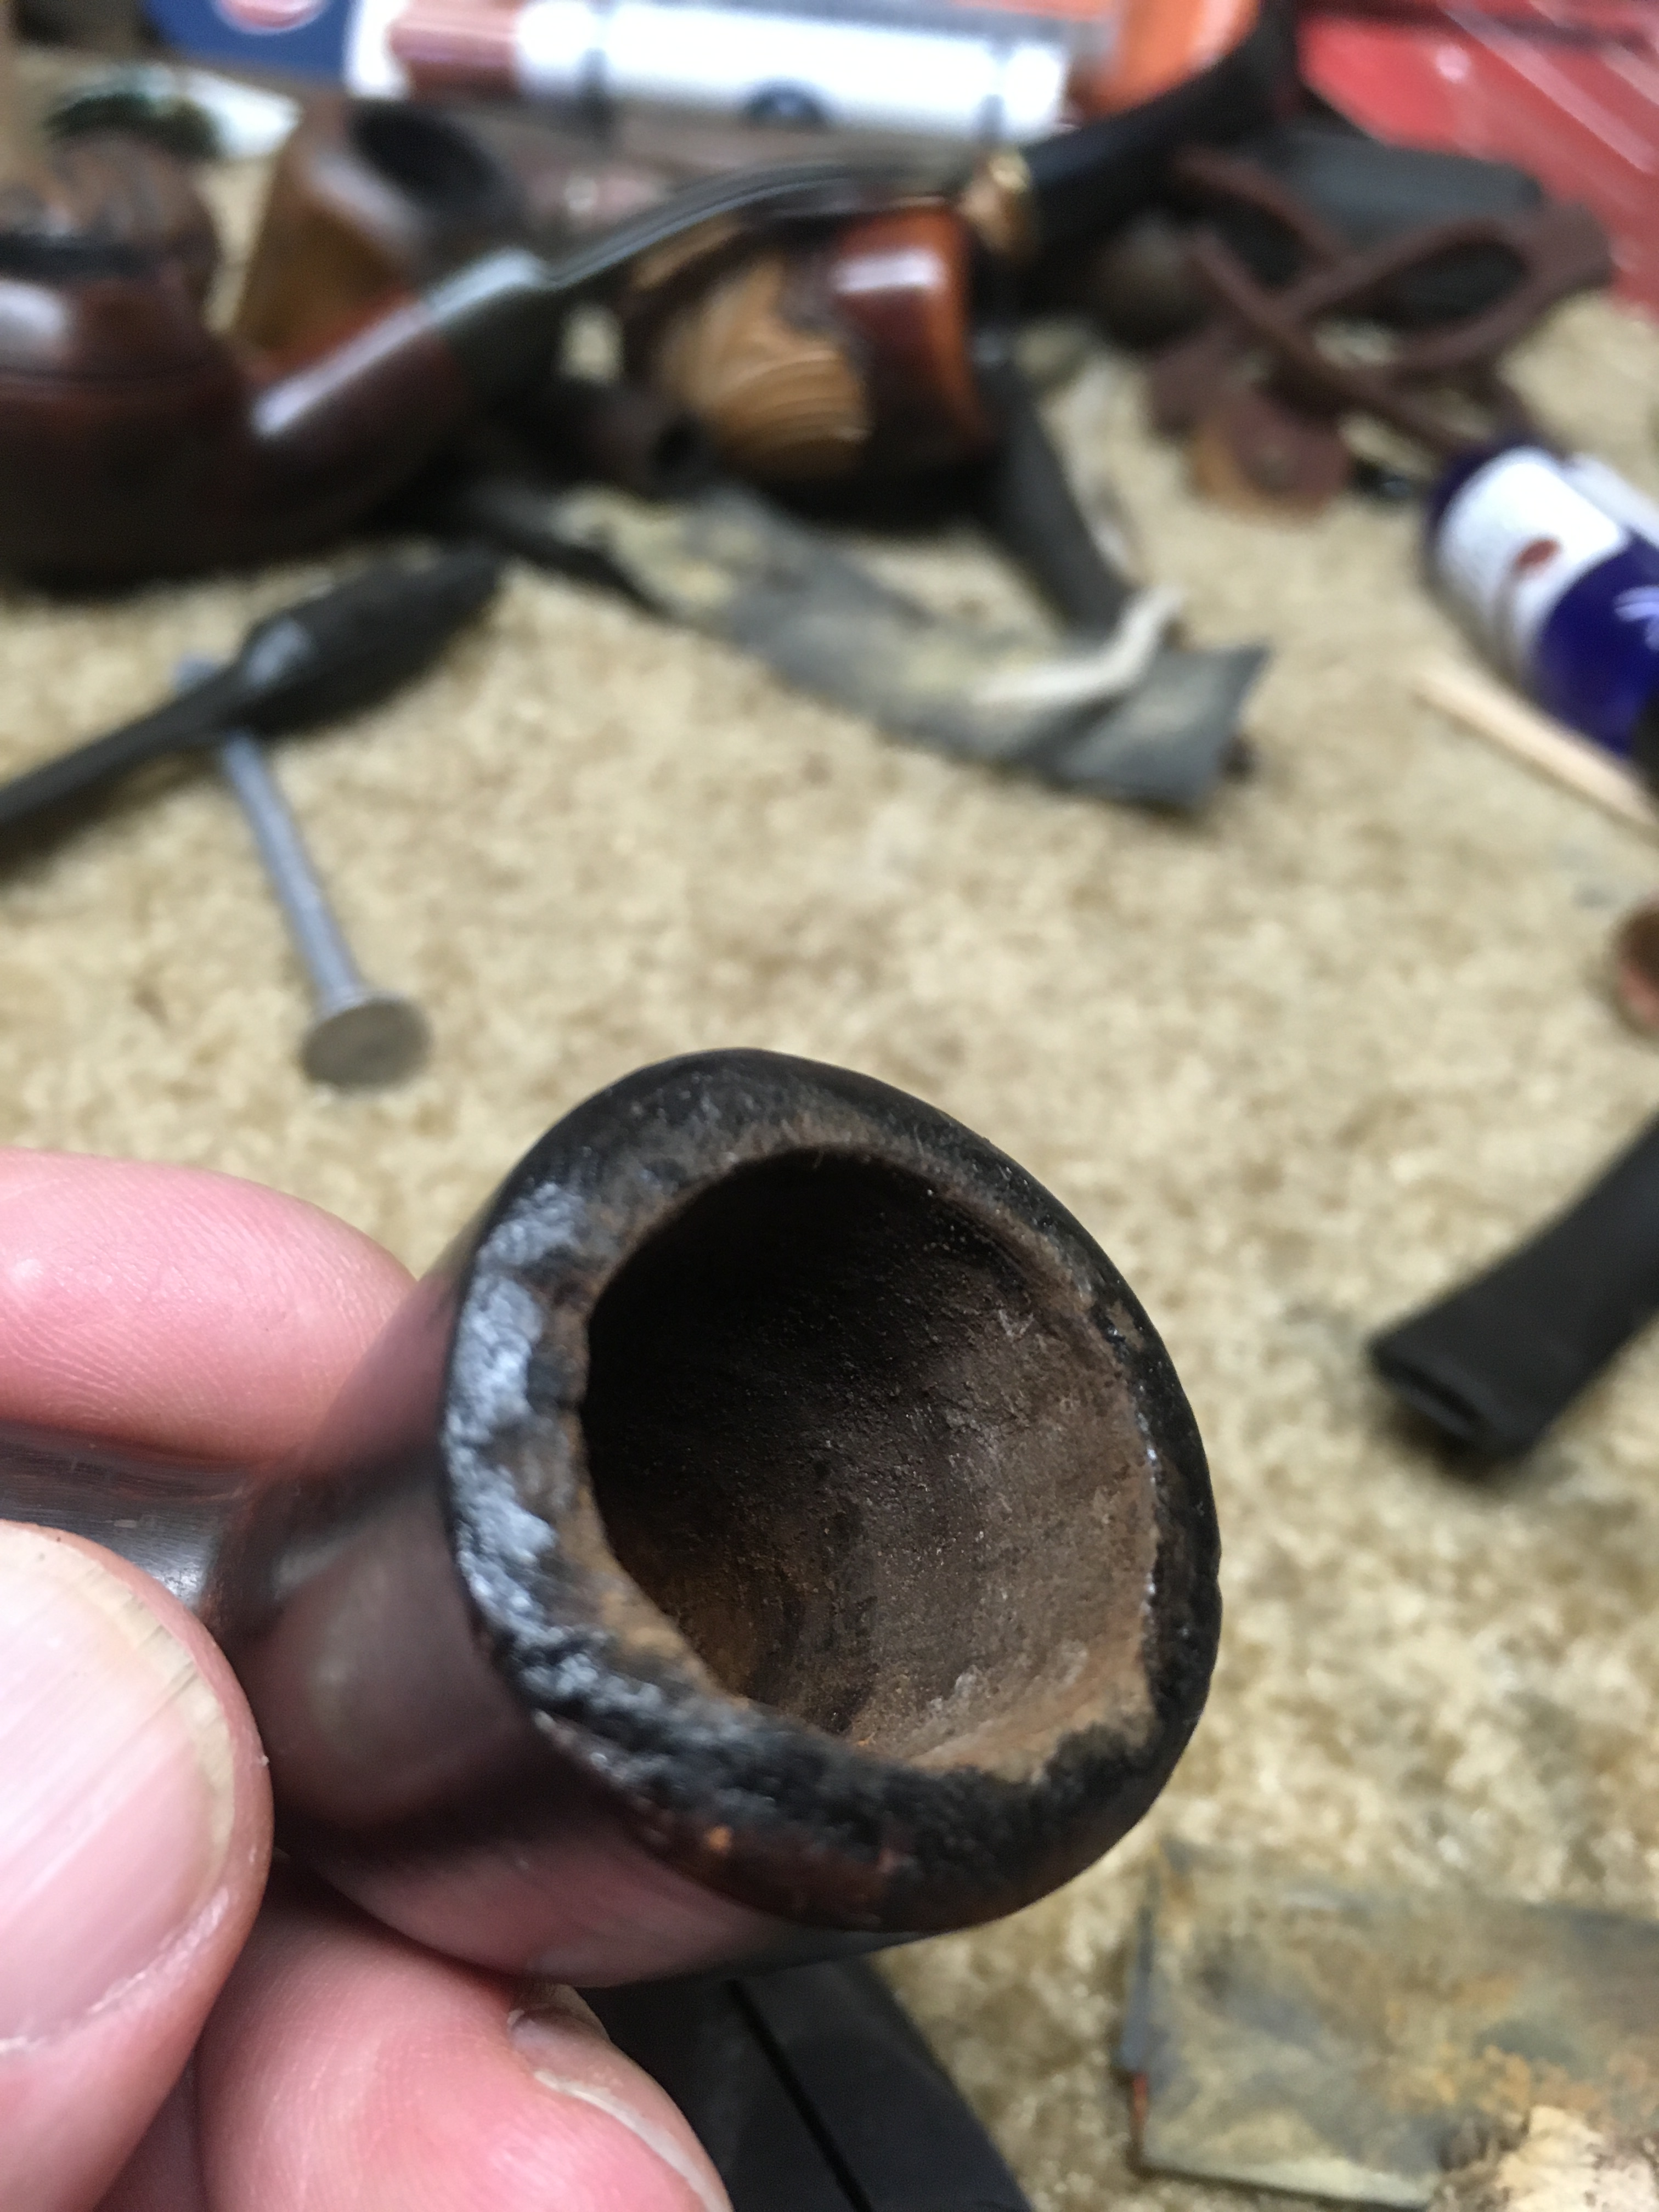
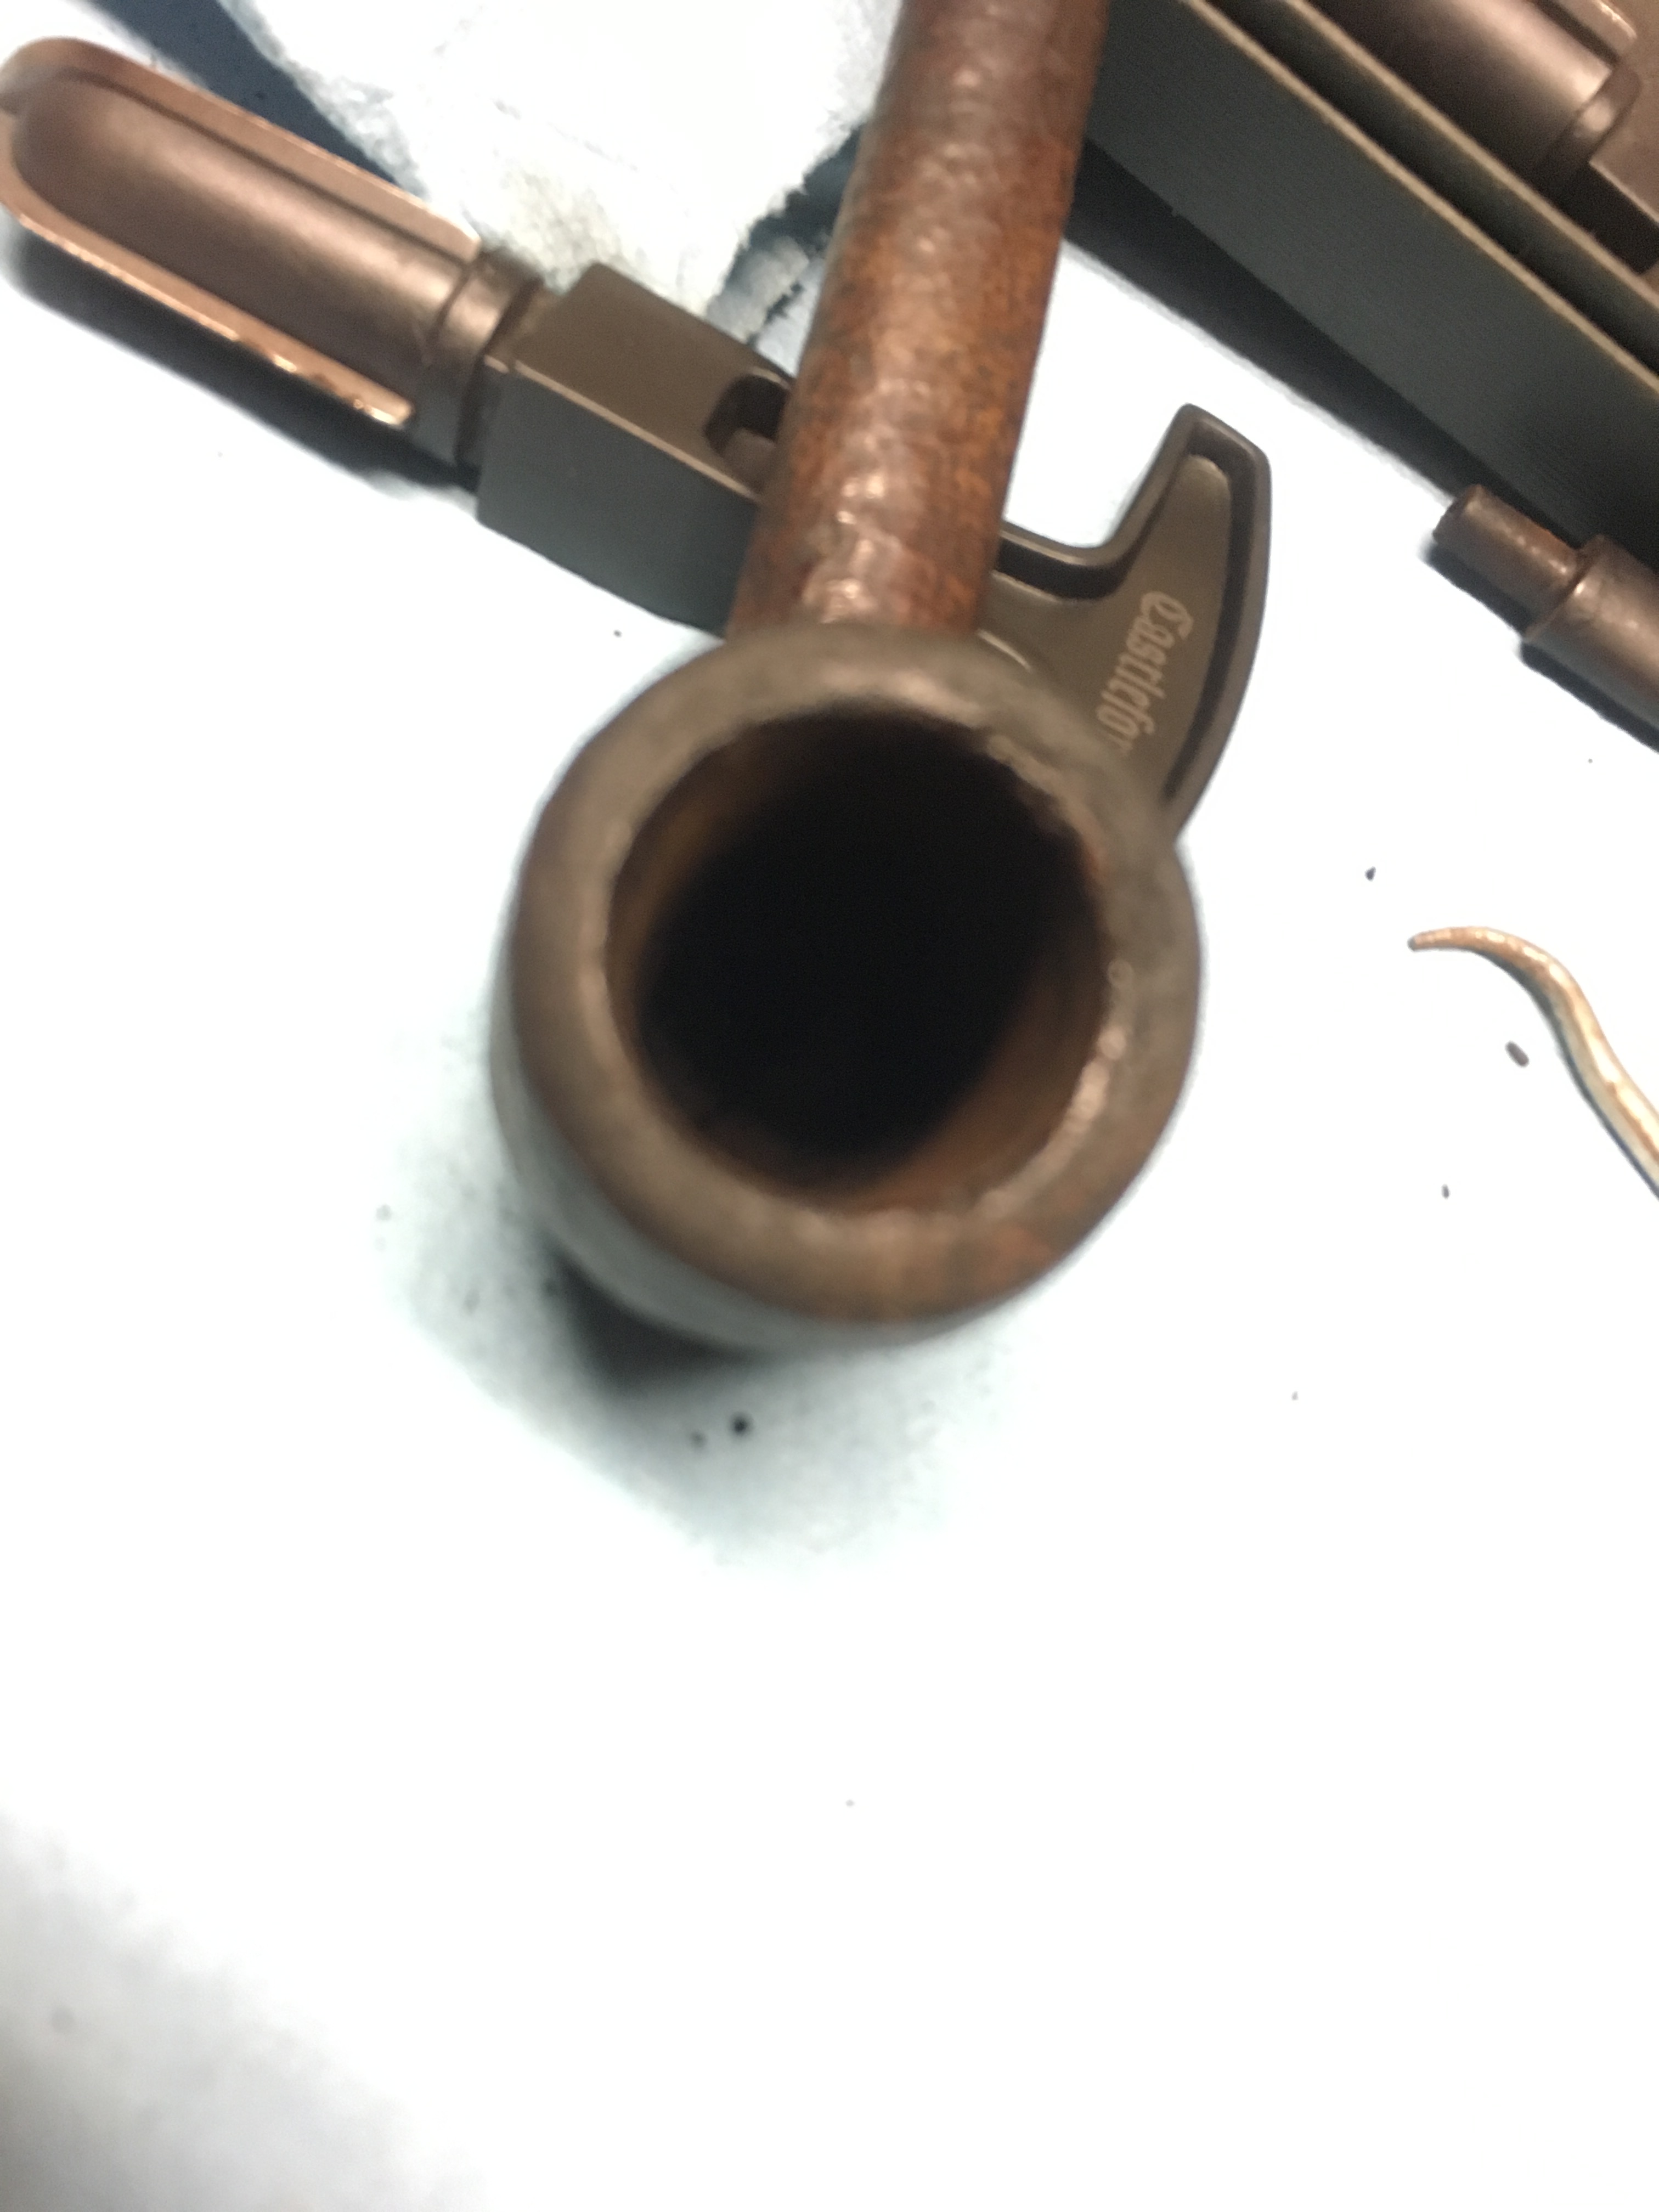
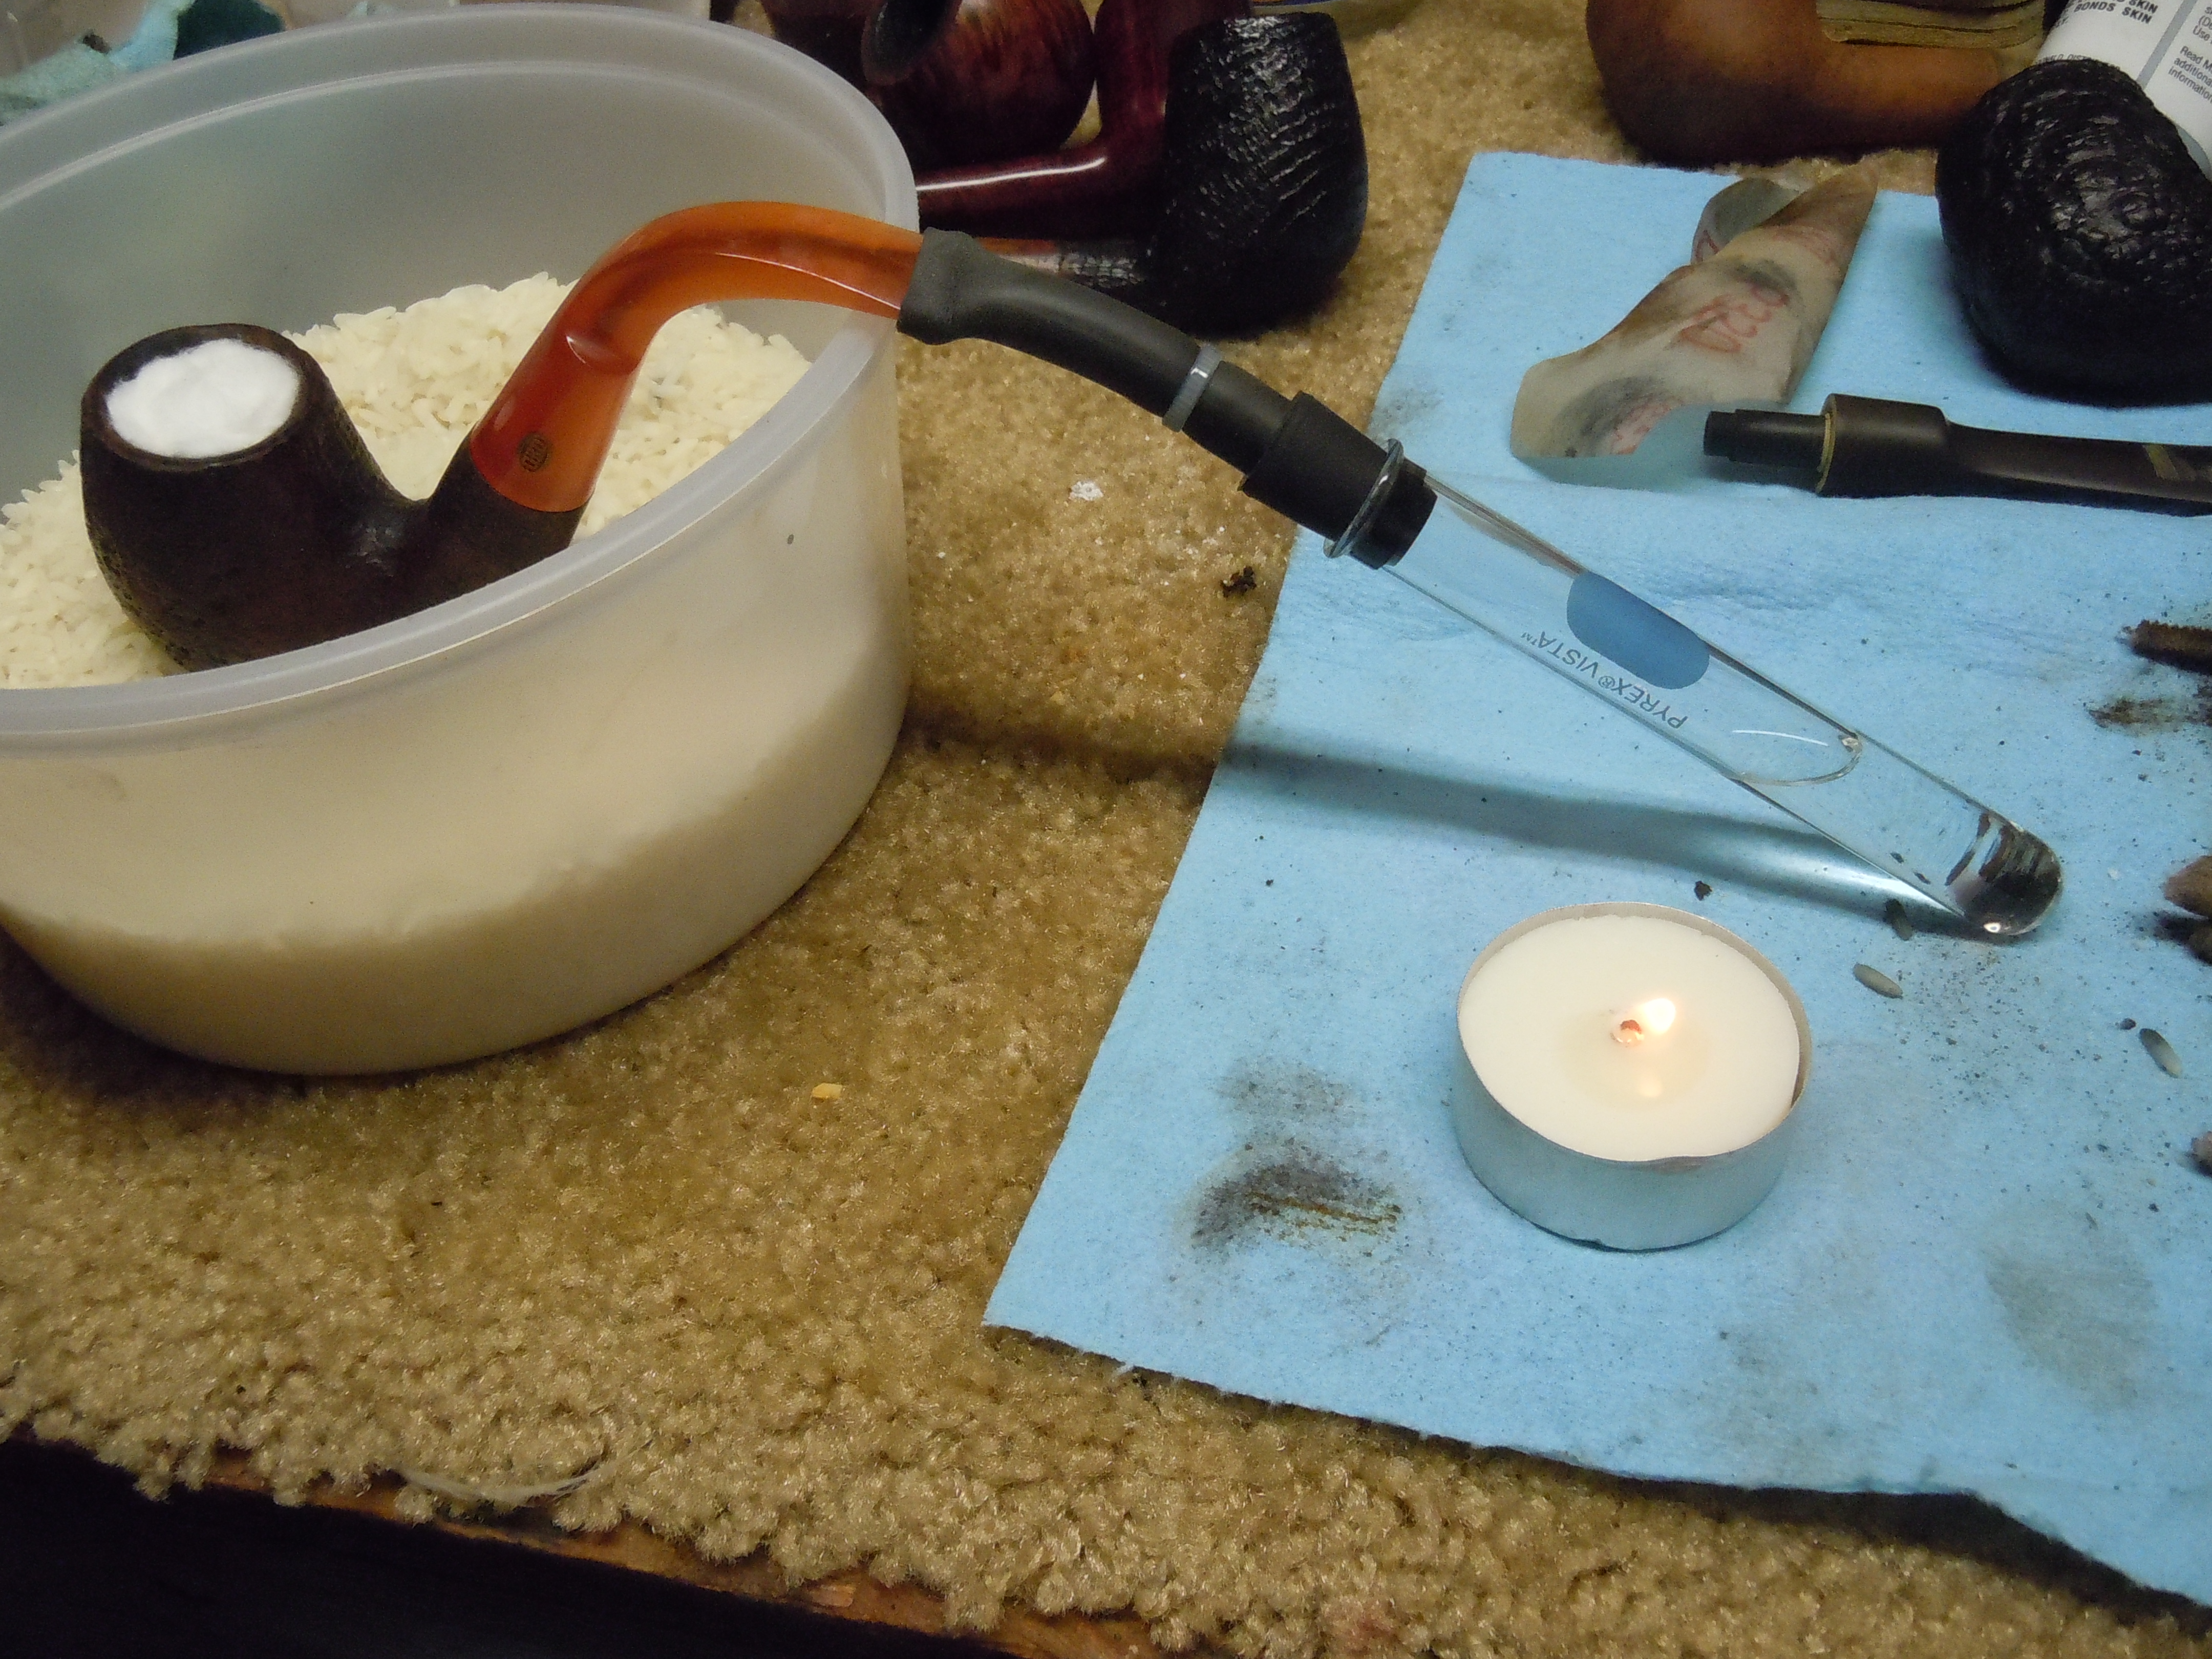
My apologies for the quality of the pictures. I’ve moved and still don’t have my workbench set up yet. The mess of pipes in the background was a batch of pipes that were in need of cleaning.

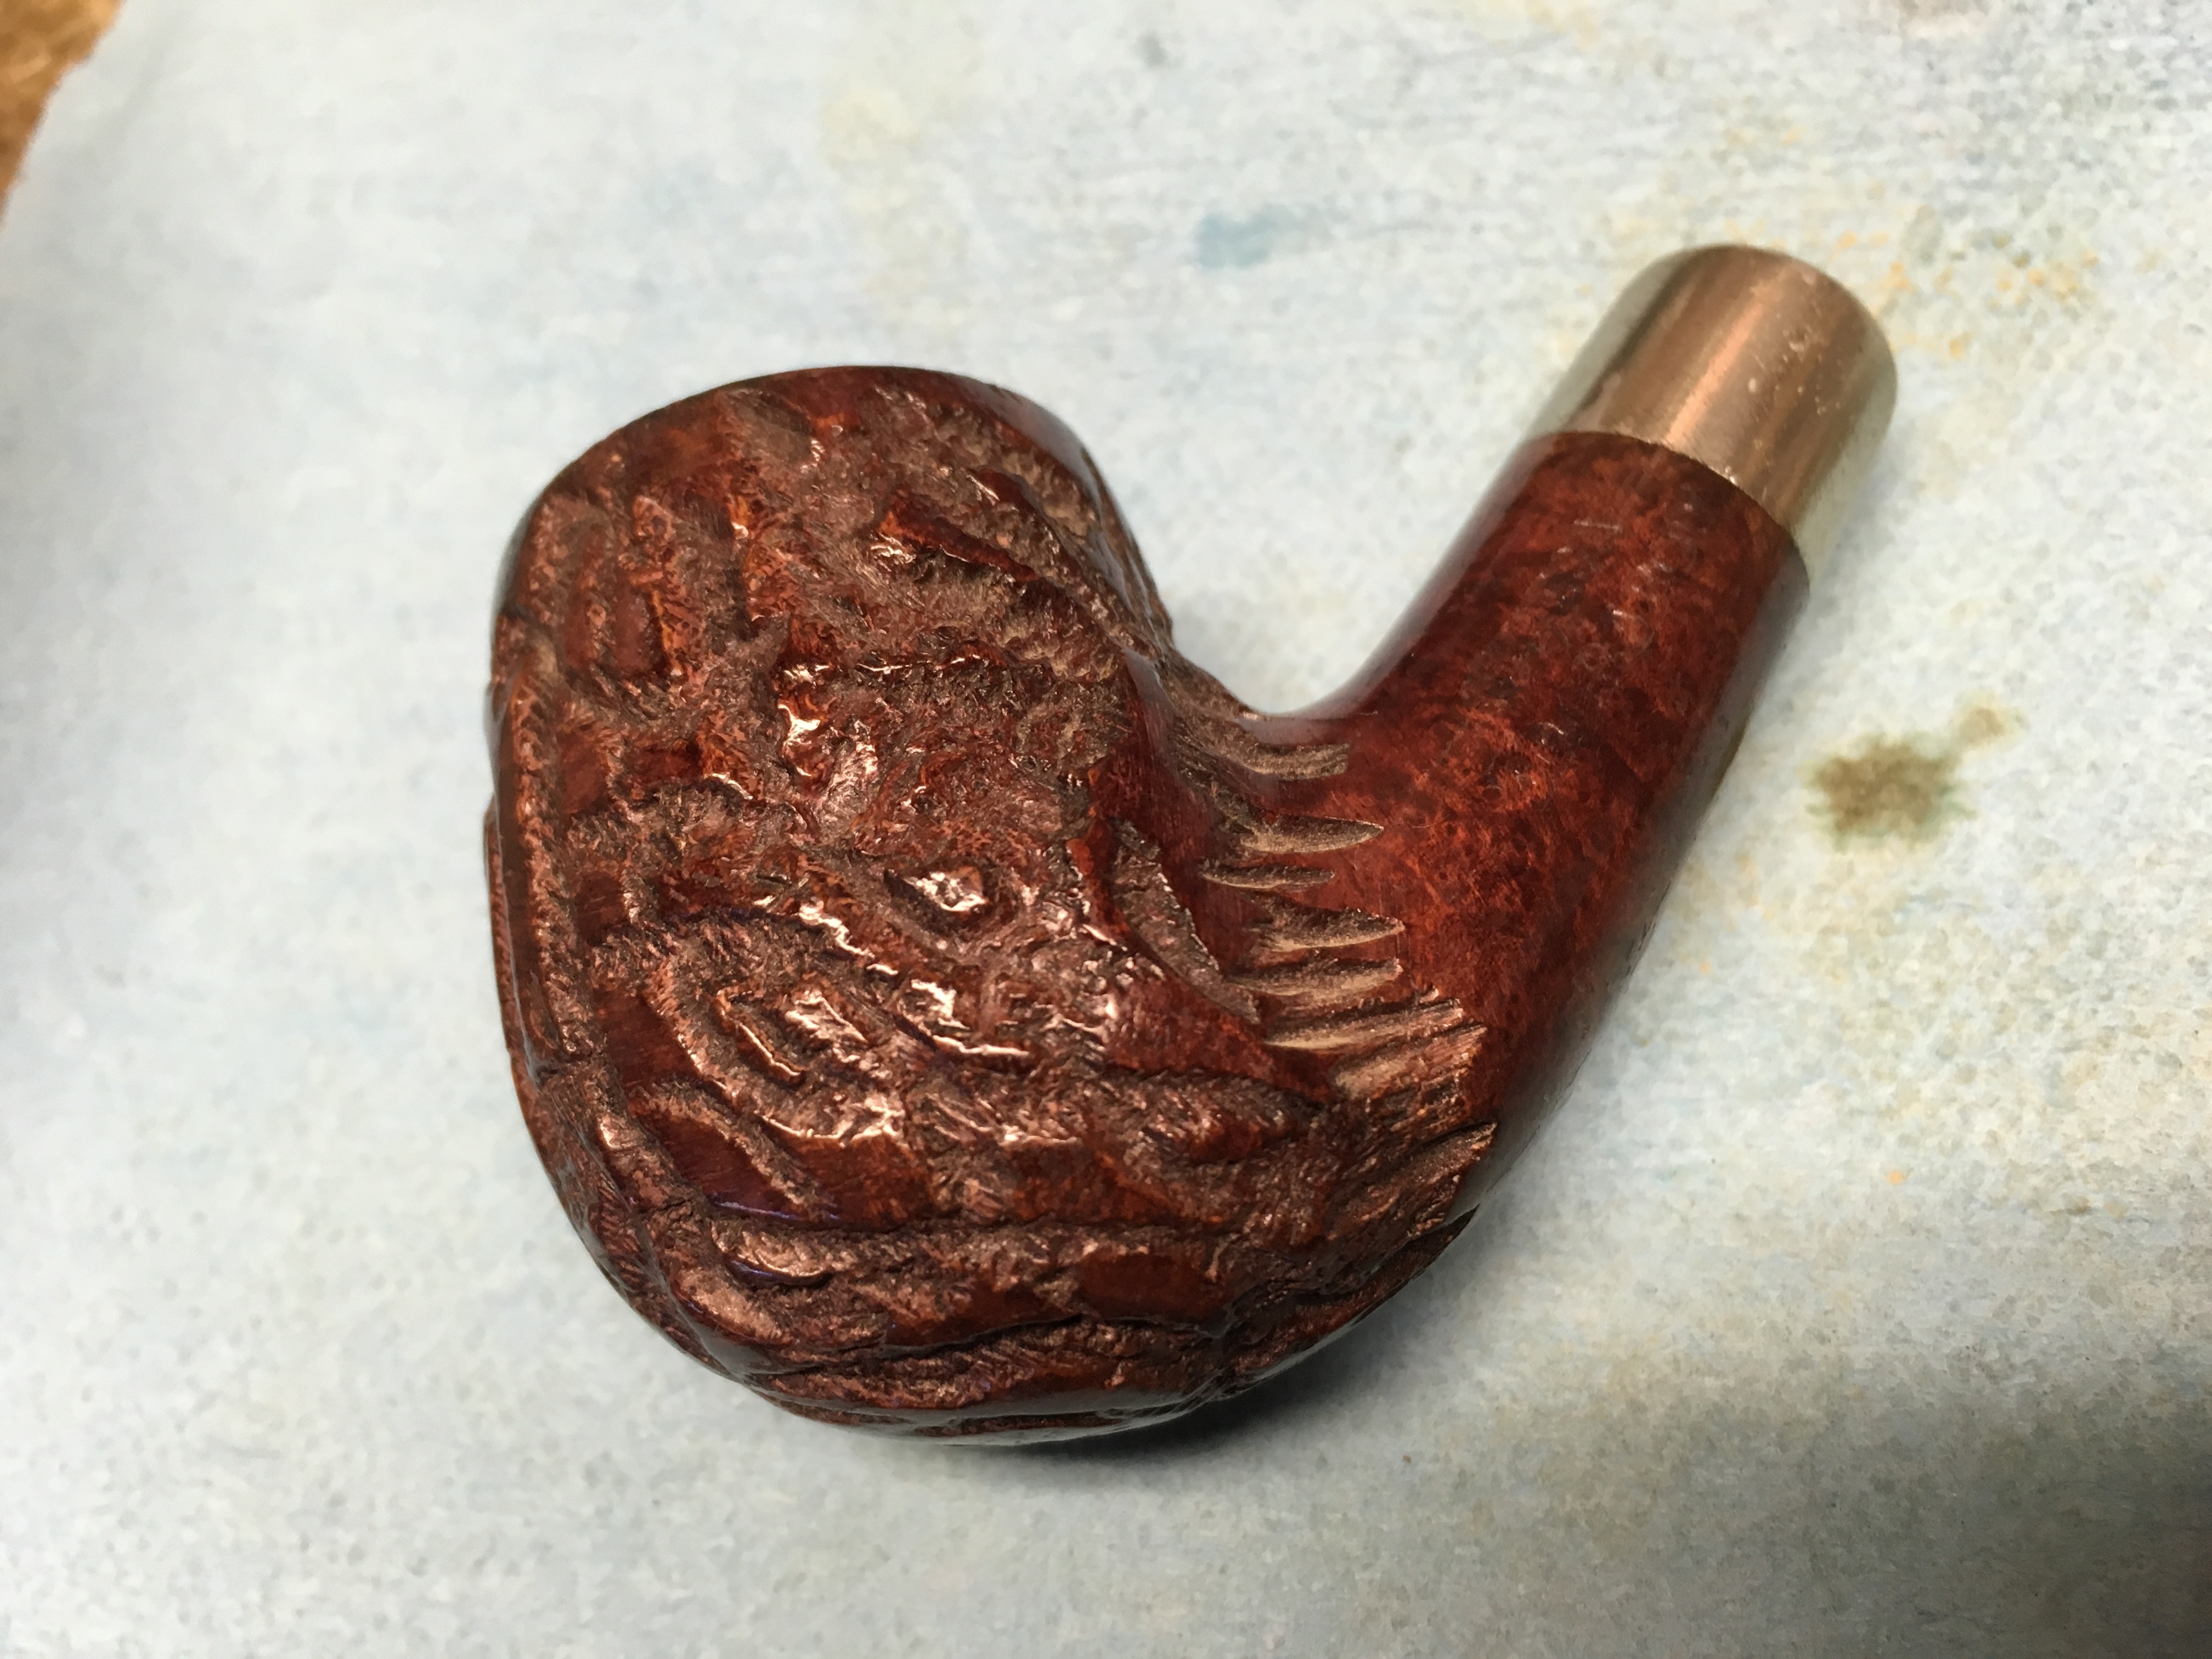
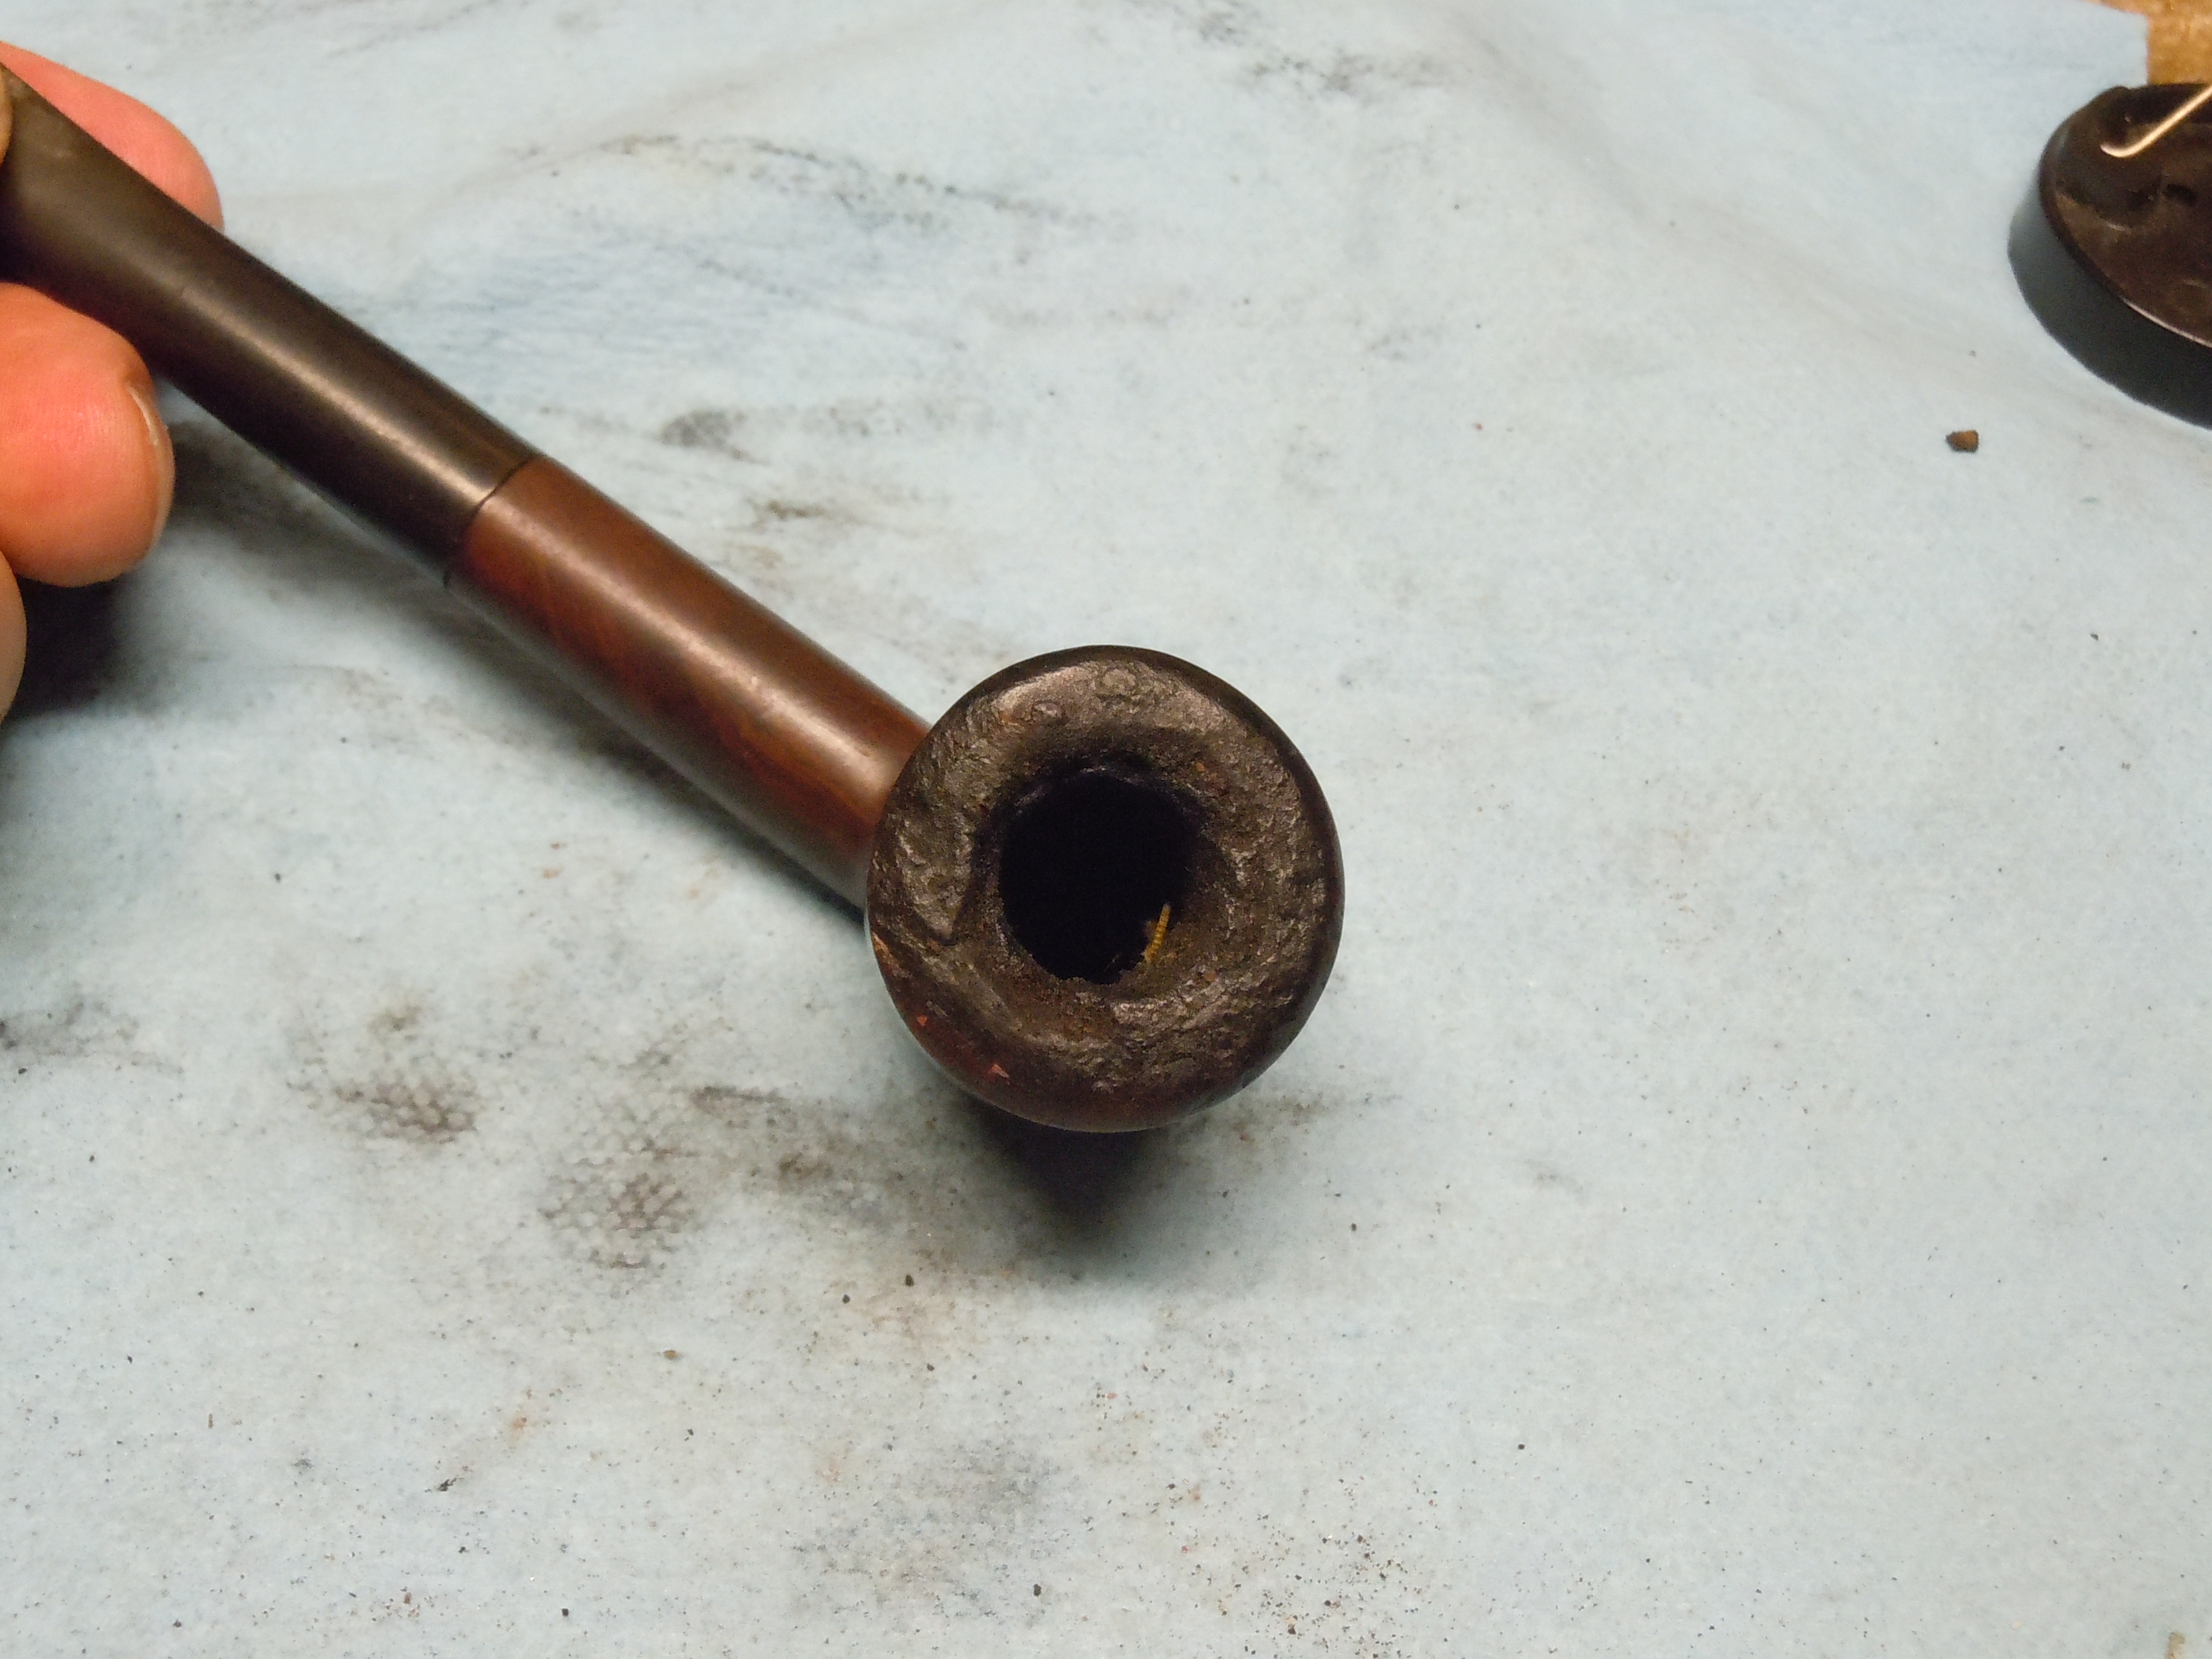
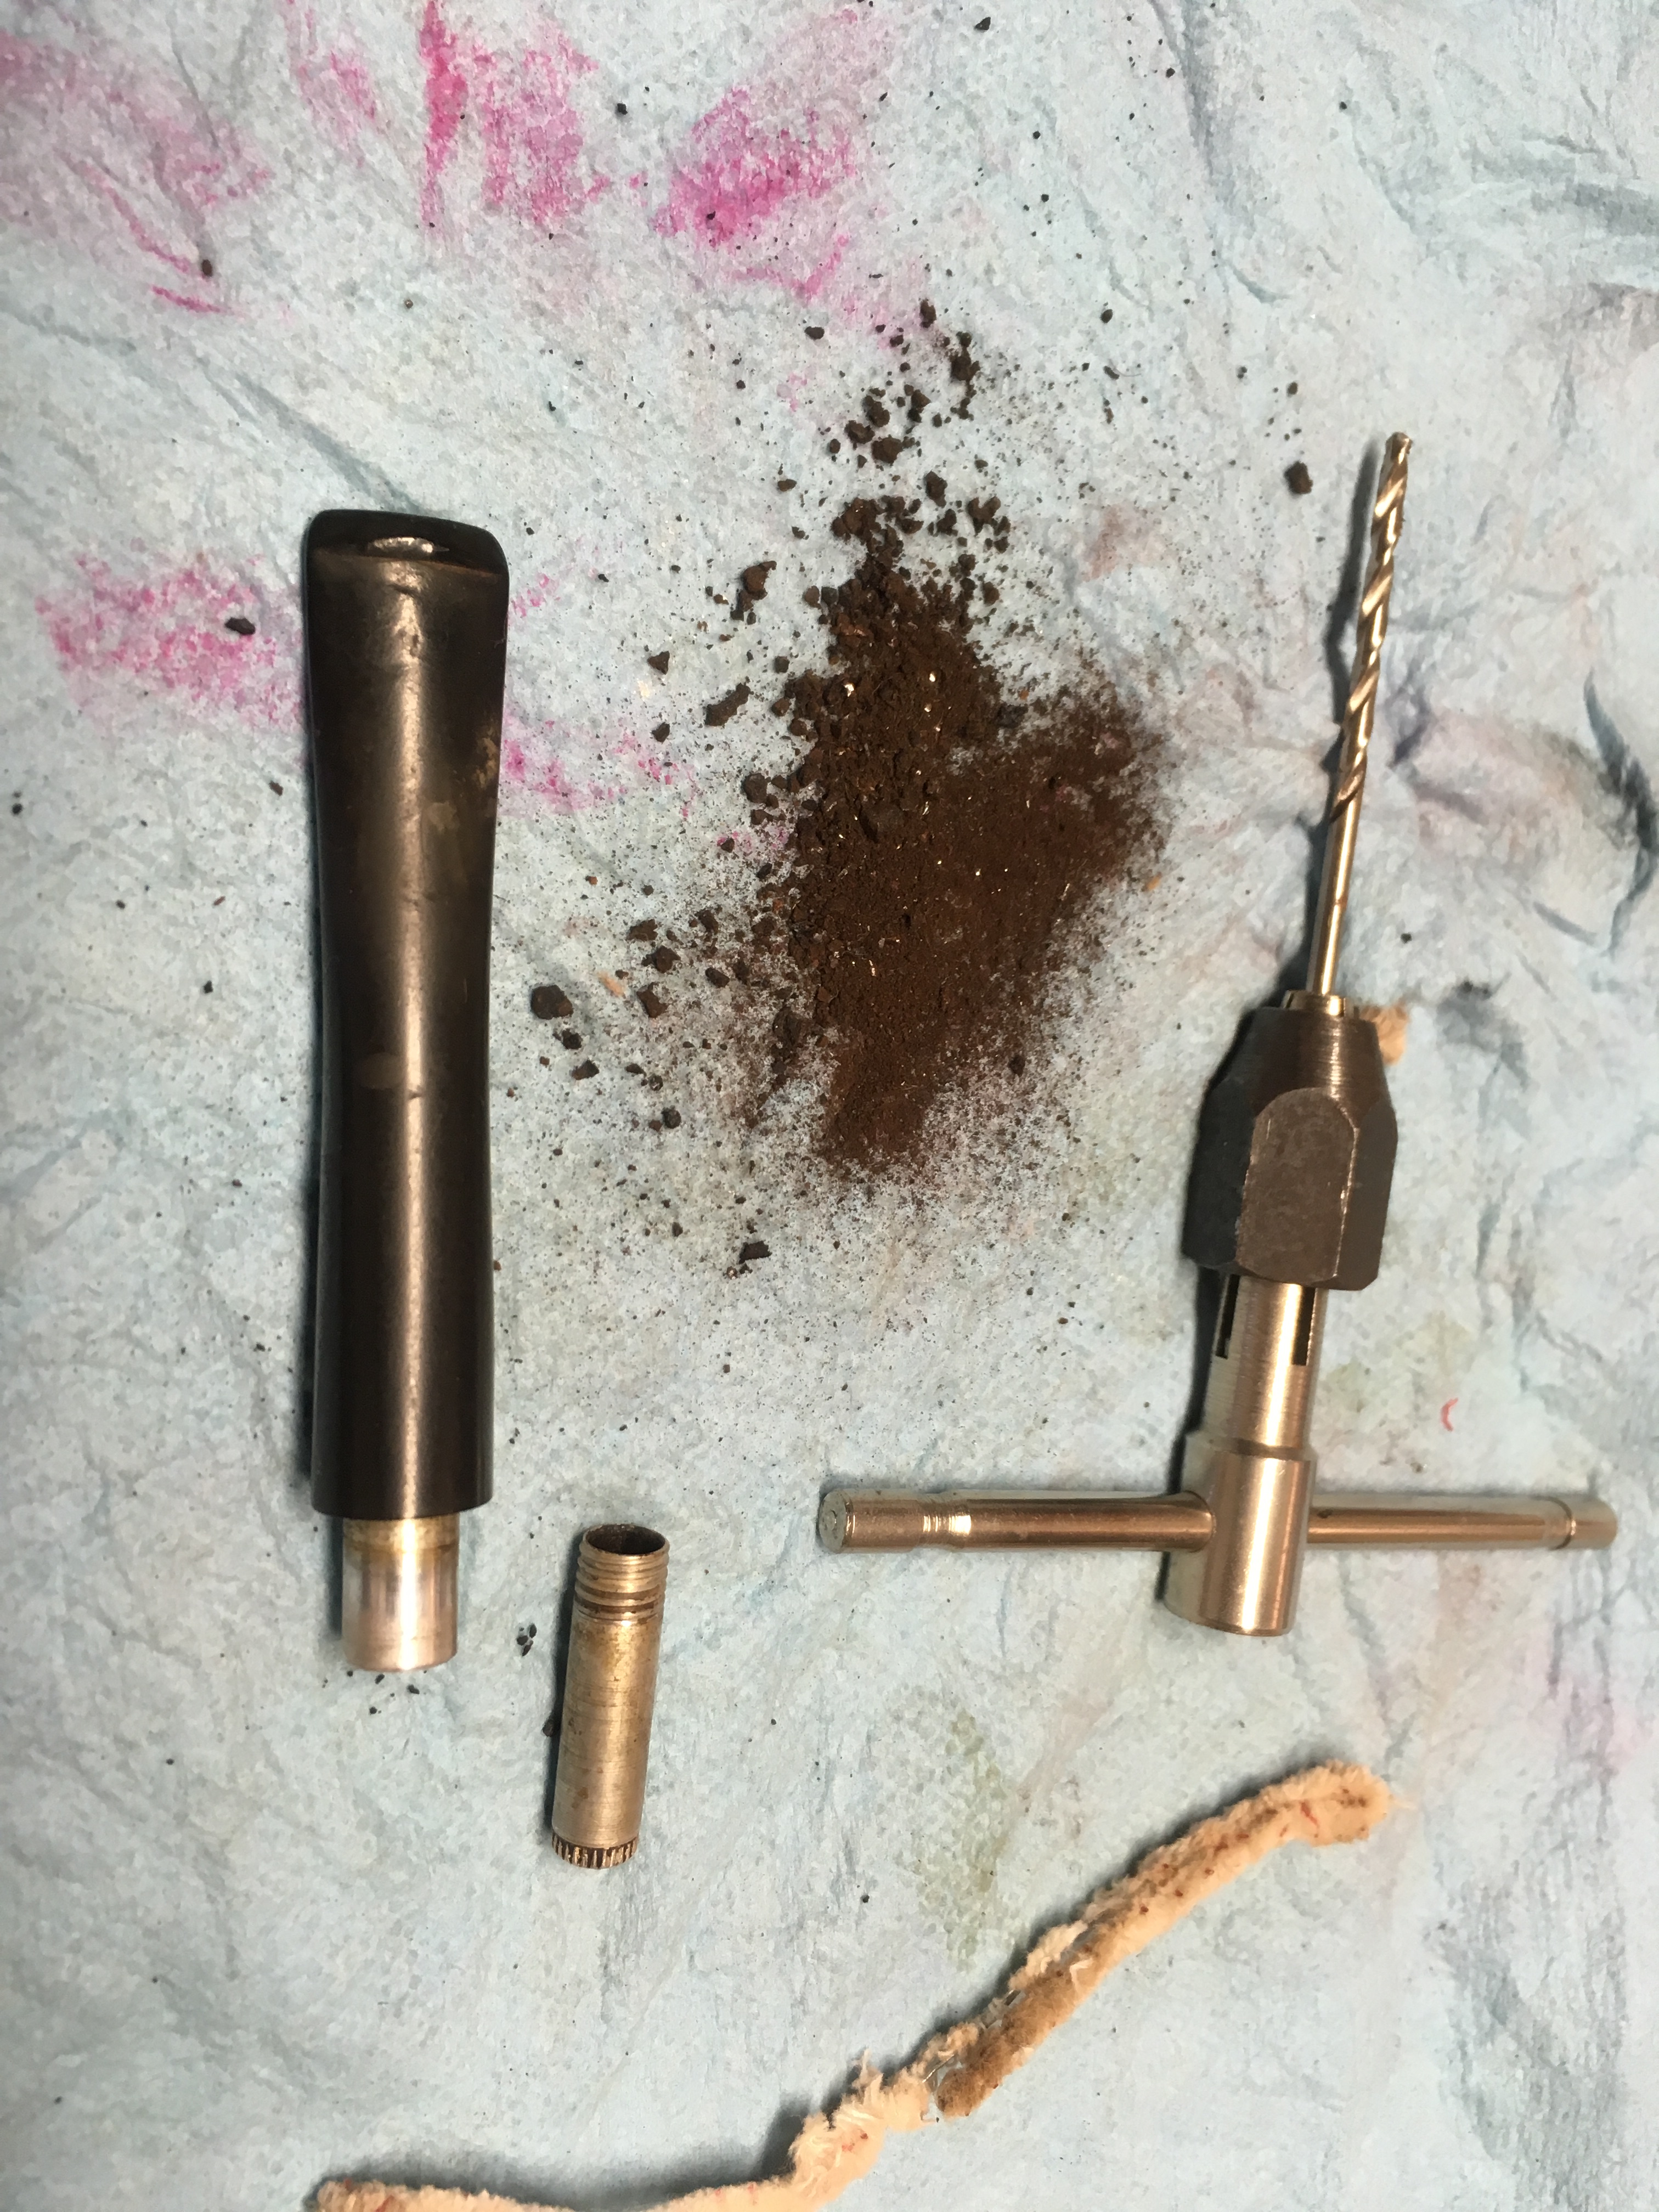
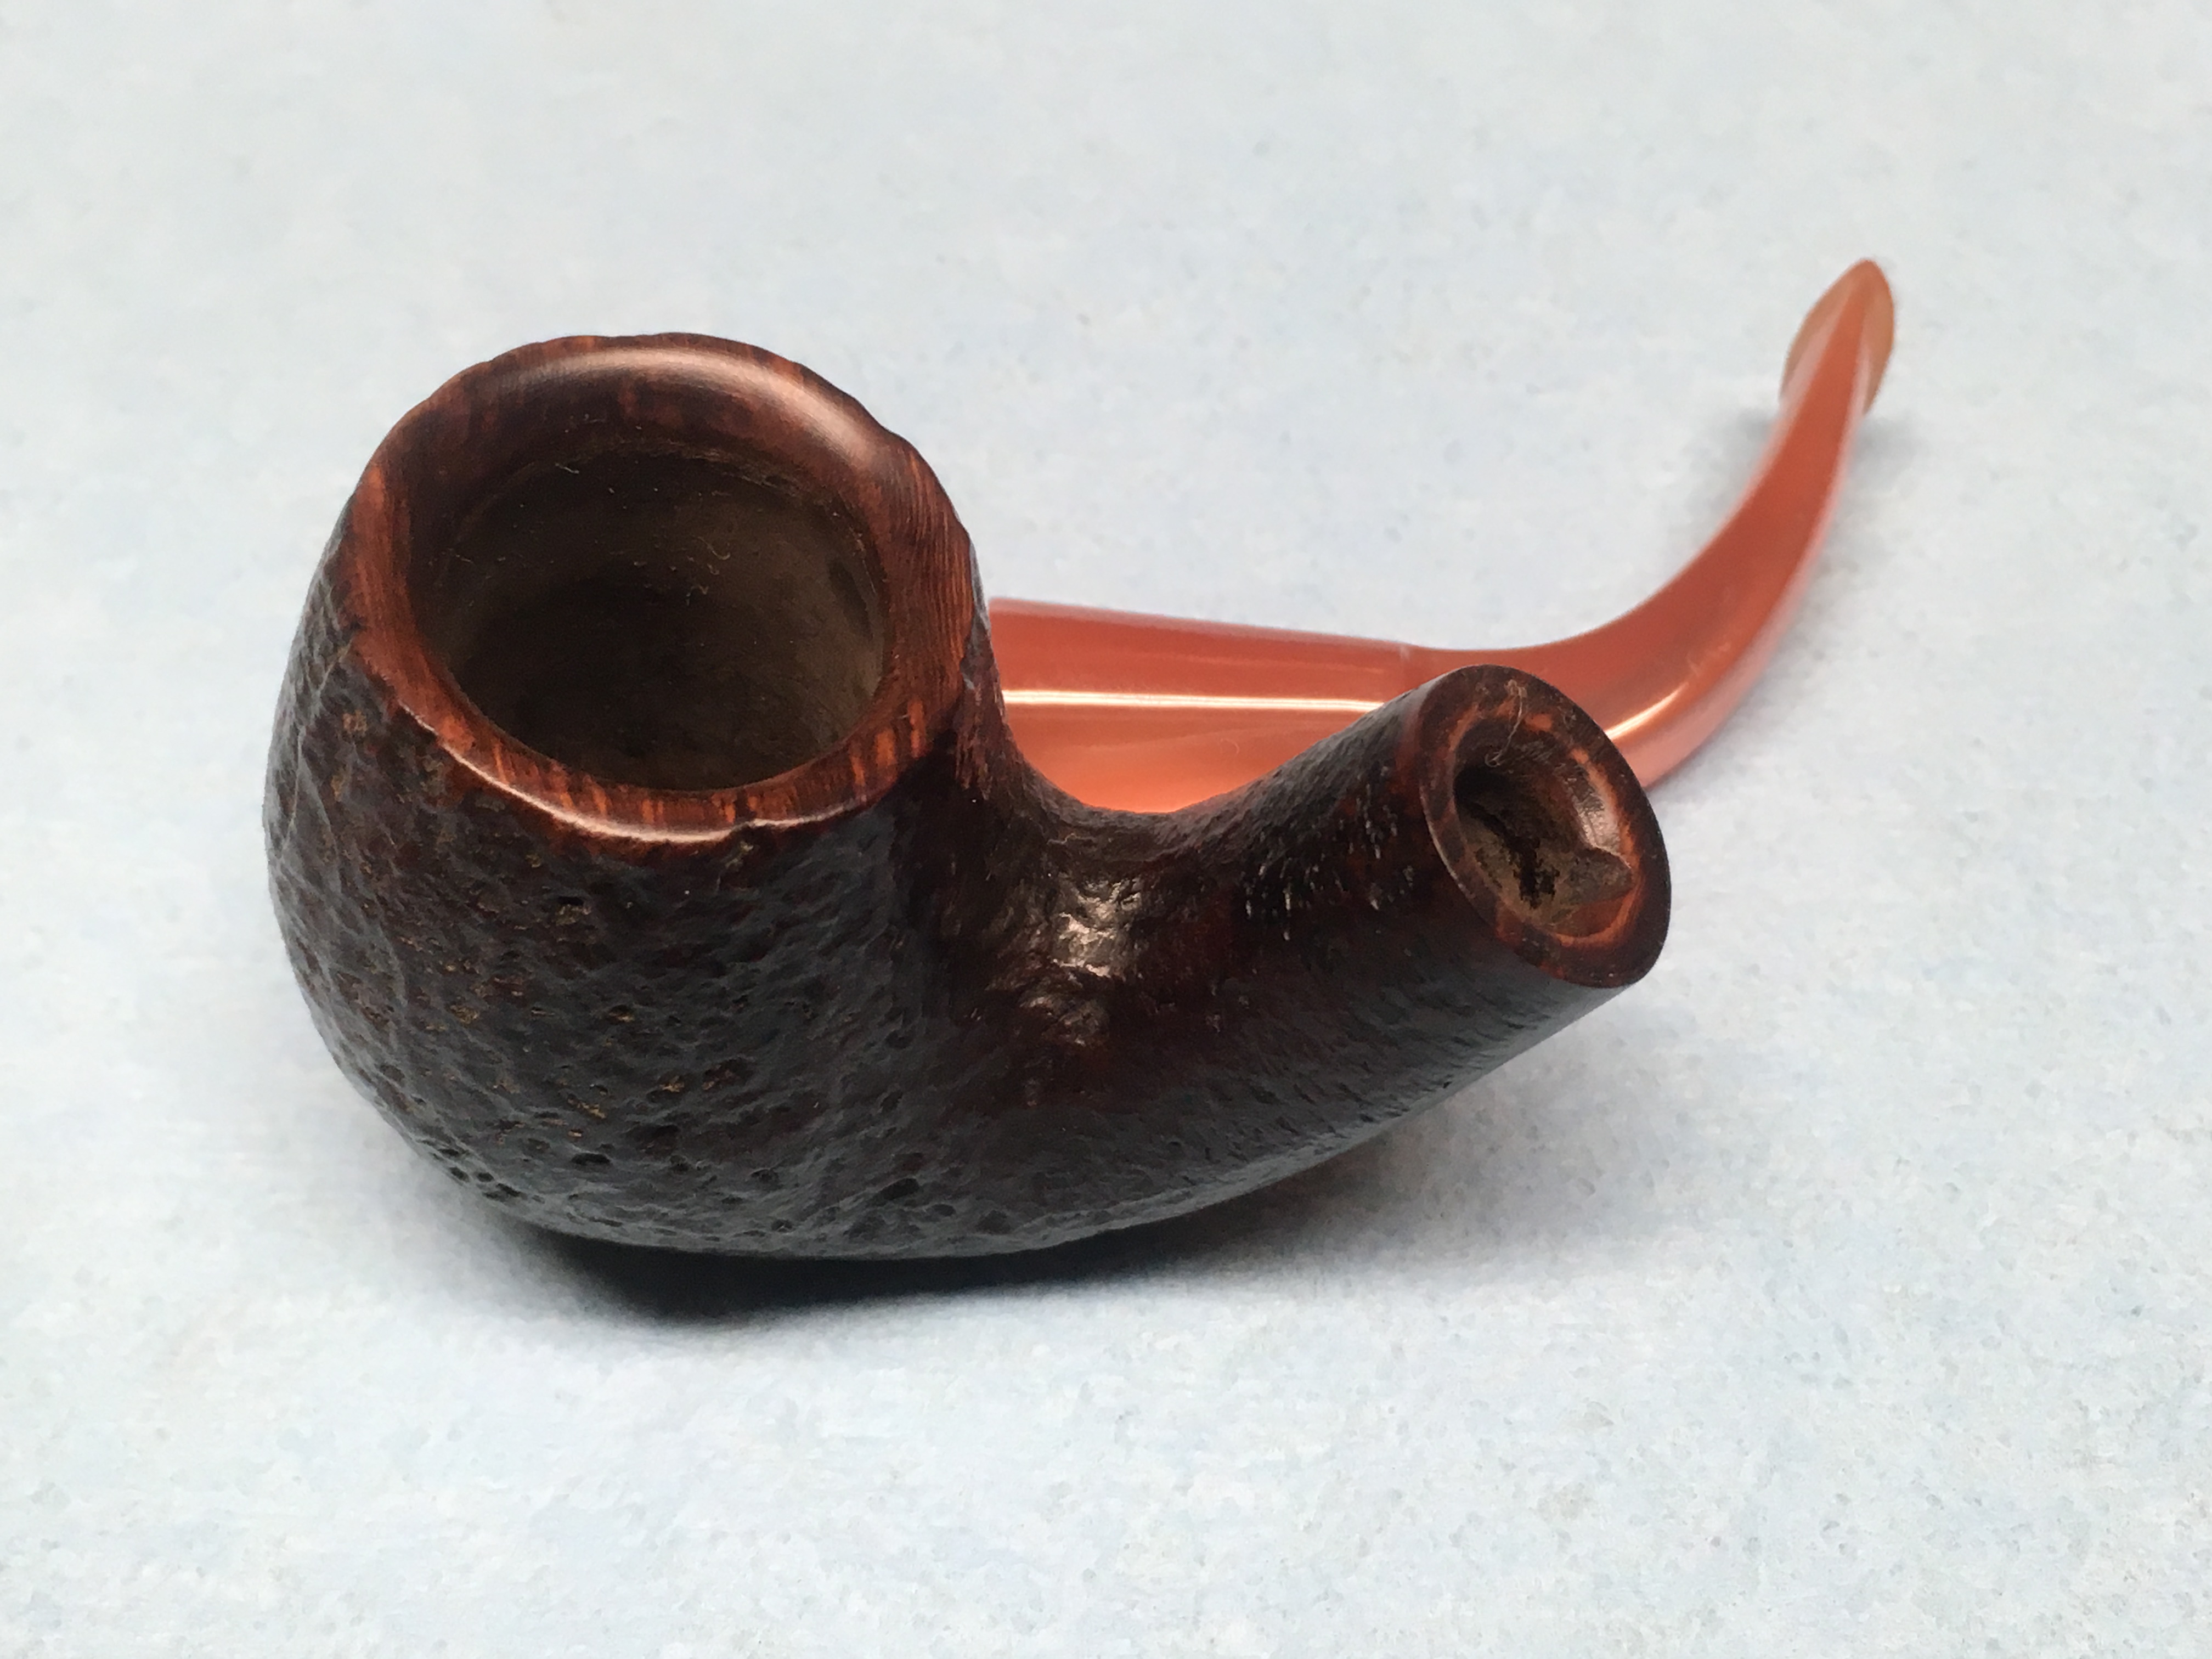
Because I used the 5/16″ tenon I needed to remove a small amount of the briar from the shank. I used a drill bit and a hand held holder to slowly remove the briar. The fit to the bowl was good. The shank is very thin and using a power tool might have destroyed it.

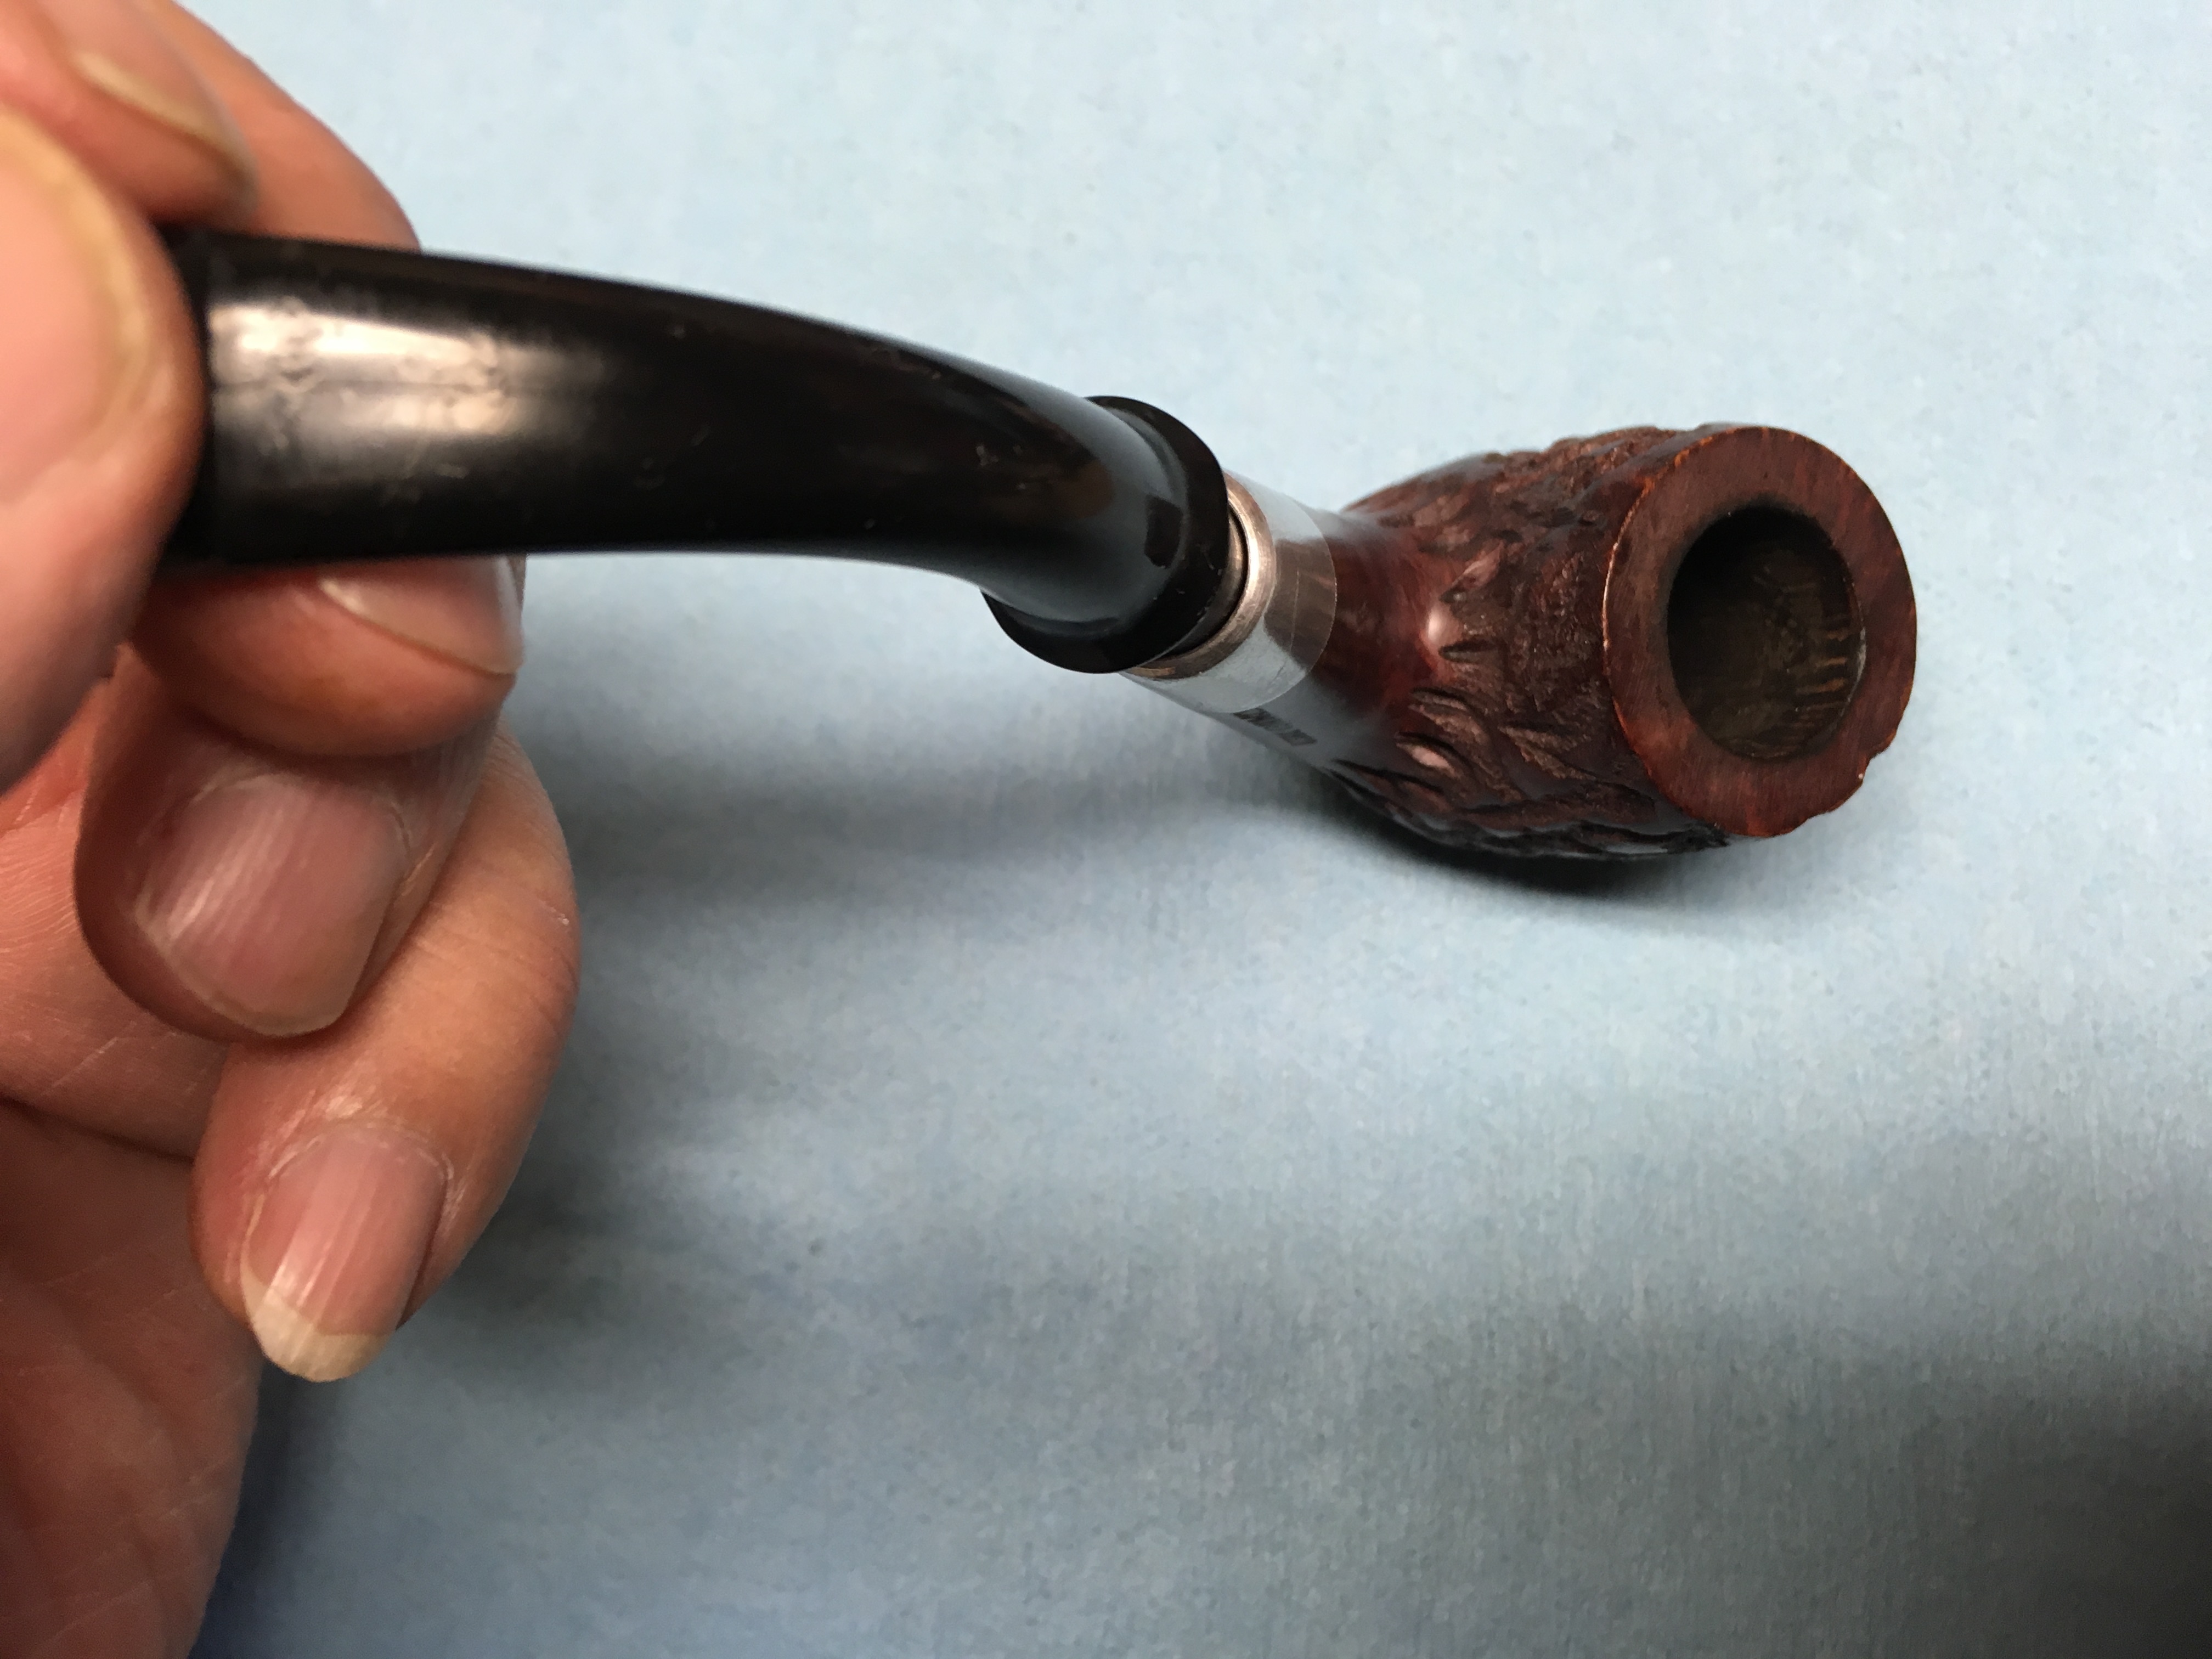
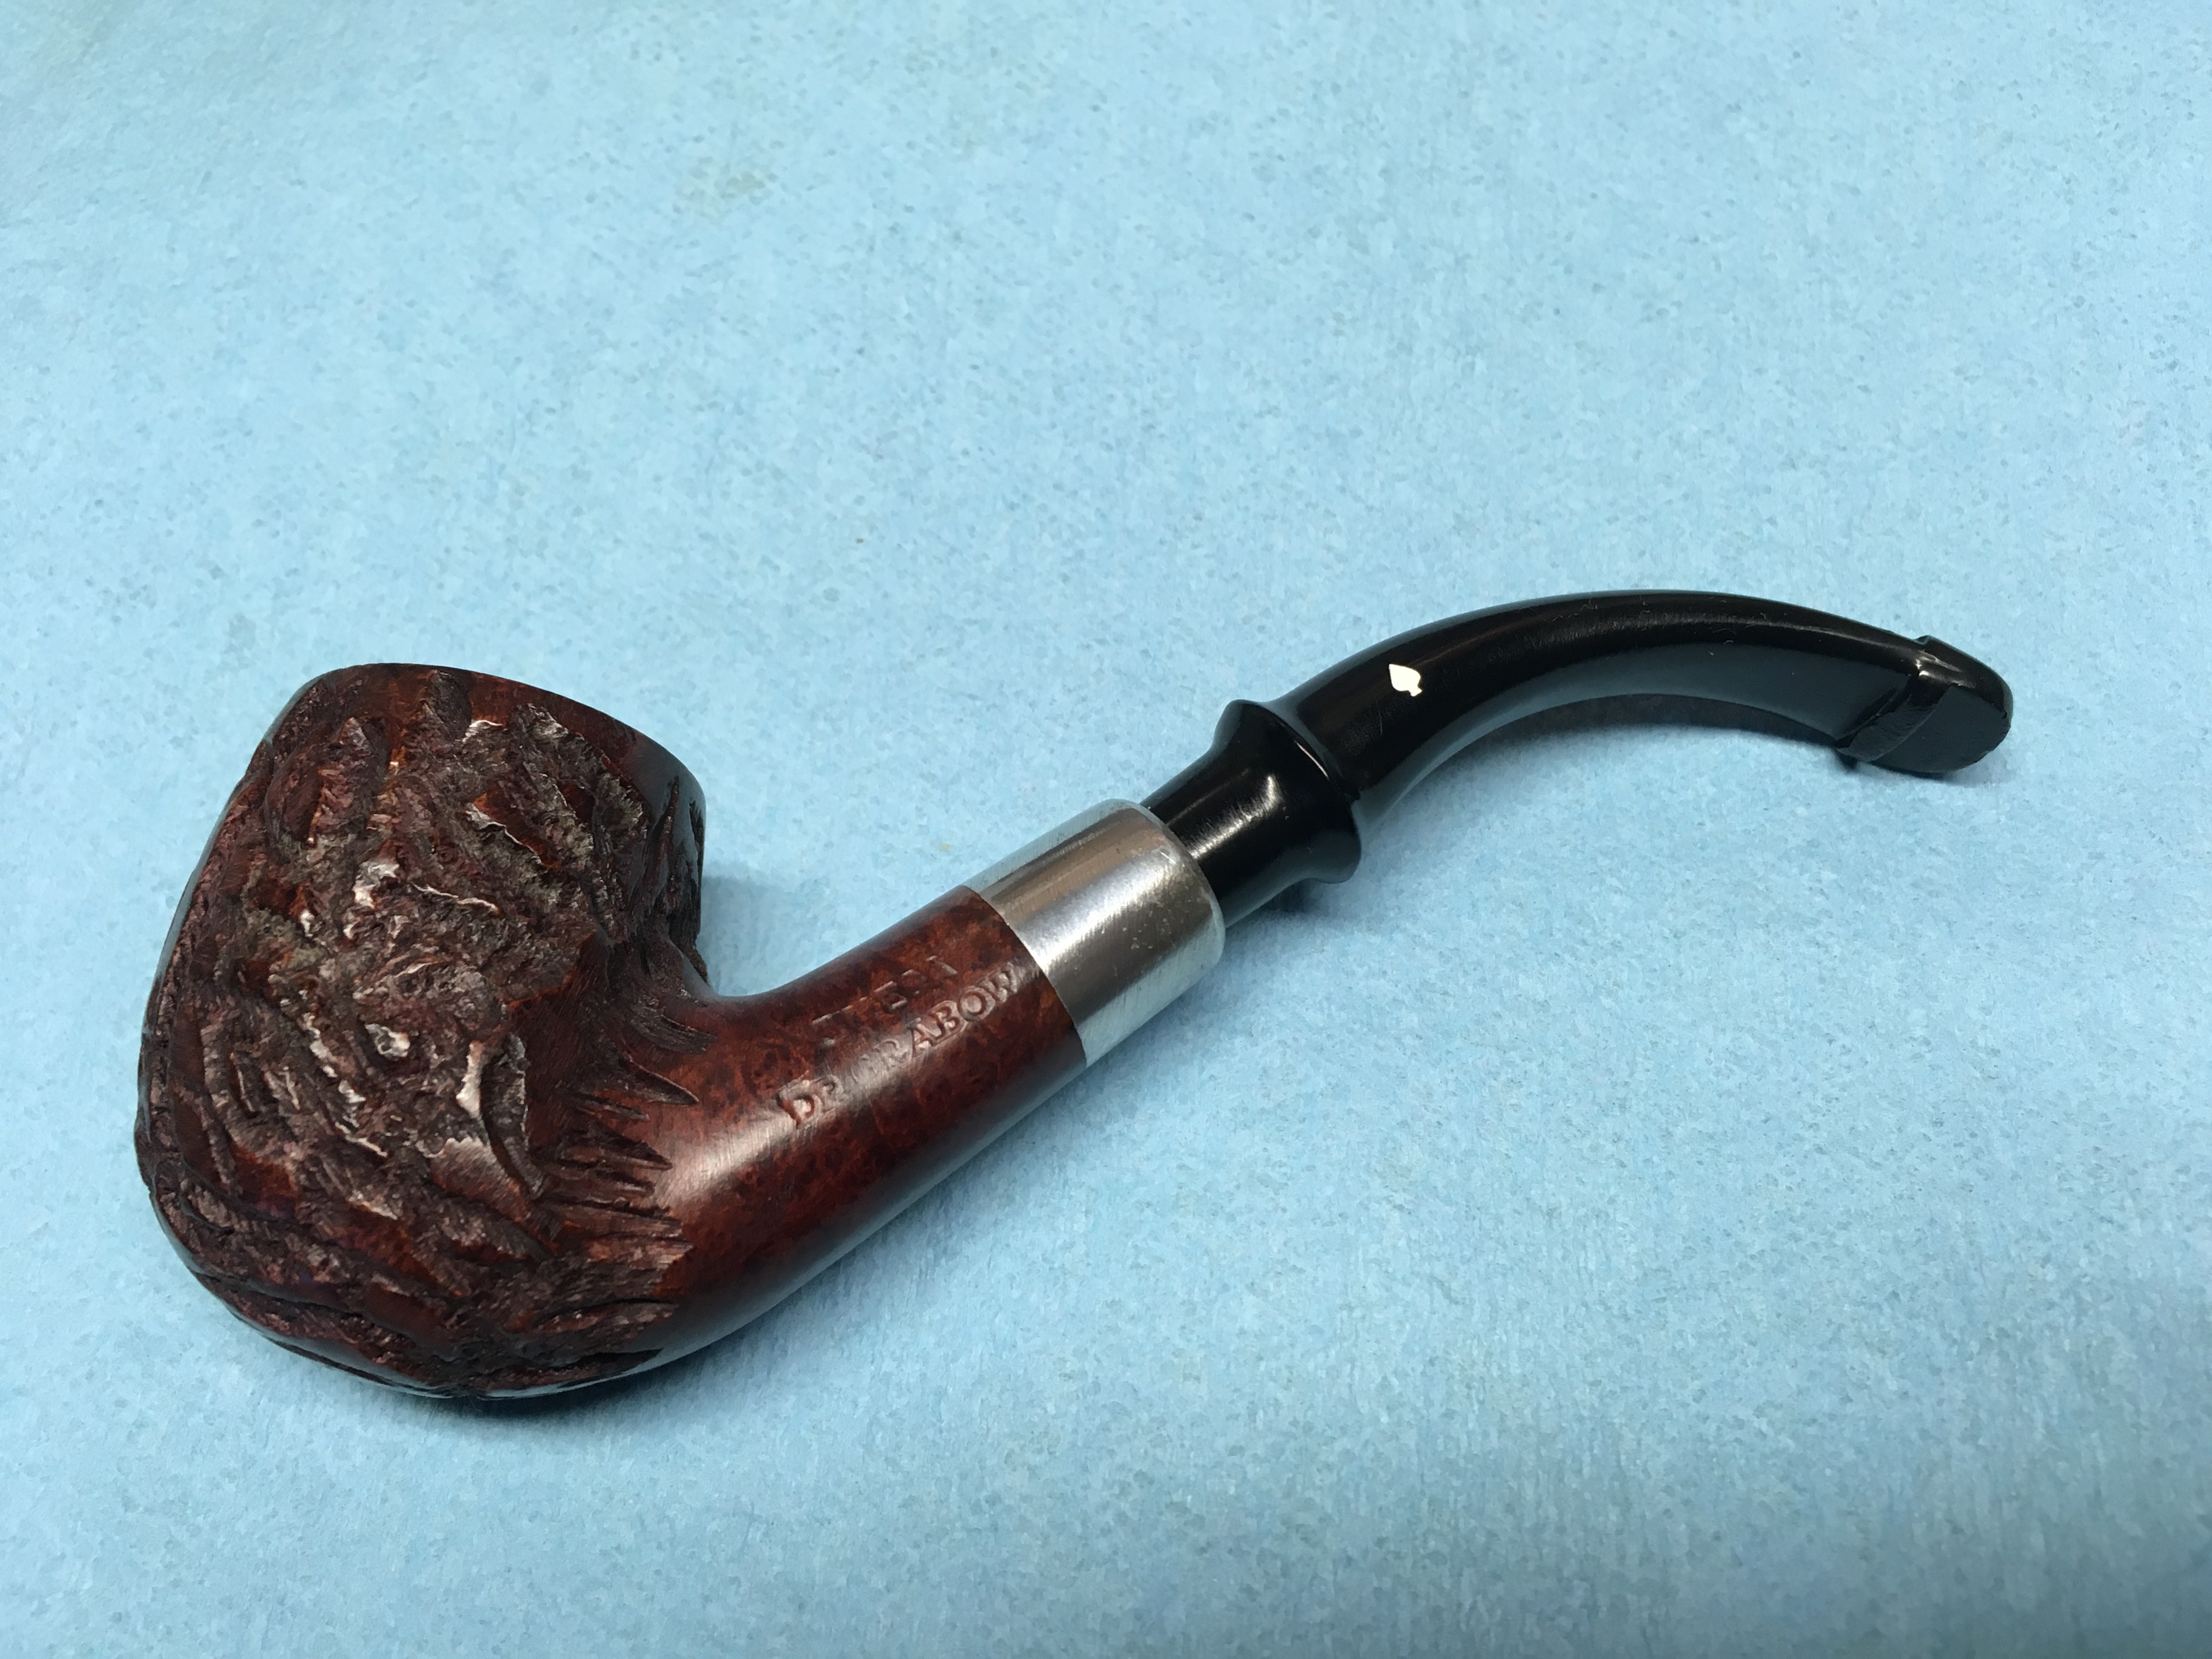
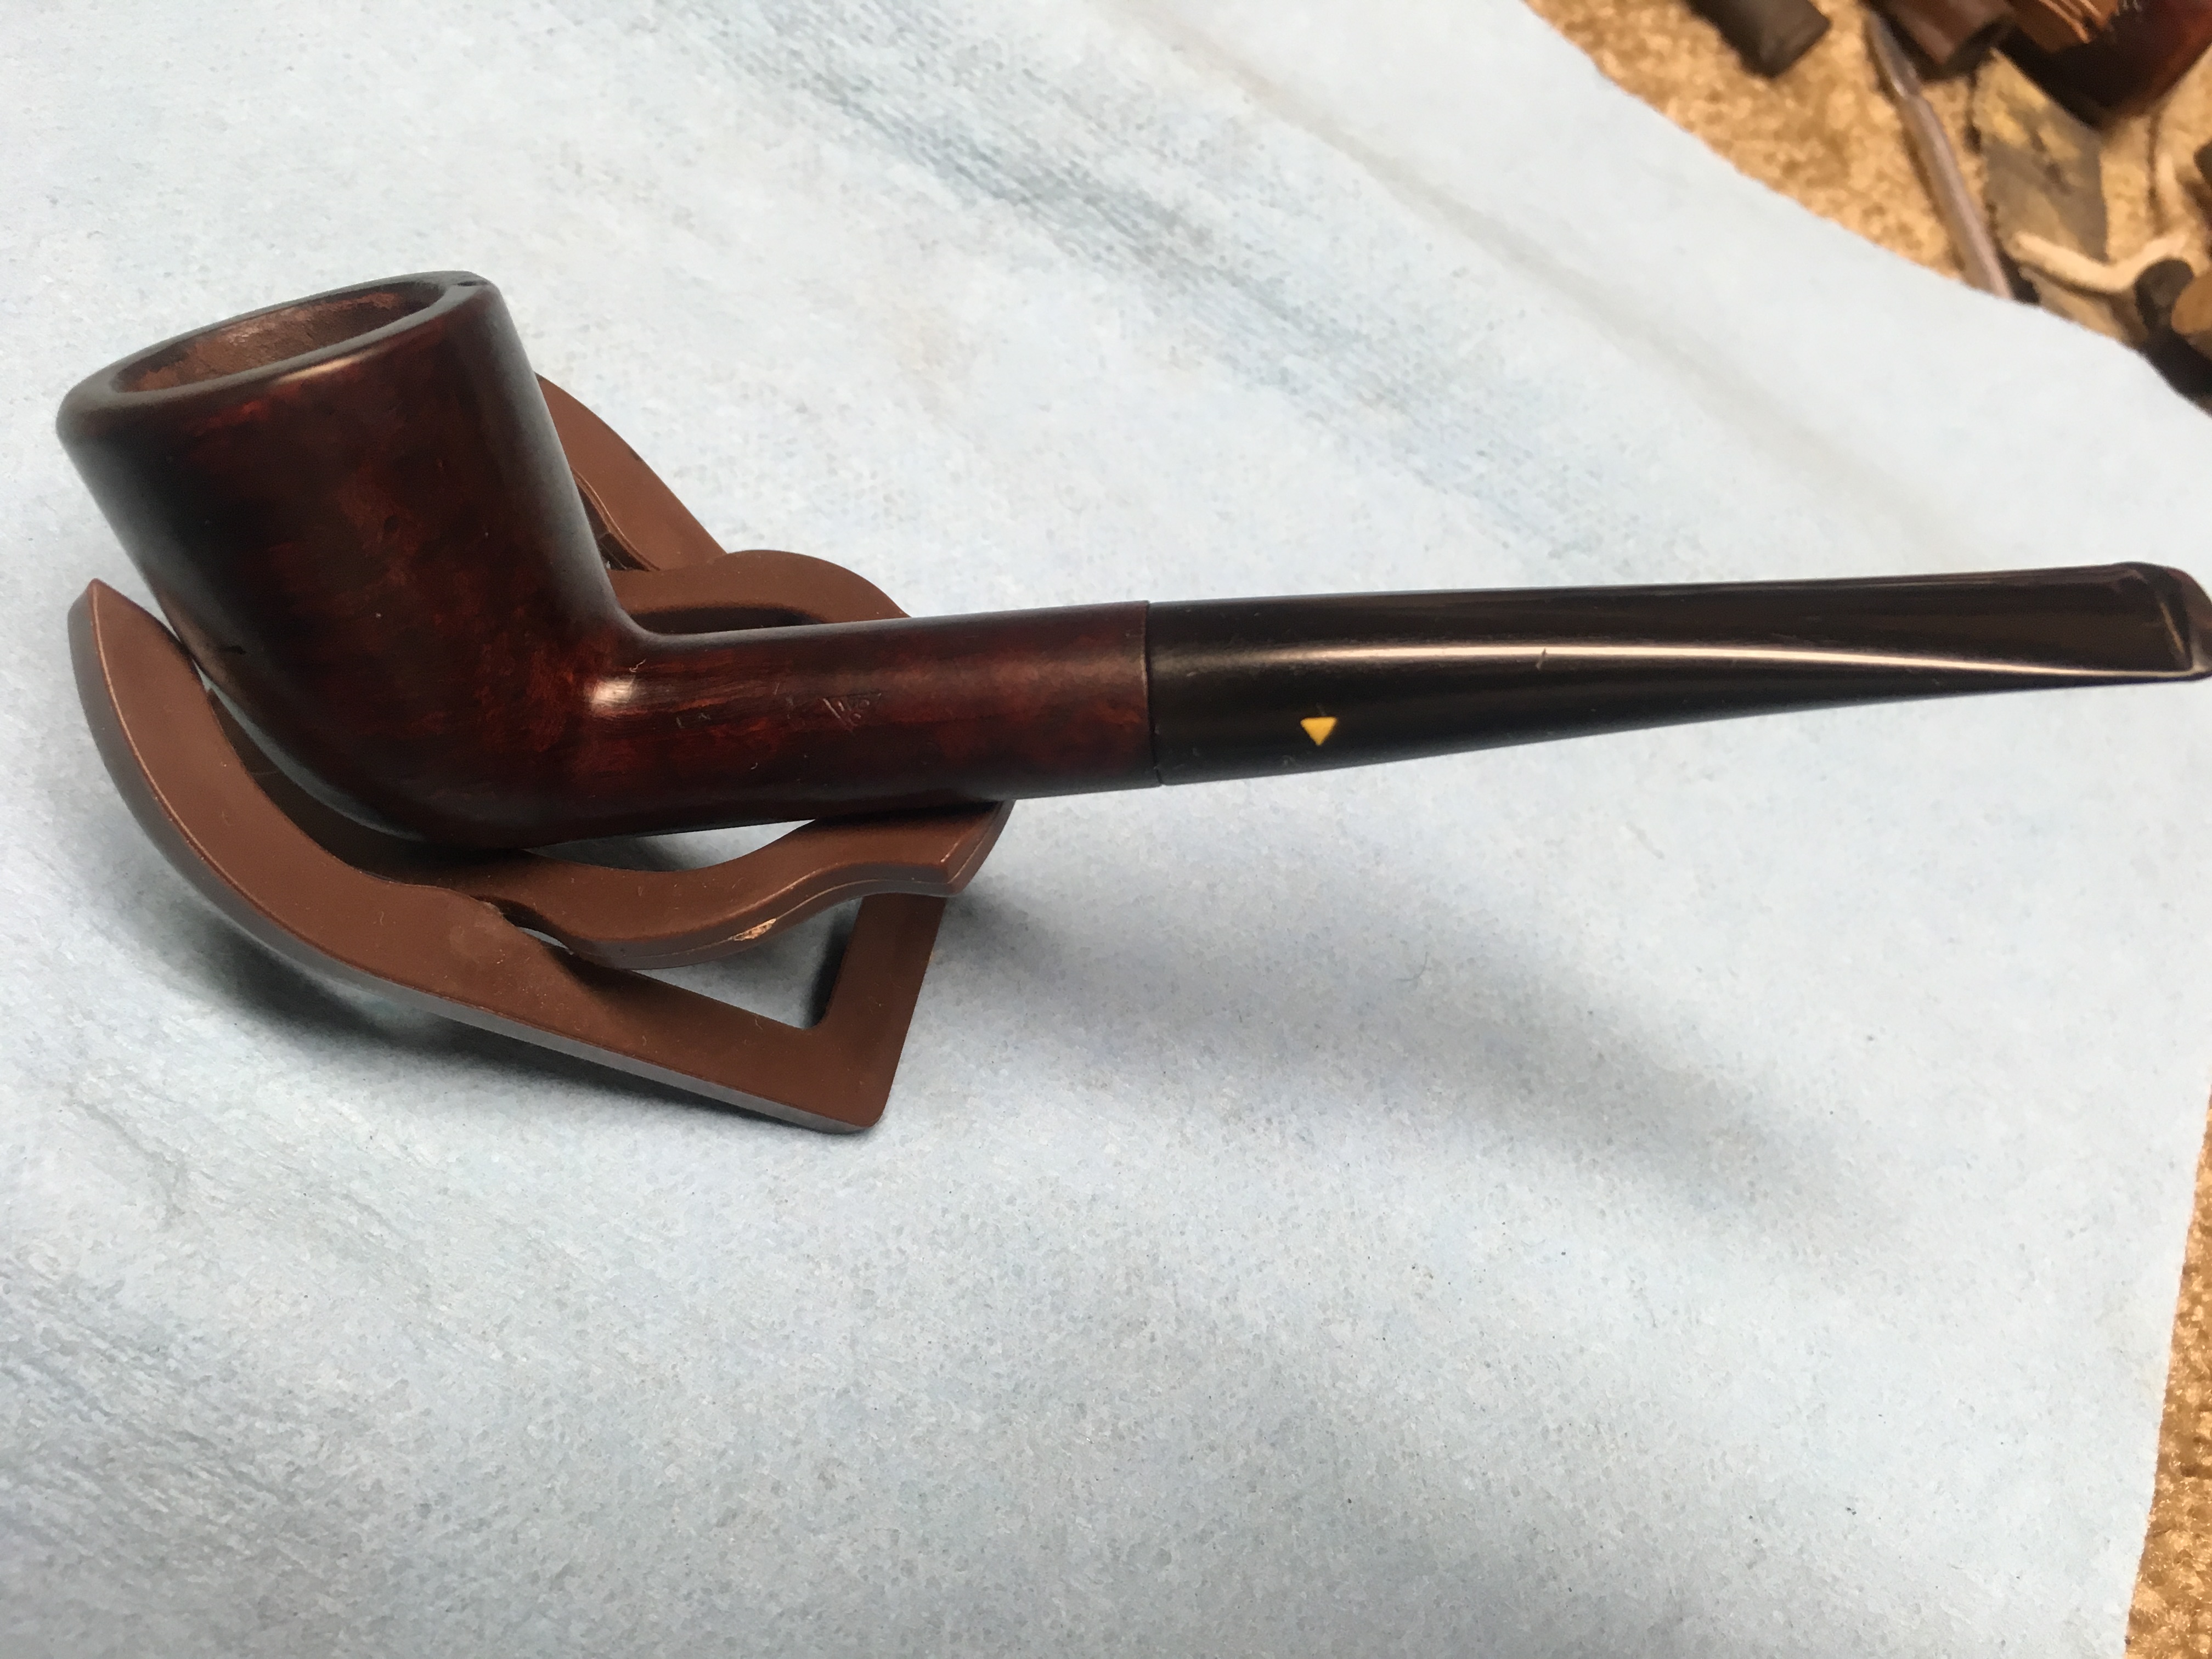
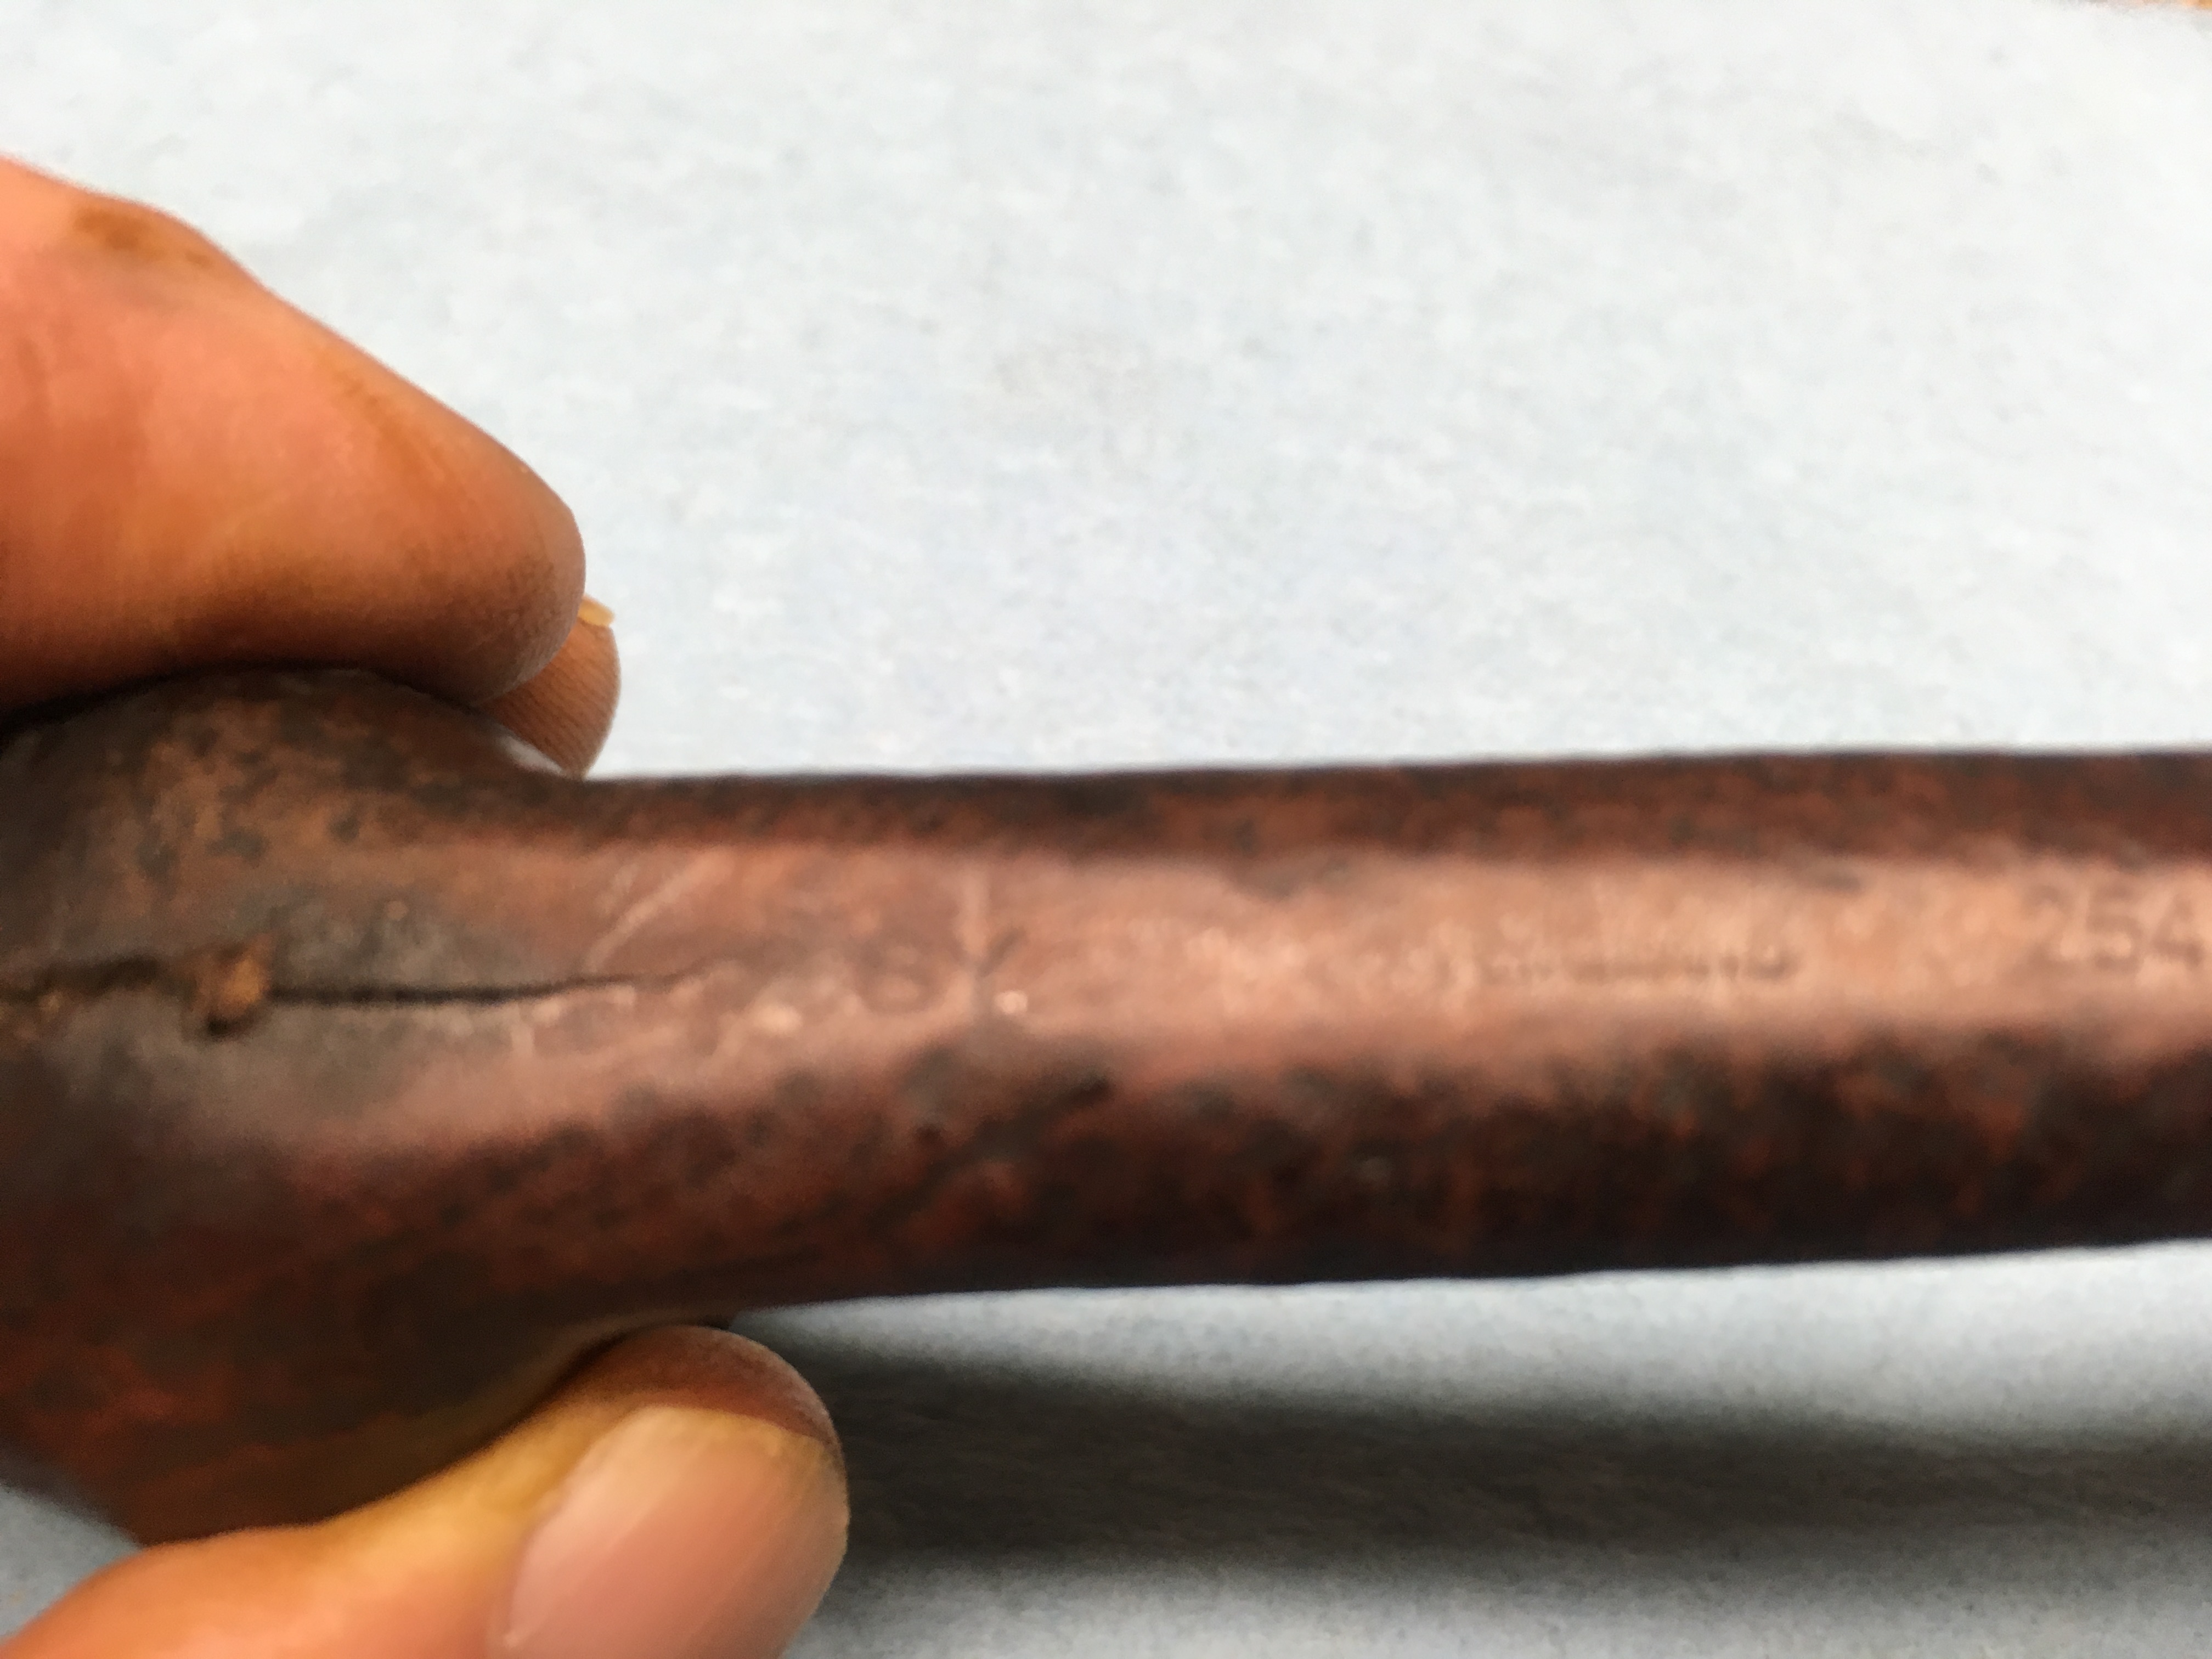
After all was set I gave it a good buff on the wheel and hand polished the pipe with an old terry cloth rag. The purist here will note that the stem logo is oriented on the wrong side. One of the unintended consequences of the replacement tenon was that the fit on the stem was off just enough to make the two facings between the shank and stem to misalign unless rotated over 180°. Another lesson learned, note to self, make sure markings are correctly aligned prior to gluing.

By opening up the shank and the stem with a drill bit the performance of the pipe was improved. The initial smoke after the repair was better than when it was originally restored.

Thank you for taking your time and reading my ramblings. Since it’s been more than 2 years since the last posting I’m rustier than I thought. Well, if my hunting for some new pipes to restore is successful I promise to do better in the future.

Schoenleber Canadian

5F3AE4B2-AC4A-4C58-8281-BD2028F35FDF_1_105_c

I found this pair of pipes in an antique shop in Birminham, AL across the road from the Veterans Clinic where I get treatments. The Schoenleber is the top pipe. First look told me that they had not been used much. By the look down the bowl it did not show much use at all. Maybe a couple of bowl but, mostly in good order.

The Canadian (top) was made by Schoenleber in Newark NJ. I have not been able to find much about the brand or the company. Pipedia.org tells us that the name of the carver, Louis Schoenleber, was also the owner of a small tobacco store where he made his pipes. https://pipedia.org/wiki/Schoenleber

After inspection I gave a quick run of the reamer down the bowl and then treated it to a salt and alcohol bath. As it was not heavily smoked that was all that was needed to bring it back. The stem was in good shape as well. It just took a couple of pipe cleaners with Everclear did the job. Then the outer stem was polished with some Before and After polishing materials and finished with Obsidian Oil.

As I have not made any posts for a while I thought I would do an easy one. I haven’t had any new pipes to work on due to my own economic changes, but have a couple of pipes I have not written up yet. So I will try to get them done soon.

Adjustomatic HLT / Dr Grabow

Here is one of those pipes we acquire that we really know anything about. It was listed as a Linkman’s Dr. Grabow Select Grain Full Bent Estate pipe sale on eBay. After receiving it I went in search of information on it. Using all the online facilities available I was able to get the Patent Number which shows that the pipe was made around the late 1940’s.  The nomenclature while not clear on any side was but, faint enough. some was visible but incomplete. What I was able to read made it look like a Peterson but different. Continued searching turned up a page on Pipedia that showed a very nice similarity to what I could see. D.P. Lavietes filed for the patent in 1946 and it was granted in 1949. The stamping that looked like Peterson is in fact Royalton. The stamping showed the “lt” near the “on” and the “R” that looked like the “P” of Peterson makes me think I found what I was looking for. I found most of the information for the Royalton Pipes on the Pipedia website. While it has the Lavietes Pat No. Mr Lavietes is further mentioned in the write up on Pipedia. This is during the move to Sparta South Carolina from what I can gleen and is still in production today for the Dr. Grabow line of pipes.

fullsizeoutput_c7c

This image comes from the US Patent office website. What came to the bench was a challenge as the stem had straightened, was clogged completely and the bowl had lost most of its color. The first photos are from the seller on eBay.

UNADJUSTEDNONRAW_thumb_446c
UNADJUSTEDNONRAW_thumb_446d
UNADJUSTEDNONRAW_thumb_446f
UNADJUSTEDNONRAW_thumb_446e

I began by reaming the bowl and giving it a salt and alcohol treatment to sanitize it. Then I turned my attention to the stem. It had been plugged with tars and in need of a good cleaning. Using a thin wire I was able to open up the airway to begin using pipe cleaners and cotton swabs to get a thorough clean of it.

IMG_4703

After the cleaning was done, I started to clear up the minor defects to the  stem. It had a couple of small tooth marks that I used CA (Super Glue) and the accelerator to speed up the drying time. Then using a tapered fine bastard file I was able to get back to the vulcanite and begin to polish it. Beginning at 1200 grit to 2000 grit I wet sanded the stem then progressed through to 12000.

IMG_4704
IMG_4712
IMG_4714
IMG_4715
IMG_4713

I did fail to complete the pictures as I was engrossed in the process of completing the polishing. When done I put it aside and went back to the bowl.

s-l1600

As it had a buildup of lava I used Murphy’s Oil Soap and a toothbrush to get most of it clean. This was followed up by topping it on the table with 320 grit sandpaper. Then using sanding sponges the rim was smoothed out any scratches and polish it. There was a small ding left in the rim which I left  to add a little character to the pipe. Once again the work got the better of the process and I failed to document with pictures.

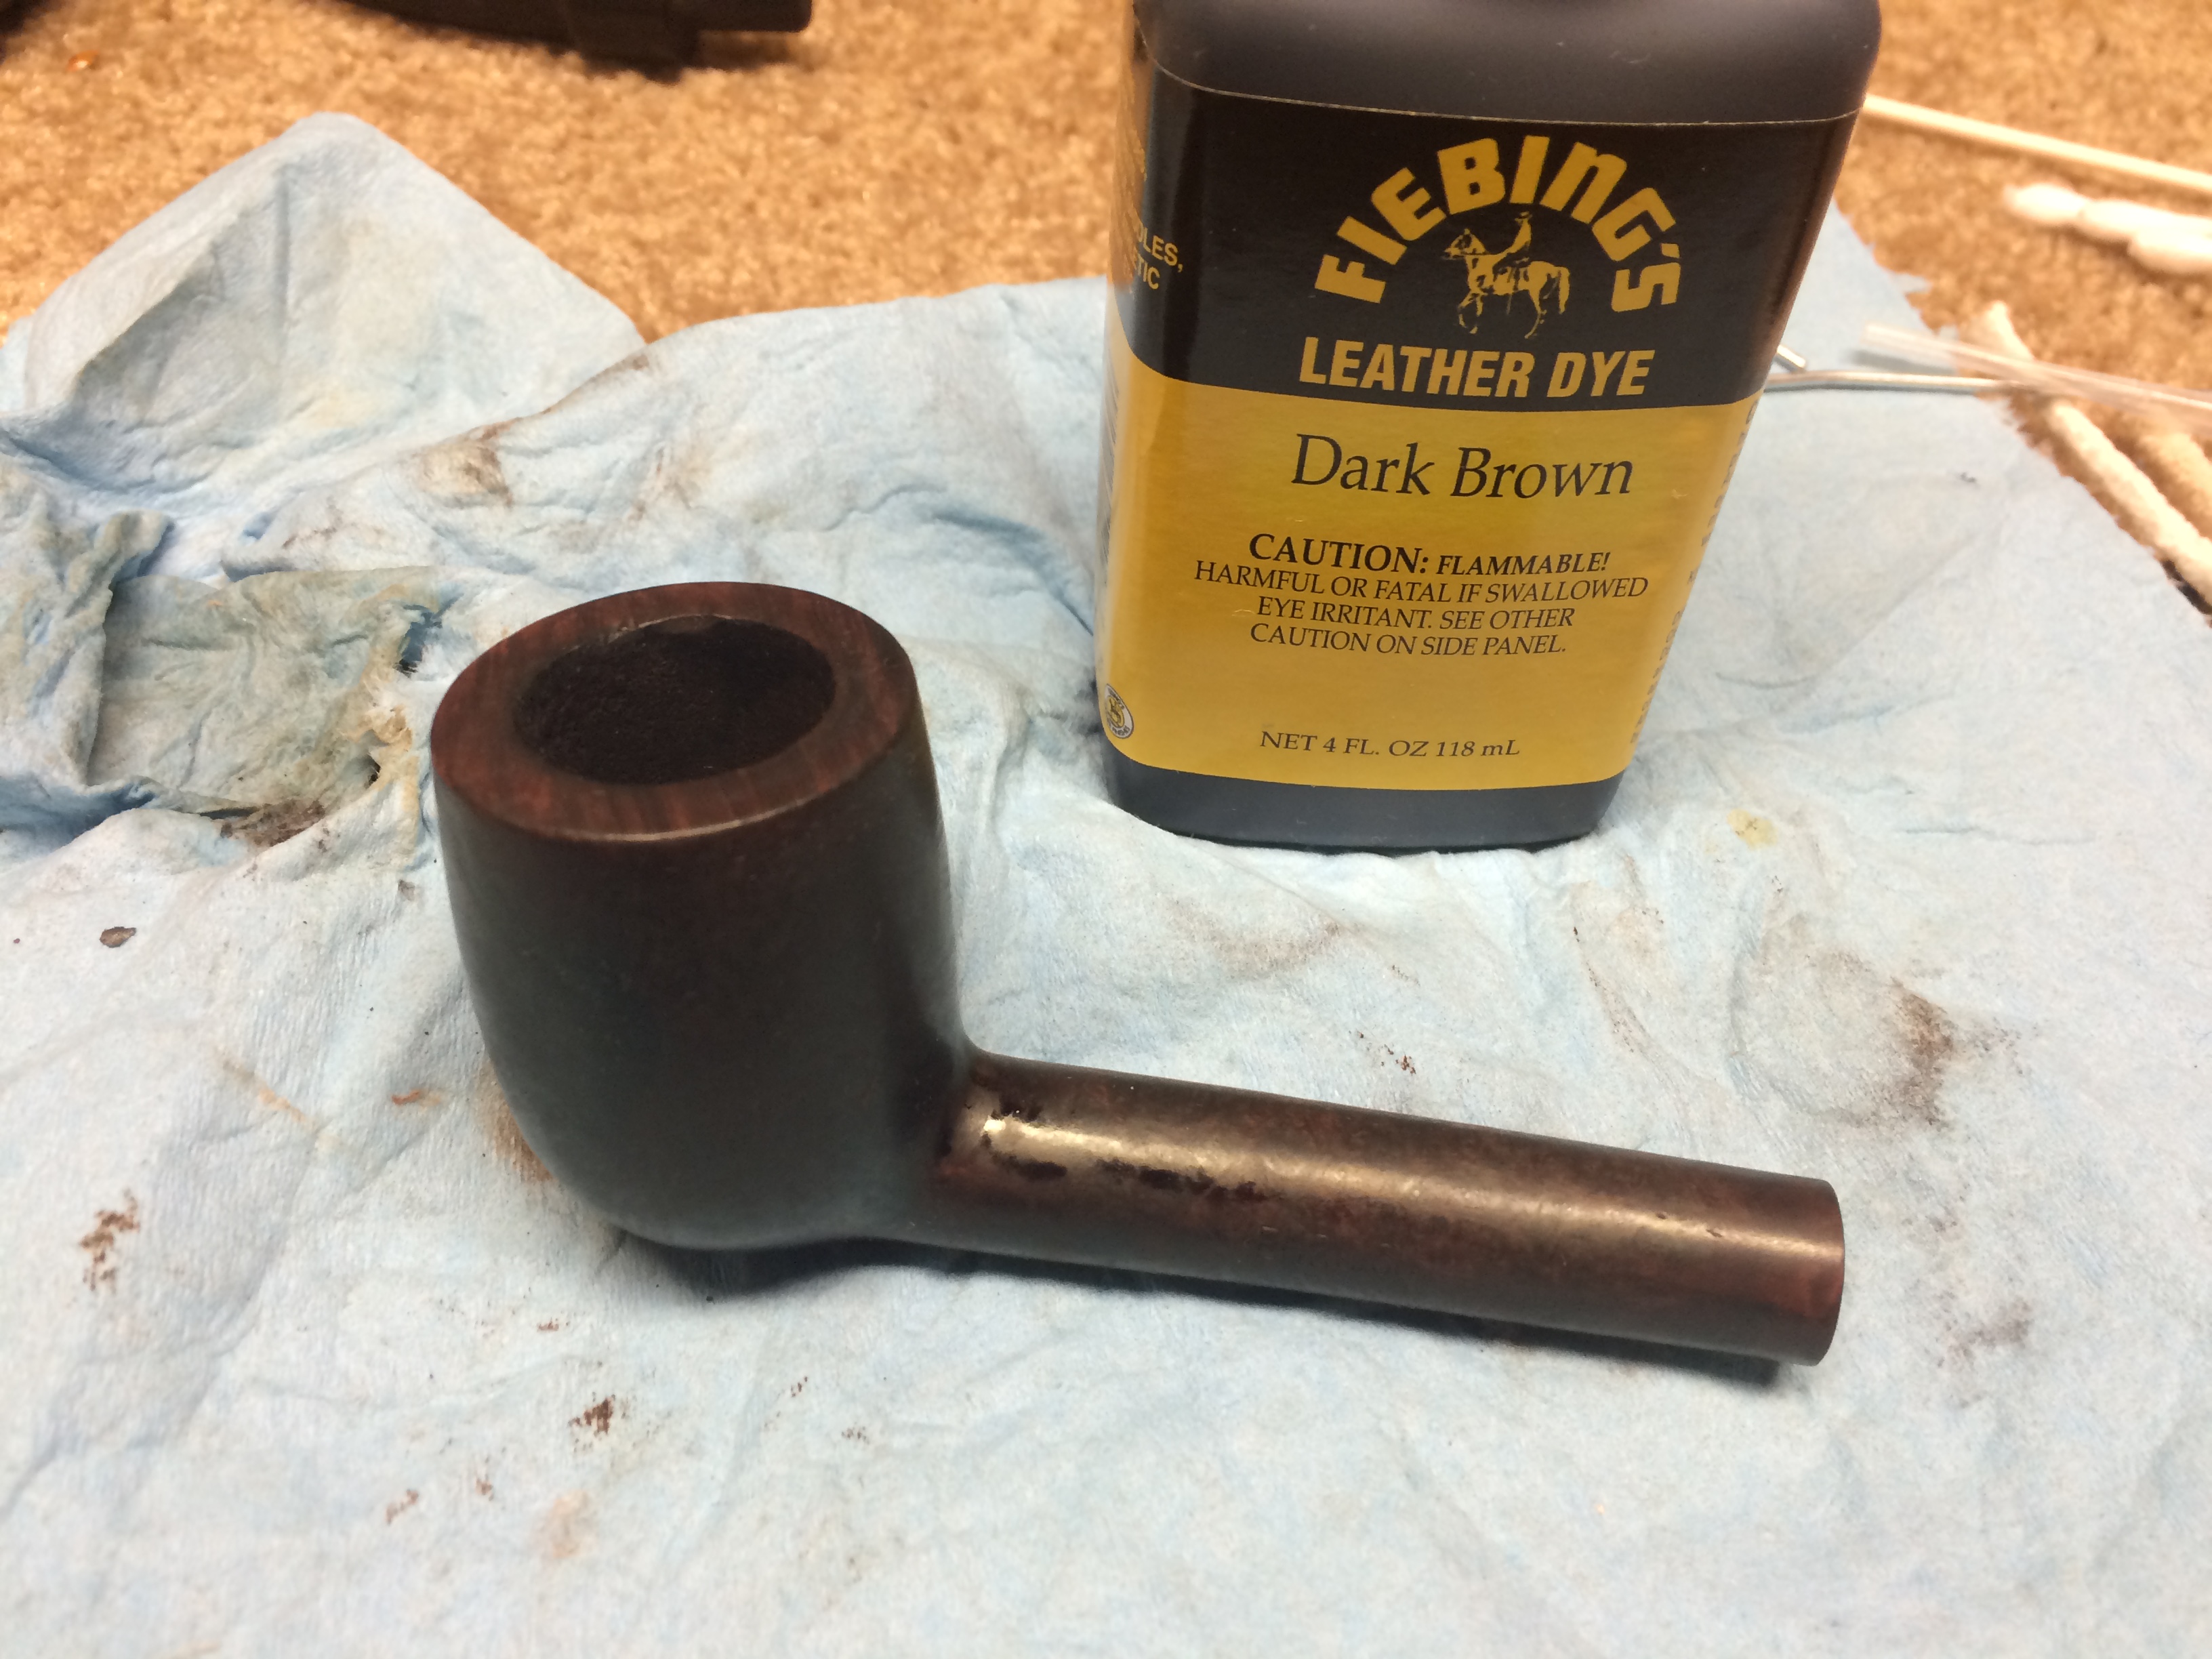
The color chosen was to be Fibeing’s Dark Brown Leather Stain. Several coats of the stain was applied and flamed to set. The excess was wiped off and rubbed out with several types of cloth ending with a terry cloth to raise the shine. The bowl and stem were covered with Obsidian Oil and again wiped down to shine.

The stem was ready to be completed. I mentioned that the stem had straightened, so I heated it with a paint heat gun, put a pipe cleaner into it to keep it open and rebent it by pressing it over a bottle of Everclear. I held it there until the heat dissipated and it cooled enough to stay in the new shape.

IMG_4717

The last thing to do was to polish and shine it up. In writing this I see where my lack of posting has me wanting to raise my game a LOT!

IMG_4724
IMG_4721
IMG_4720
IMG_4718

Revitalizing a Dr. Grabow Omega

fullsizeoutput_bc9

It’s been a while since my last posting. I’ve not acquired many pipes during the past year and those that I have have not been too bad off. This is a Dr Grabow Omega I was able to get cheaply on eBay.

‘Tis was an easy cleanup and not in bad shape at all. There was some grime on the rim and the rear side was covered in a thick layer of dust.

fullsizeoutput_bc7

I uesed an old toothbrush and some Murphys Oil Soap to clean up the briar. It came up nicely  and I immeresed it into my rice bucket to hold it upright. It was then filled with kosher salt, a cotton ball and added Everclear to sanitize the bowl. The carbon was almost none existant in the bowl so it did not need a ream.

fullsizeoutput_bc5fullsizeoutput_bc8

Setting the bowl asside to soak, I turned my attention to the stem. It had some minor chatter on the “P” style bit end. Using a worn piece of 320 grit sandpaper I was able to clear out the chatter easily. Then using sanding sponges from 1200 – 12000 brought it to a polished state.

Like I said earlier, I have not posted in a while and failed to photograph the transition of the stem. As I would say through my alter ego, PyrateMate, ARGH! LOL…

I did see that the bowl when it was done, that it had a bit of “broken” shellac around the smooth surfaces. Using Acetone and cotton balls to remove the old finish and then wiping it down with isopropryl alcohol I was satisfied that the color was not damaged. I setteled down to looking the briar over and decided that it looked like it was thirsty. Using Obsidian Oil I wiped the bowl with cotton tipped sticks to get deep into the grooves of the Omega cuts. Then using an old tee shirt I rubbed it out and polished the briar and stem to a very nice shine.

I am by no way a pipe master, guru or any other adjective that may be used to describe what pipe makers do to make the pipes we all enjoy so much. This being said I do not understand why the Dr. Grabow folks use the shellac to put shine on their pipes. Once I removed it and added the oil to the briar, the color and shine came up in a much richer fashon. More like the old school of pipe makers come to mind when I see some of the pipes pipers smoke and the richness of their finishes. Seeing great grain and birdseye come through is always better in my humble opinion than the shine falsely created by shellacs and lacqures.

fullsizeoutput_bcdfullsizeoutput_bccfullsizeoutput_bc9fullsizeoutput_bcb


WDC Milano

I caught this on eBay several months ago and just got round to working on it. The original eBay pictures only showed some minor issues. The reality was it looked like it’s prior life was that of a hammer.

DSCN1075DSCN1076DSCN1074DSCN1073You can see by the rim the damage done. When I removed the stem I found a surprise inside. A metal tube with a threaded insert baffle. It would not pass a pipe cleaner.
DSCN1079

The knurled tip was threaded into the insert and came out easily. Looking at the bowl I was dismayed at the condition. The cake was thick and the rim severely damaged. I reamed the bowl using my Castleford Pipe Reamer.

DSCN1081


IMG_3302IMG_3301

Using a Tee handle holder and a drill bit I cleared the shank to the bowl and set it up for a salt and alcohol bath. It took 5 treatments to get the ghost of tobaccos past out!

IMG_3239

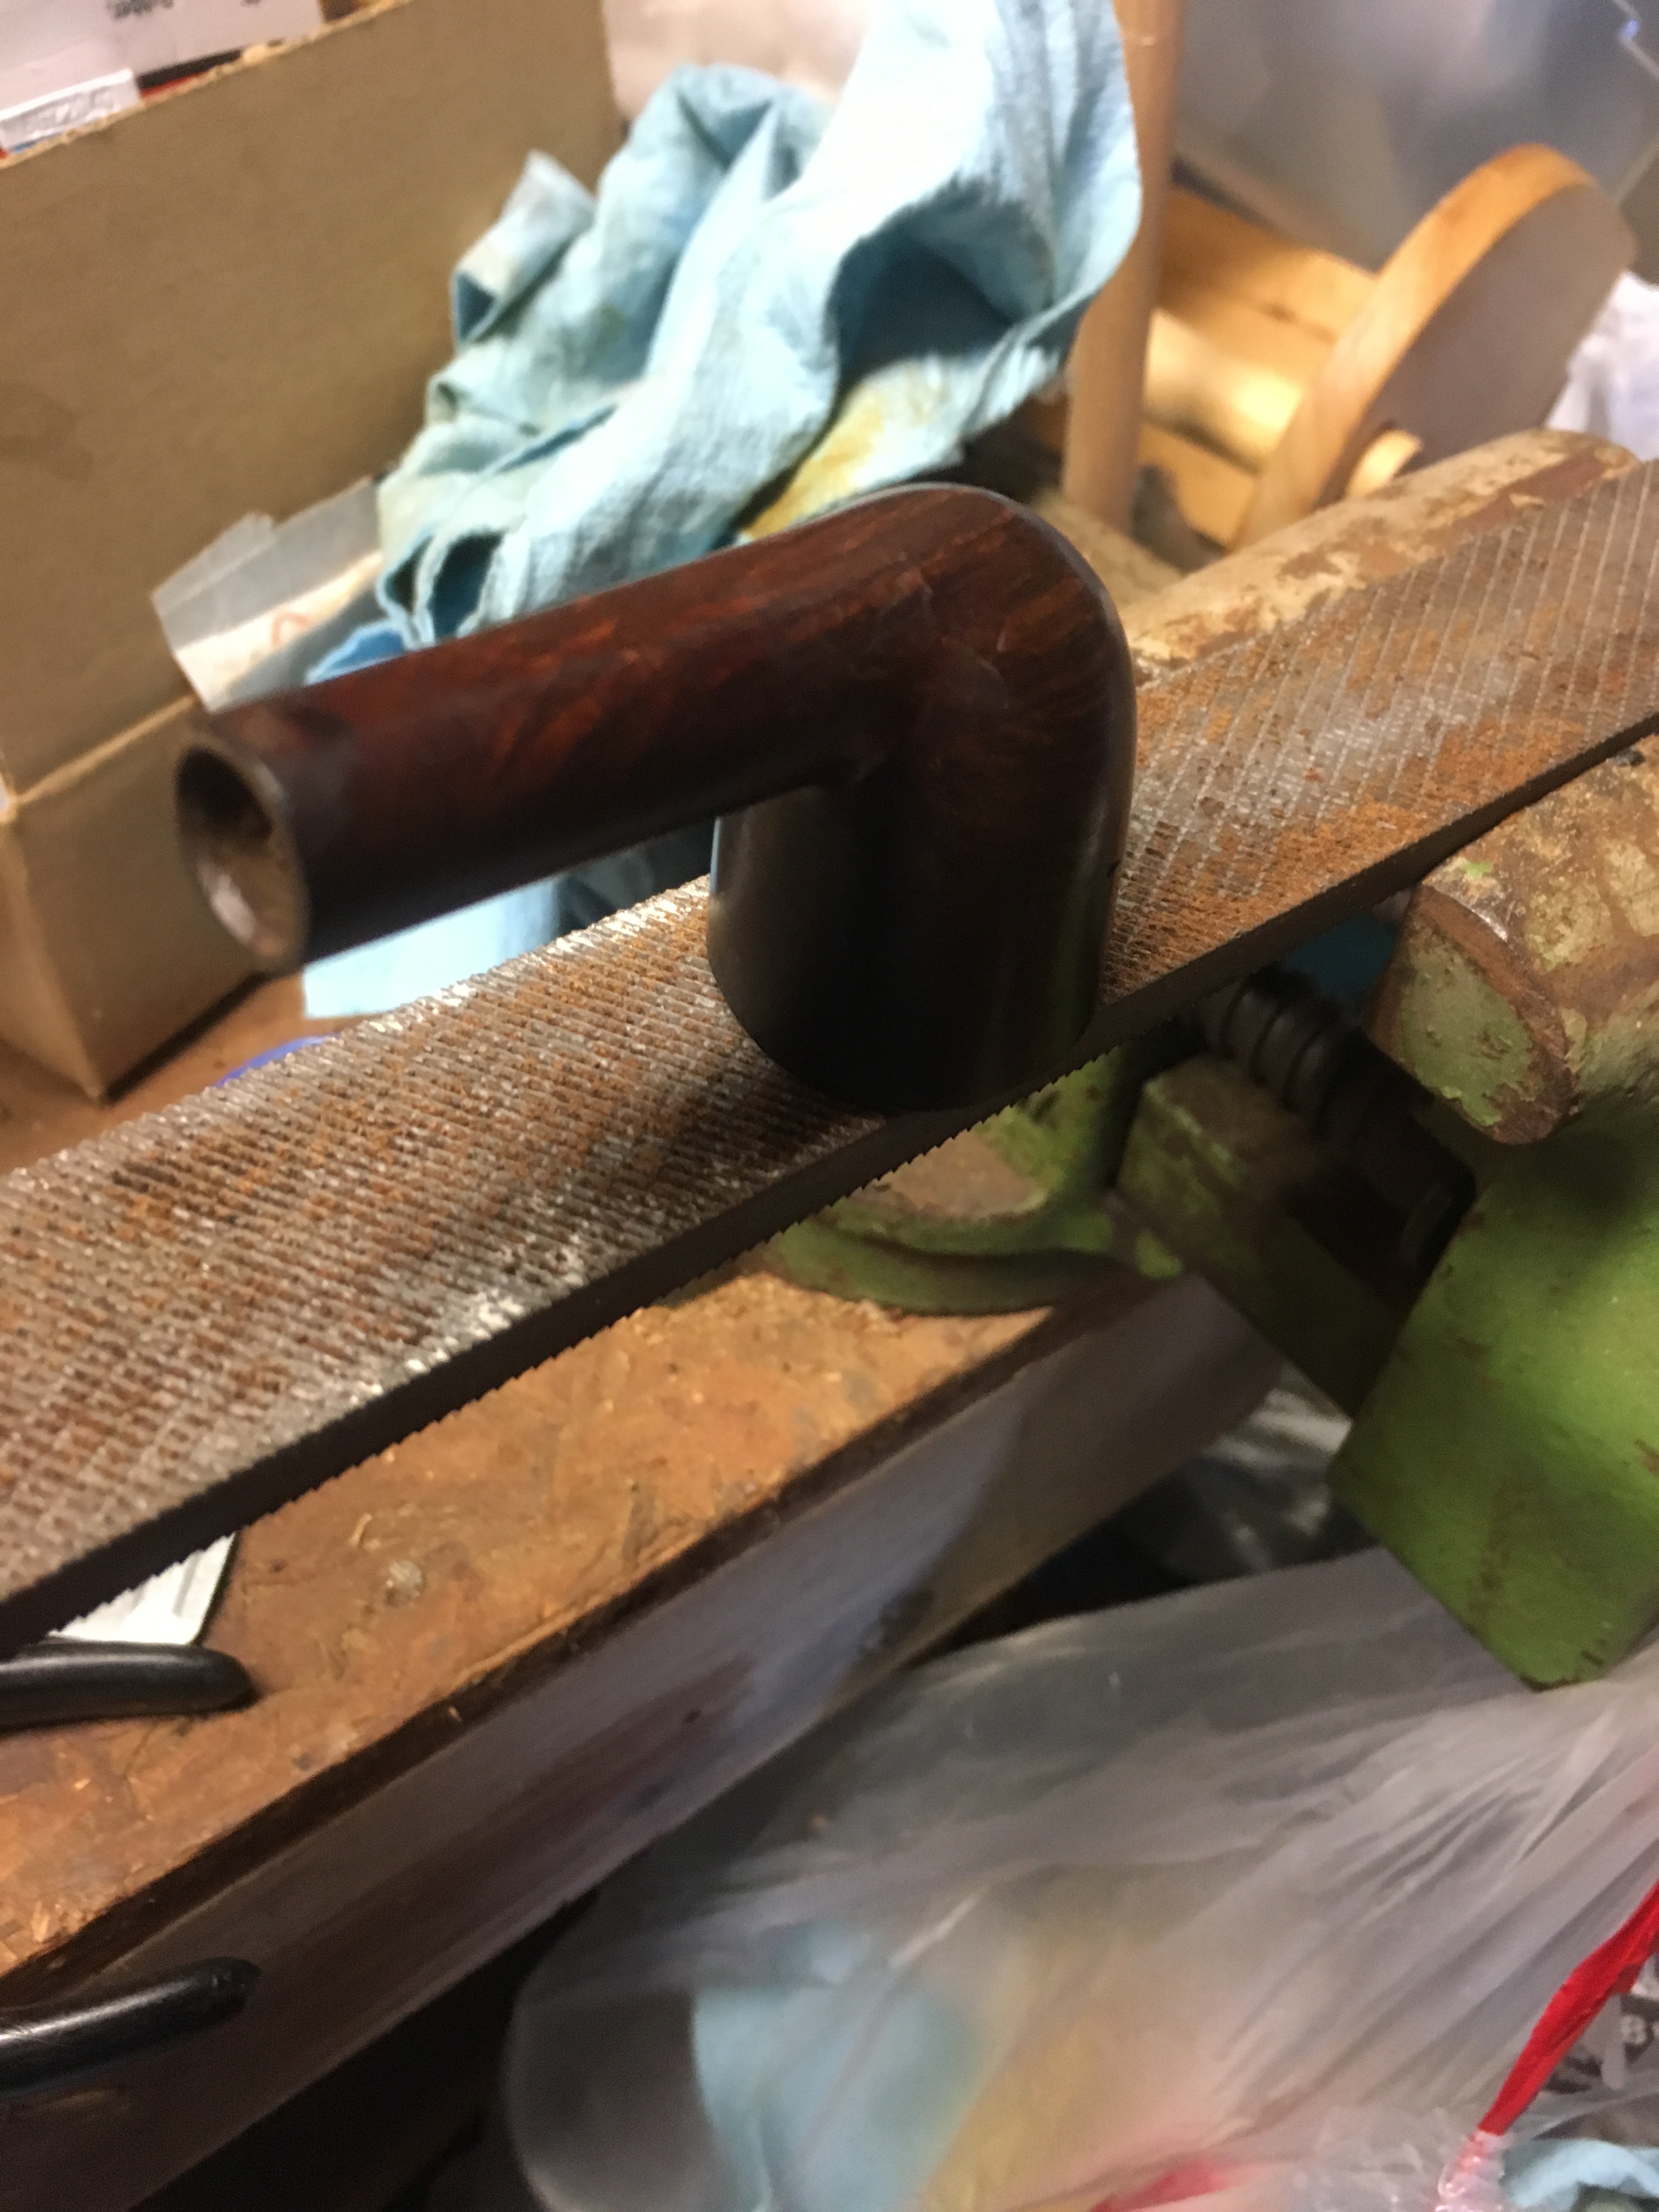
Looking at the rim I was concerned about how much attention it would need. So I brought out the heavy files. Using a medium bastard file, made to file metal, I used long strokes and rotated the bowl with each pass.

IMG_3306IMG_3305

After filing, I used a piece of old sandpaper to smooth out the top and a fine file to bevel the outer and inner edges. Next was to use cotton balls and alcohol to wash down the bowl. I gave it a coating of Ox Blood Leather Dye, flamed it to set it, then went over it with Dark Brown Leather Dye to get the desired color. Then using sanding sponges I wet sanded the bowl with 600, 800 and 1200 grit and rewashed the bowl with alcohol again.

IMG_3320

Setting the bowl aside, I started on the stem. The stem was plugged from end to end. I used the Tee handle once again with a drill bit to open it up. The metal cap in the front of the stem came out easy enough. It took a number of times to use the drill bit to open up the entire shaft where I could even attempt to get a pipe cleaner through.  Once I cleared the metal tube it went into an oxyclean bath for 1 hour, using vaseline on the logo to make sure not to damage it.

DSCN1079IMG_3307IMG_3310

The oxyclean done I rinsed it under a tap to clean the oxyclean out and deactivate it. This revealed an inner tube at the rear of the stem inside the larger metal tube. Pipe cleaners were still having a hard time passing, but eventually they did the job. I was using both bristle and tapered to get the job done.

IMG_3308


IMG_3321

Taking some 0000 steel wool to the metal tube cleaned and polished it up nicely. Then it was on to the outer vulcanite of the stem. Using sanding sponges from 600-1200 I wet sanded the oxidation then moved through the balance of the sanding up to the 12000 grit sponge.

An unintended occurence happened with this Reserection, the stem became loose. So I went in search of a suitable answer for finding how to tighten it. Now here is the problem, most bloggers and YouTube restorers deal primarily with the vulcanite meeting the briar in direct contact. After an extensive search I was unable to find a source that dealt with the metal to briar attachment. While there are plenty of suggestions on the aforementioned vulcanite to briar fix, I gleaned this to attempt to make the repair here. Using a CA (super glue) accelerator and CA glue. I lightly sanded the metal tube and coated it with the accelerator, allowed it to dry and then applied the CA glue and tried the fit.

img_3368.jpg

It worked like a dream come true. Several sited suggested using the clear nail polish for this but, I thought that thickness would be a problem as the shank on the stummel was very thin. The thin CA glue worked perfectly. The stem now has a nice firm grasp on the briar. I think that with use the fit will only improve.

In doing this restoration I was curious about the insert used and went in search of information. On the PipesMagazine site I found a very nice interview done with Tom Clasen. I also found in my search, on Pipedia a patent for the William Demuth Company in the name of W.W. Hessen, from 1925 that showed the type of insert used in this pipe. It looks like Figure 2 in the drawing.

1925 WDC Patent

IMG_3328IMG_3331img_3332.jpg


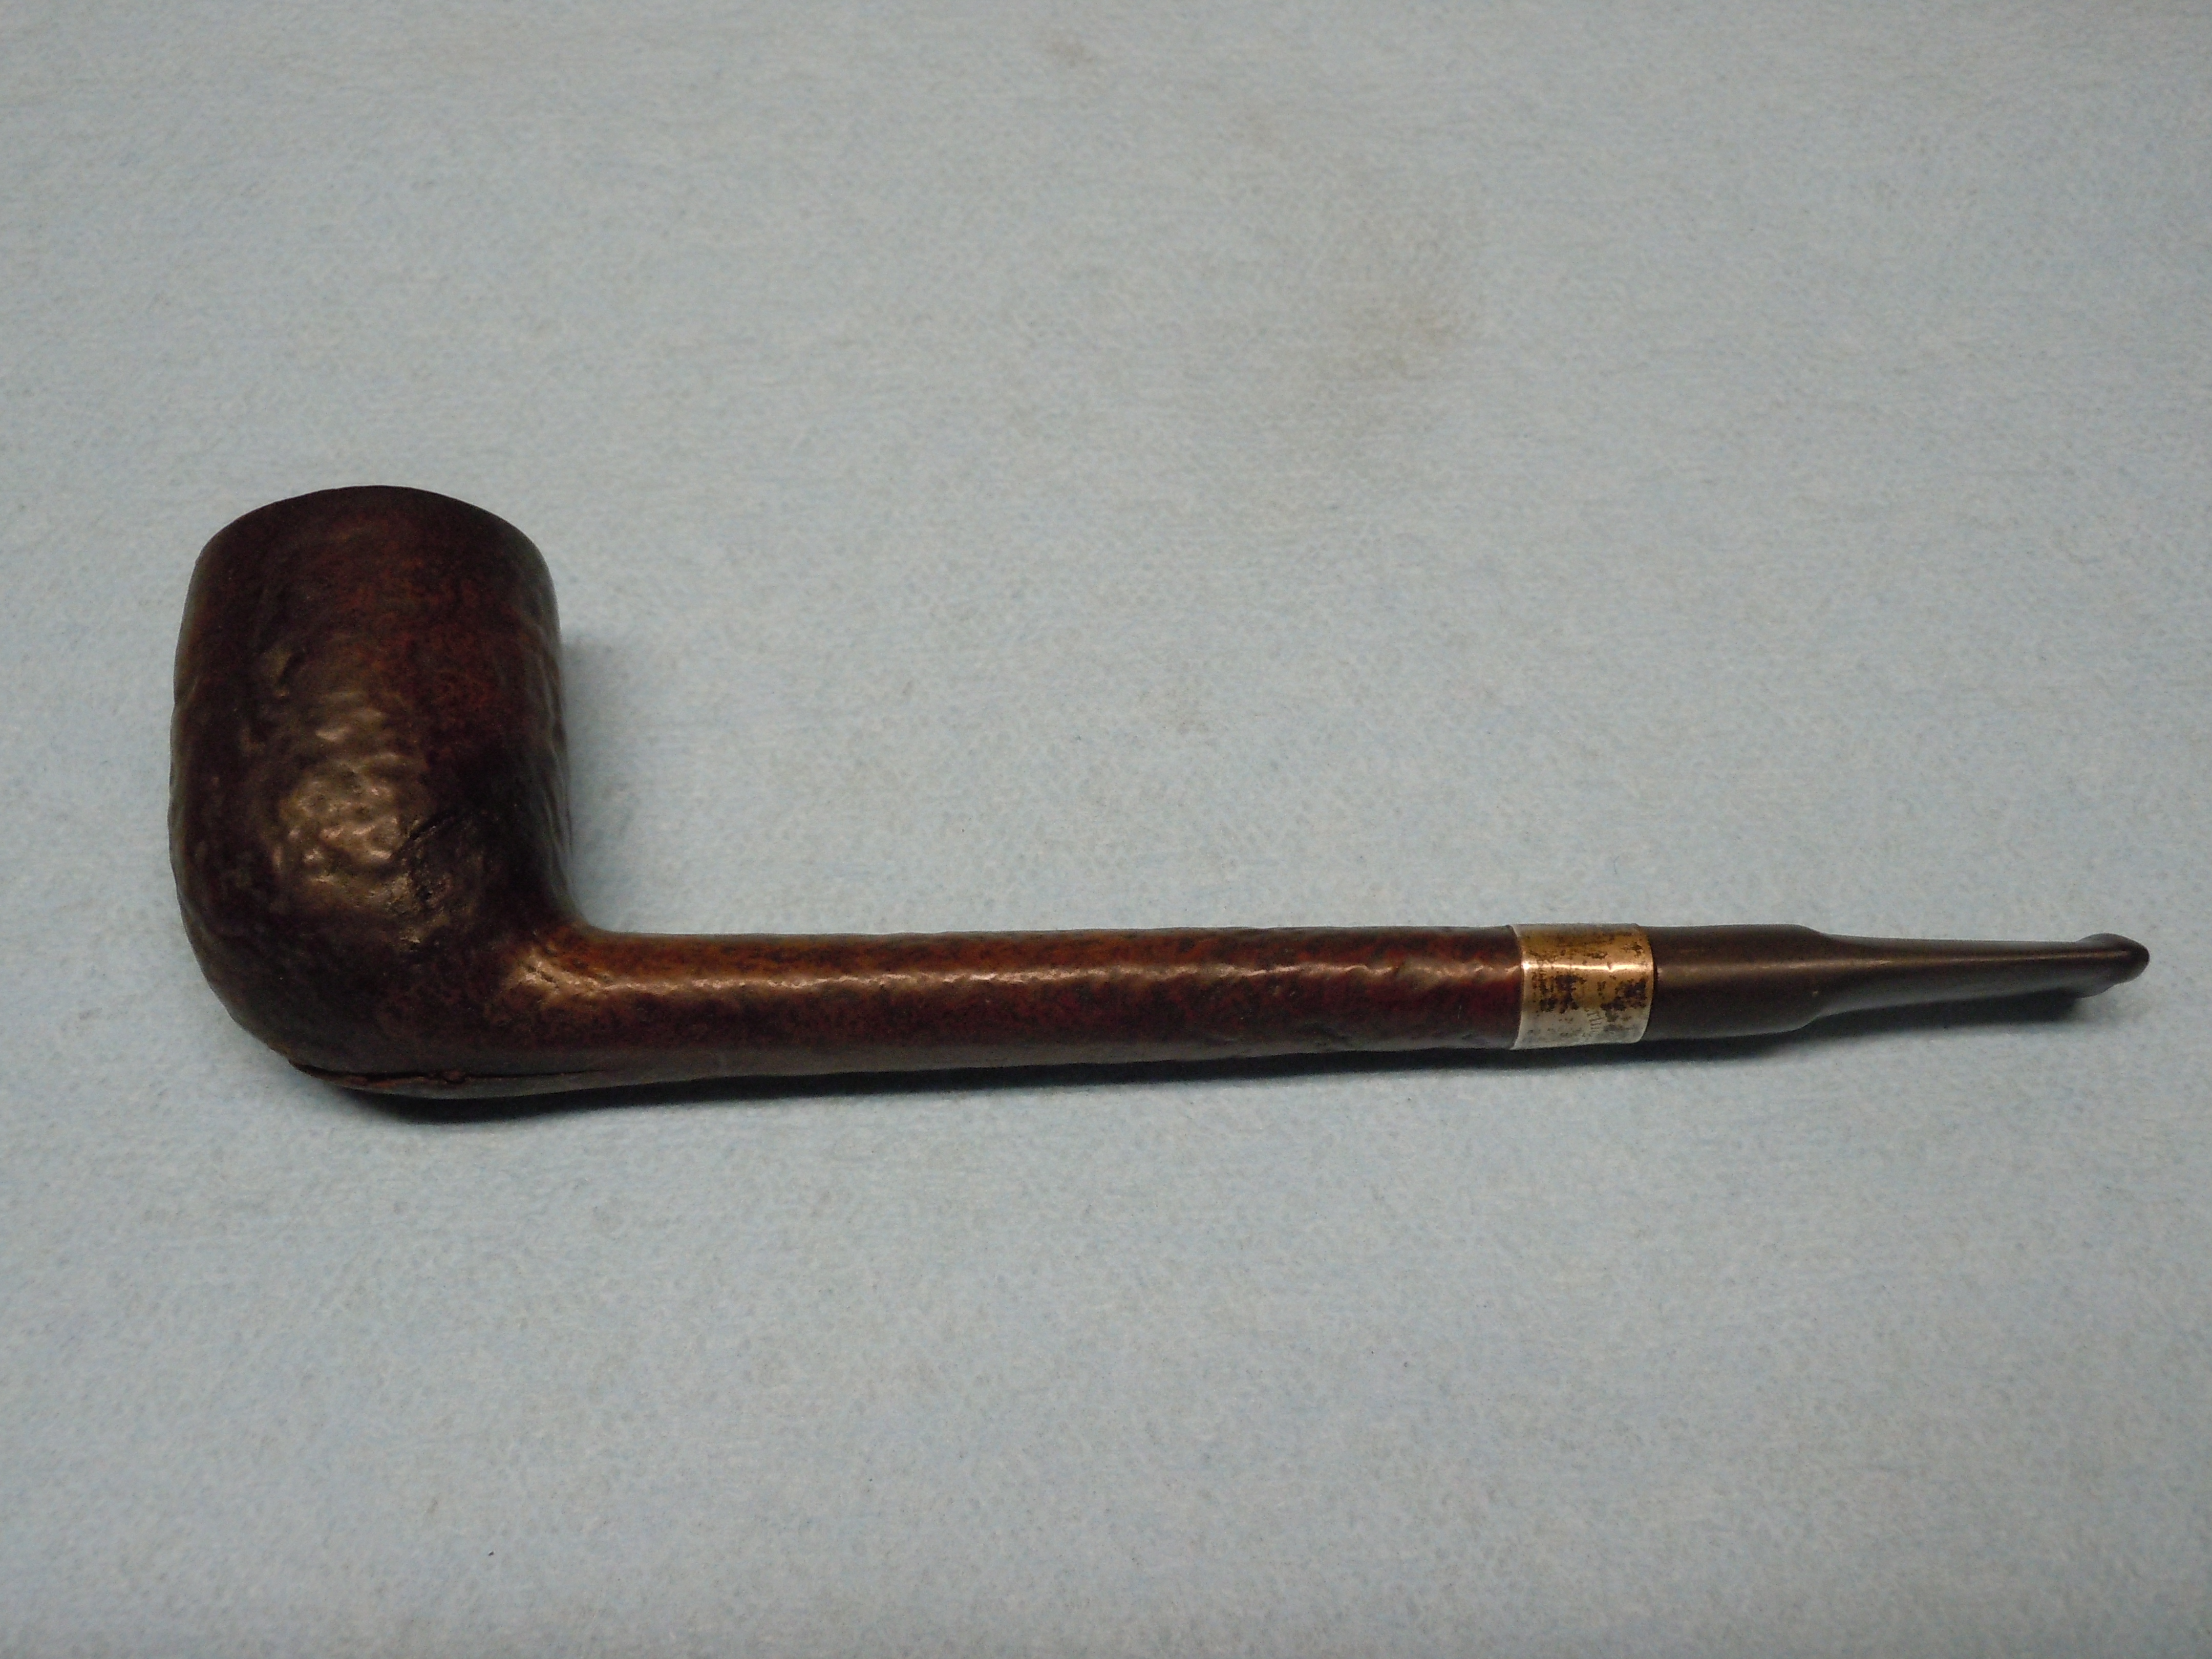
Digby Canadian #245

I saw this on eBay several months ago and fell in love with the look. What I did not like was the long crack running from the bowl front back to the shank. It looked like it was repaired once then blew out. Hoping to get it cheap I took a chance. Now that I won I had to up my game so to speak to bring it back to service.

DSCN0996DSCN0997


When it arrived the condition was worse than I thought. The cake inside the bowl hid a crevasse that went straight through the bottom. There was burnout in the bowl at the base. Now I had two challenges I had never attempted before. Crack and burnout! You can see in the next picture the plug that someone attempted to make a repair once before.

IMG_2978IMG_2980

The crack went right through the Digby stamped impression.

IMG_2981

The cake was built mostly from the middle of the bowl down to the base with a lot of lava at the top.

IMG_2977


Using the Castleford Reamer I started to clean out the bowl to see if the crack went any further, but, it did go all the way leaving a split through from a burnout into the bend of the bowl shank connection.

IMG_2982IMG_3096IMG_3095

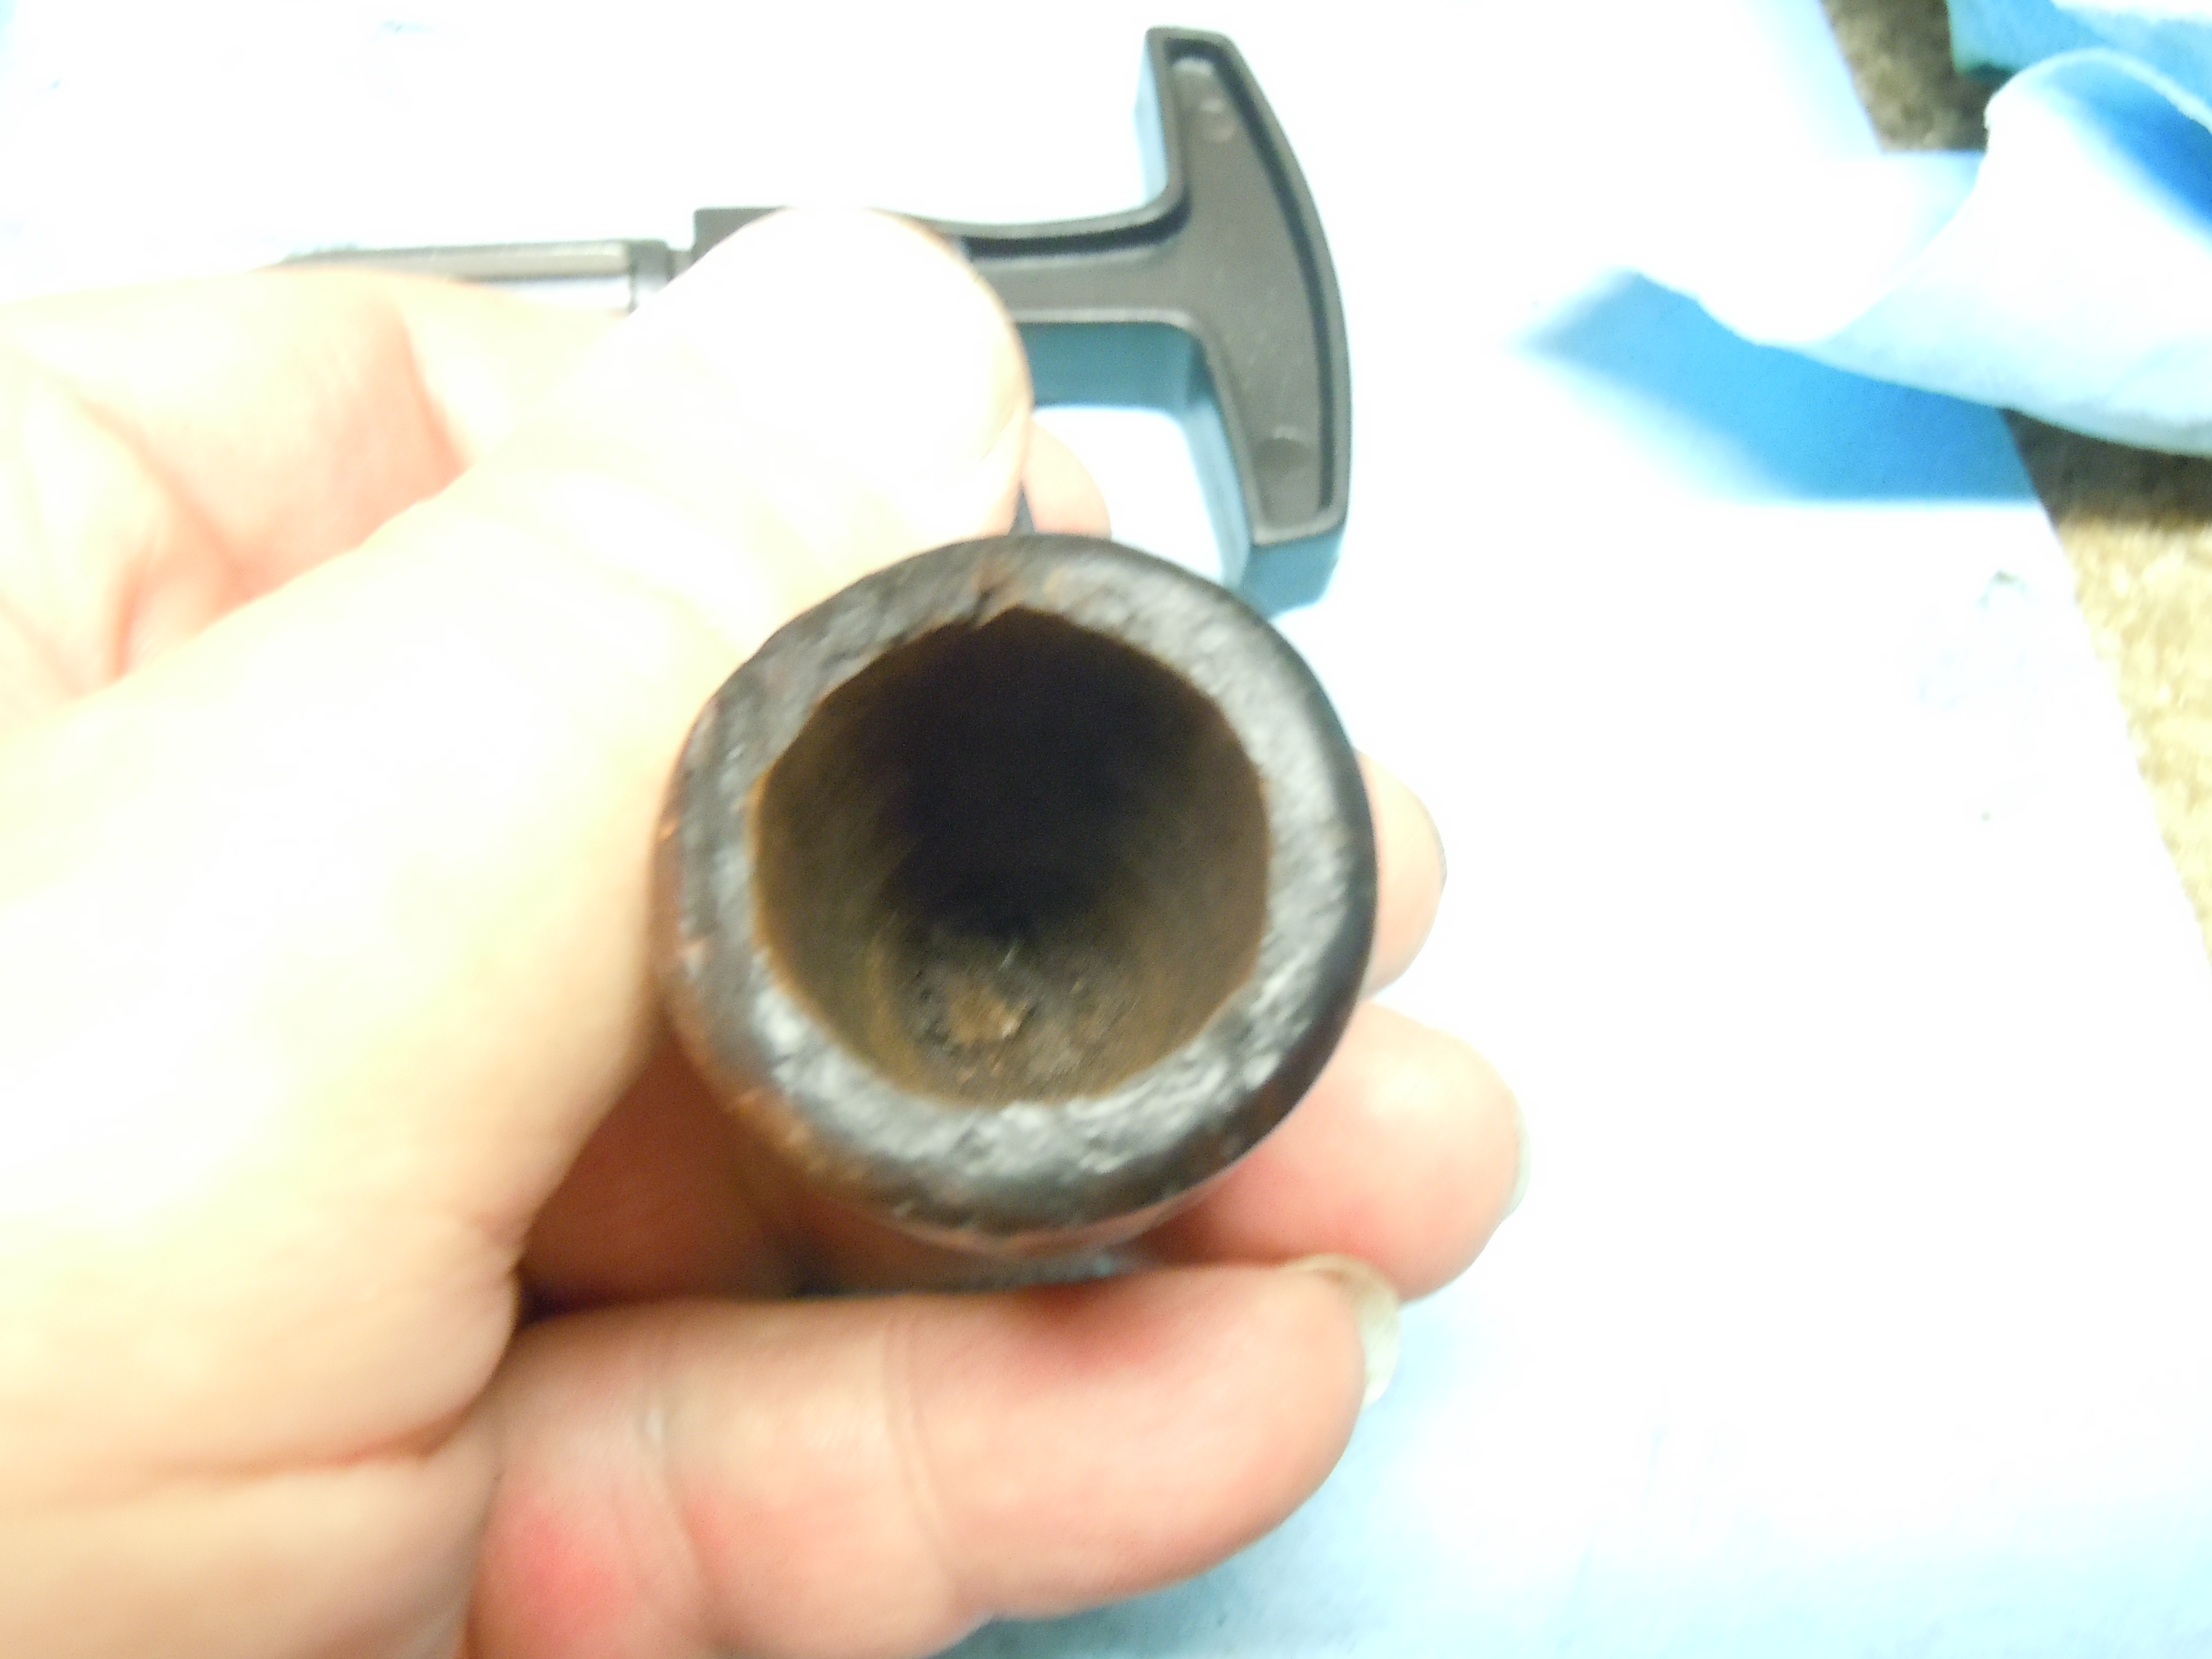
IMG_3101After the reaming was done I pulled the plug out of the crack and found it went all the way through the briar. Using a small hand drill I went to each end of the crack and drilled a small hole to terminate the crack. I’ve used this technique in the past when trying to repair metal, so, why not do it here to try to stop the spread? I used a pick to clean out as much loose material I could to give the patch something to hold on to.
DSCN1065

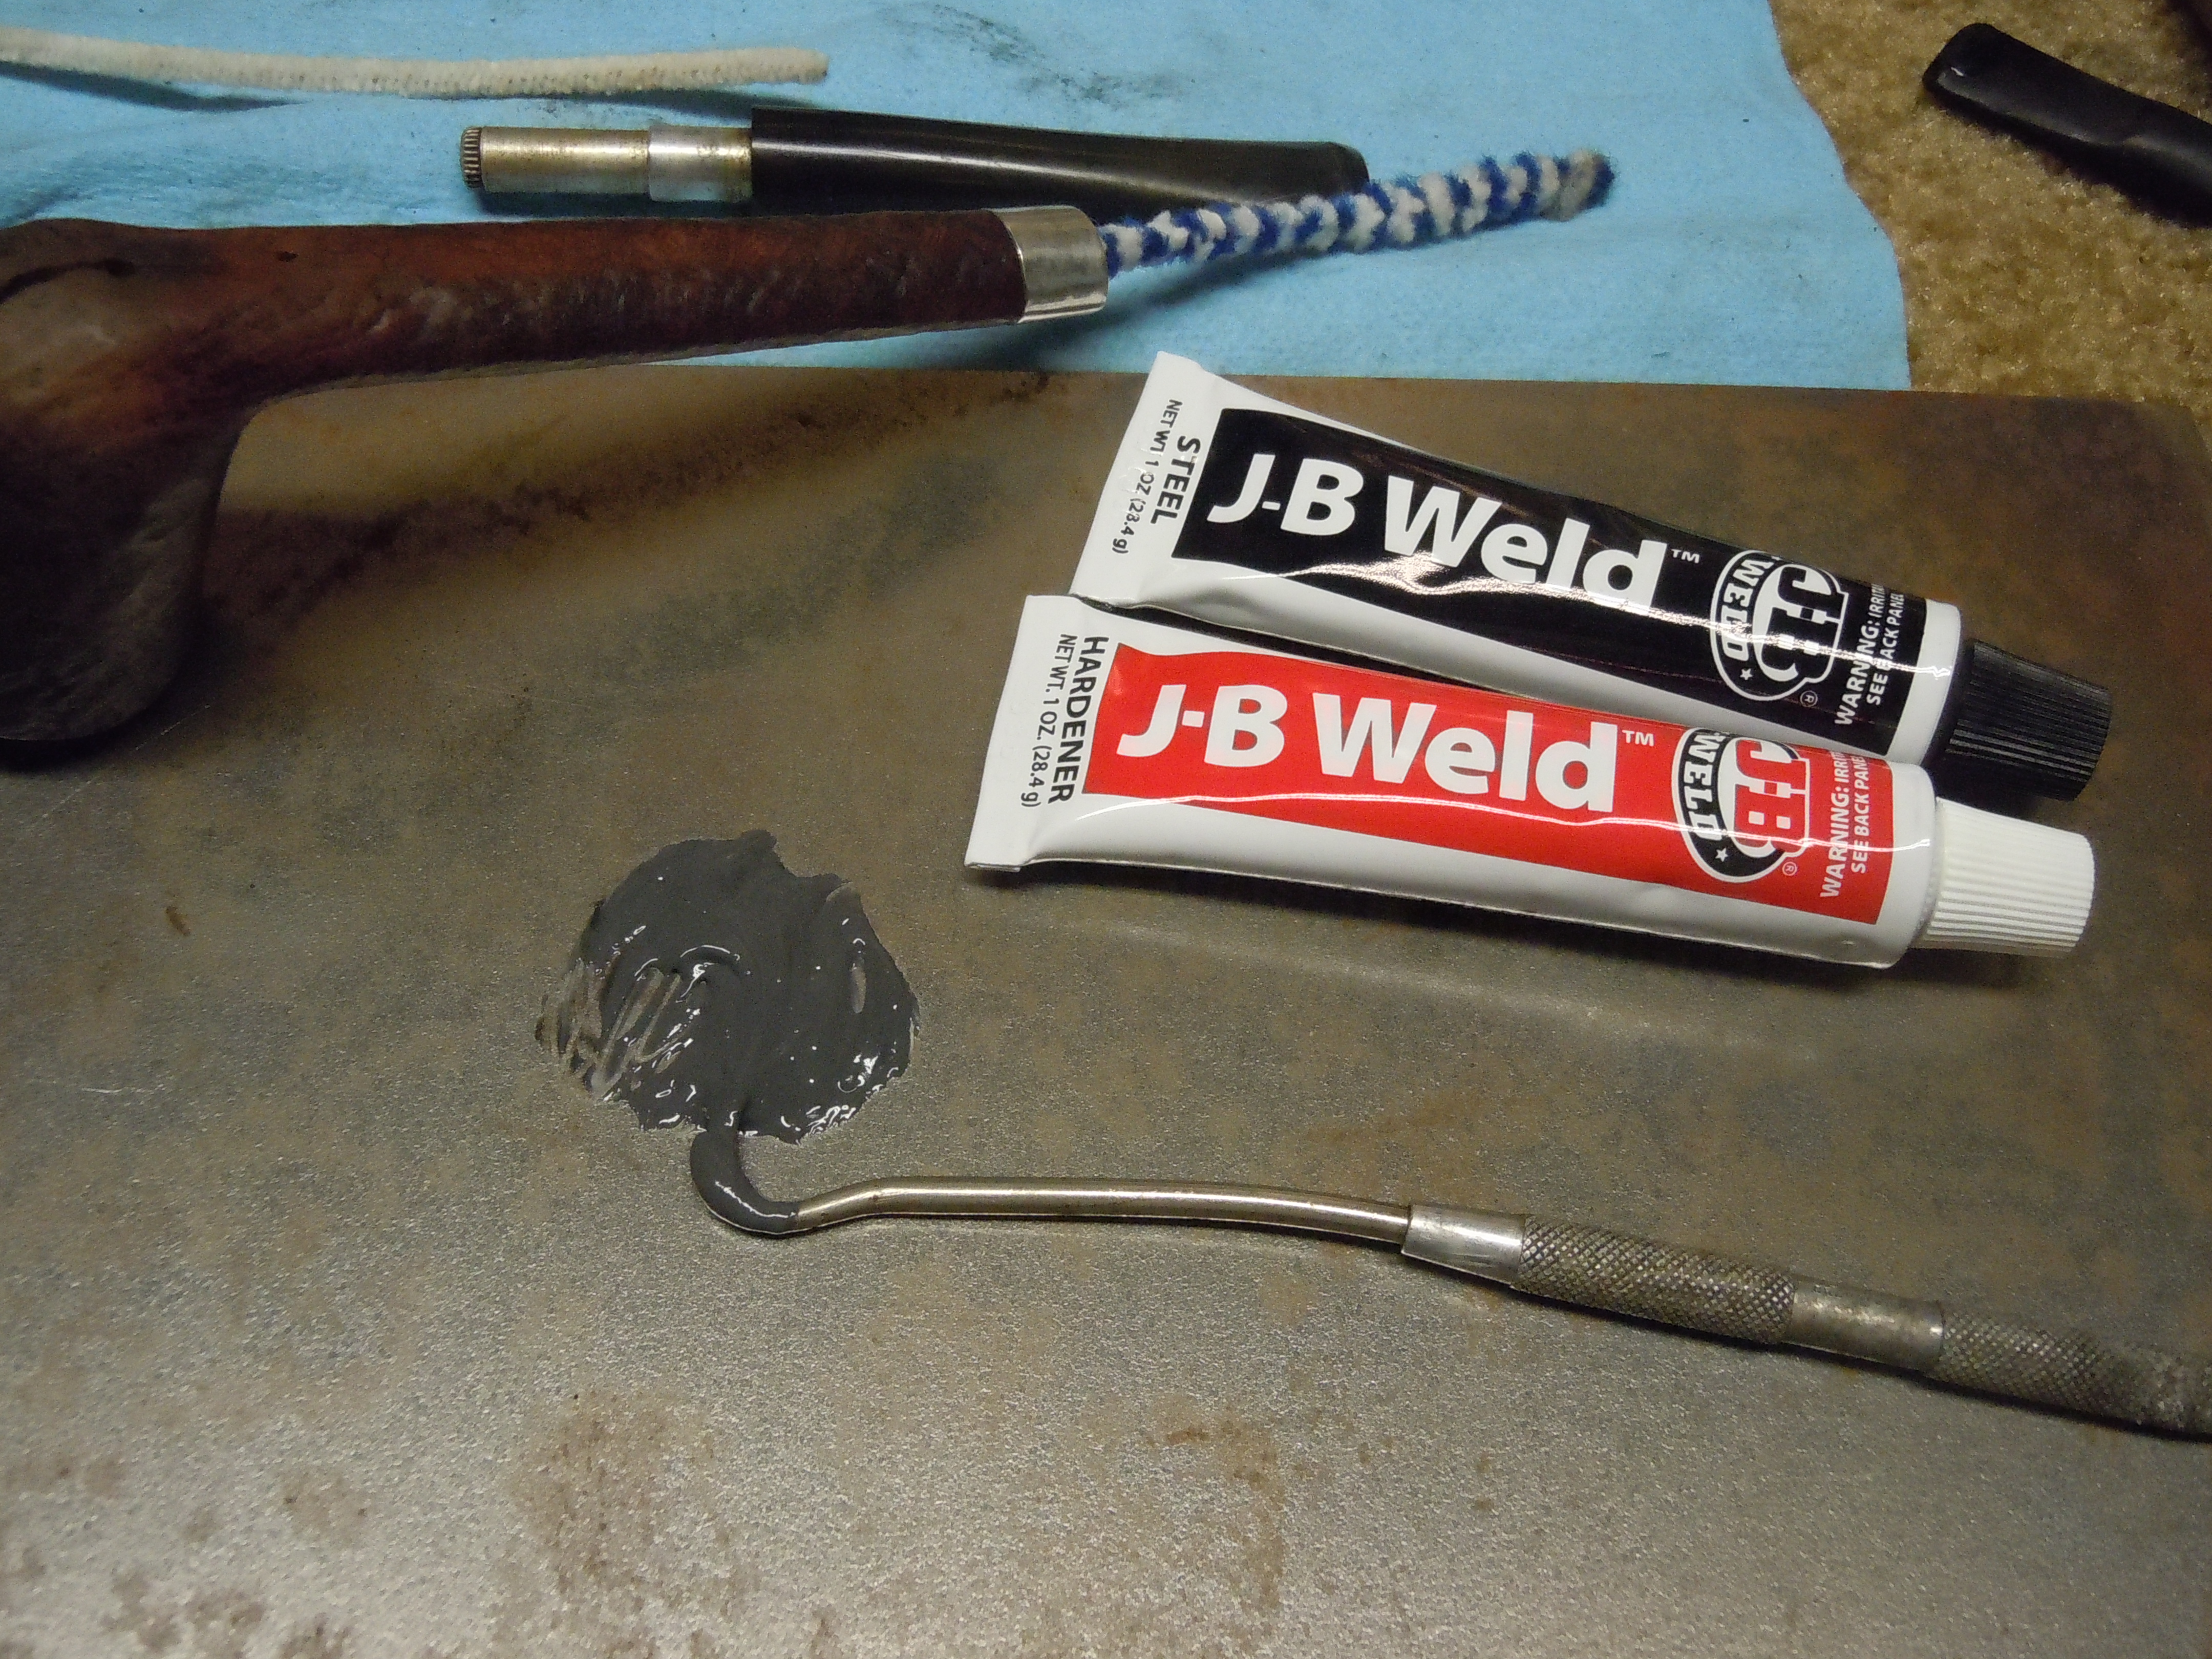
The next step was to use the J-B Weld epoxy to fill in the opening and get the the integrity back into the bowl. I pushed it into the crack with a toothpick to get it to go through to the inside.  I used a pipe cleaner to keep the airway open while the repair setup. Note: (I failed to take pictures of the application).

DSCN1082

The J-B Weld flowed very well and I gently filed it so as not to change the blast lines of the pipe. The makers lines are very attractive and I wanted to try and keep them as close to normal as I could.

Using a dark brown stain marker and dark brown leather stain I gave the entire bowl a going over after cleaning it with Murphy’s Oil Soap.

IMG_3240IMG_3250IMG_3249IMG_3248

Here you can see the build up of the J-B Weld in the burnt out area of the base. Again using the pipe cleaner to keep the airway open I kept the epoxy purposely low as the epoxy was thicker to work with and I could not get as smooth an area as I wished to.

IMG_3243IMG_3244

Instead I used “pipe mud” to smooth out the base of the bowl to give it the best I could. The pipe mud was made from cigar ash and saliva. Having never used this method before I wanted to see how well it worked as I have read other use it to great reesults. The mud is said to add an insulating factor to the repair.

IMG_3275

With the briar done it was time to move on to the stem. It was in very good shape and required only minor work to bring it up. Using the sanding sponges I went from 600 – 12000 ansd finished up with the Obsidian Oil. Note: (again I failed to get all the pictures) Argh!

IMG_3241IMG_3242

Next it was off to the buffer with several coats of Carnuba Wax to bring out the shine. I used some Brebbia Stem Polish to clean up the silver band at the end of the stem.

img_3263.jpgIMG_3264IMG_3262IMG_3261

This was one of those refurbs that is very rewarding to have completed. It taught me several things I’ve not attempted before, but, made for a special time of learning. I can’t wait to light it up and give it a test smoke!


GBD Pre-Historic with Perpex Stem

This was an inexpensive find on eBay.

DSCN0983DSCN0984DSCN0988

The overall condition was very good, with the exception of an unbalanced color.

DSCN1001

Using a retort to clean the stem and the alcohol and salt treatment after reaming the bowl it came out looking like a very solid pipe. I have a couple of the perplex seemed GBD’s and the only way to get them nice and clean is to use the retort. I used the q tips to clean the inside of the stummel.

DSCN1038

DSCN1039

IMG_2966IMG_2967IMG_2969IMG_2970IMG_2968Once all cleaned I used some light brown leather dye to even out the color. And just buffed it on the wheel. This was a pleasure to do and it is a joy to smoke!


Savinelli Punto Oro

A friend found several pipes while on a trip to Iowa last summer and she brought them to me to Reserect. The lot of them were not in the best shape.

dscn0930

The Savinelli Punto Oro, second from the top right was to be the first. There is a Dr. Grabow Royal Duke on the left below the large block of briar. The rest of the pipes are not identifiable. There are no impressions in any of them. The Savinelli has very faint impressions.

dscn0932

DSCN0962DSCN0939

The impressions can only be seen if held at an angle. I was able to take a picture of it before the work was done but, sadly, it is gone after. The stem has been snapped off at the button on an angle leaving it sharp.

This will be an effort that I have not attempted before, to rebuild the button. Having the opportunity of reading and rereading Steve Laug’s Blog, Reborn Pipes, it gave me the courage to attempt this repair. Using black super glue and activated charcoal I put a pipe cleaner into the airway and began to build up the broken area.

DSCN0976

I used a couple of files and Dremel tool to shape the button and begin the process of making it square again.

Then it was back to building up the filler again. More super glue and charcoal.

After a salt and alcohol bath I swabbed out the stummel with Q tips and pipe cleaners. It took several salt baths to get the bowl clean. the rim was rough from abuse, but, I did not want to lose the natural lines from Savinelli. So, I just used a tooth brush and Murphy’s wood soap to clean the rim followed by some light sanding with used 320 sandpaper. I then used black leather dye to even the color.

DSCN0964

DSCN0972

After the bowl was done I put it asside and went to finish the stem.

DSCN1010

DSCN1008

DSCN1067

DSCN1068

DSCN1069IMG_3268img_3269.jpgimg_3270.jpg

After using small files to shape the button with the new charcoal and super glue, it was on to the sanding sponges to polish it. Between each course of three sponges I used Obsidian Stem Polish to help some of the very stubborn oxidisation. A couple of coats of carnuba wax on the buffer and it is ready to smoke again.

There is still a slight flaw in the bit that I will need to address, but, overall I think that this pipe is now a serviceable unit once again.


Ehrlich Canadian

A couple of months ago I bought an Ehrilch Canadian on eBay and left it off to the side waiting for the summer temps to drop to be able to work in the garage at my bench. Now that we are back down to the 80’s I decided to get it done. It got a good ream, followed by a good retort before starting on the real work.

img_2194img_2270

img_2201img_2200

img_2272img_2271

It took about six times with new ever clear each time to get it to come out clear. I then used  several clean pipe cleaners to make sure I got all I could out. Once satisfied that it was clean I then put the stem into an Oxyclean bath to loosen up the oxidization.

Next it was time to get into the sanding of the stem to bring it back. Using the micro sanding sponges I wet sanded from 1200-6000 grit and finished by moving through the range to the 12000 sponge and finishing up with Brebbia’s pipe and stem polish.img_2444

The bowl was in good shape. After a salt and alcohol bath I used everclear and several makeup pads to wipe down the bowl and assess the color to use. I wanted to stay true to the original brown, so using Fibbing’s Leather Dye in the Dark Brown color, it got several coats that was flamed to set each time. Once satisfied with the color it was on to the buffer to complete the look.

img_2436img_2435


It’s a little bit hard to date this pipe. In looking a pipephil.com and pipedia.com I wound up more confused than educated. The stem is stamped with the E in a circle and just the name Ehrlich on the left side of the shank. Having seen a number of them in the forums I wanted to make sure to do this one proud!

Thanks for looking.

dscn0916img_2449img_2447img_2446